Table of Contents
Advertisement
Quick Links
Advertisement
Table of Contents

Related Manuals for La Crosse Technology Wireless Rain Station


Summary of Contents for La Crosse Technology Wireless Rain Station
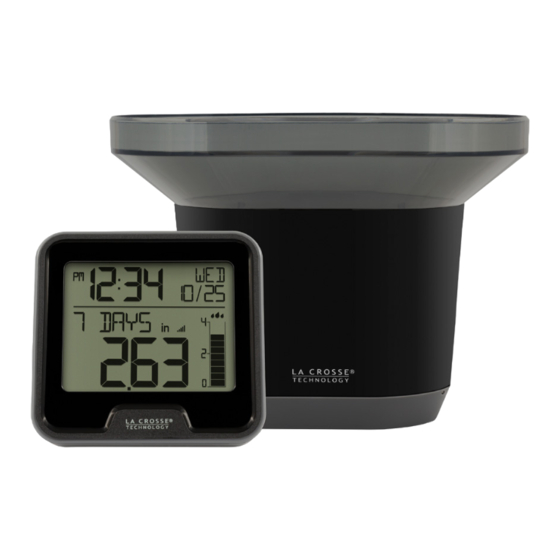
- Page 1 Wireless Rain Station SET UP GUIDE MODEL: 724-1409v2...
-
Page 2: Table Of Contents
Table of Contents BASICS RAIN APPENDIX Power Up Rain Readings Care & Maintenance Reset Rain Readings Settings Menu Specifications Custom Display Rain Cylinder Graph Stay In Touch Rain History We’re Here to Help 24-Hour Rain Alert Warranty & Patents Deactivate Alert California Statement Positioning Rain Sensor FCC Statement... -
Page 3: Power Up
Power Up Install 2 - AA batteries into your Rain Sensor. Install batteries into your Rain Station. Once the rain sensor is reading to your display, place it outside in an open area. See our mounting video: bit.ly/mounting_rain TX145R Rain Sensor Rain Sensor: •... -
Page 4: Settings Menu
Settings Menu Hold the HISTORY/TIME SET button until the display changes to enter the Settings Menu. Press and release the button to adjust and the HISTORY/TIME button to confirm and exit. Settings Menu Order: • Beep ON/OFF • Hour • Minutes •... -
Page 5: Rain Readings
Rain Readings Press the RAIN/ALERT button to view different rain readings. The time and date will disappear for 20 seconds. Rainfall readings will stay on your selection. NOW (rain drops will flash): • Rain from the start of a rain event, until no rain has accumulated for 30 minutes. -
Page 6: Reset Rain Readings
Reset Rain Readings Press the RAIN/ALERT button to view rain readings: (Now, One Hr, 24 Hrs, 7 Days, Month, Year or Total) While viewing individual rain readings, hold the -/RESET button to reset individual rainfall reading. Note: This will not affect the 12 month history readings which are stored in memory. Rain Cylinder Graph The Rain Graph has 10 segments which change based on rainfall totals. -
Page 7: 24-Hour Rain Alert
24-Hour Rain Alert Hold the RAIN/ALERT button until the display changes to enter the alert settings mode. Alert OFF will show. Press and release the +/MODE button to turn ON the rainfall alert. When ON is selected the 24-hour rain alert value will show. Press and release the +/MODE buttons to adjust. -
Page 8: Positioning Rain Sensor
Positioning Rain Sensor For Accurate Measurements • Mount the Rain Sensor horizontally and ensure it’s level. • The sensor should be mounted more than 3 feet (91.4 cm) above ground. • Your Rain Sensor needs to be in an open area for accurate readings. -
Page 9: Search For Rain Sensor
Search for Rain Sensor If you are seeing “NO” or dashes for your rain readings, please try the following steps: Hold the SENSOR button to search for the rain sensor. The Reception Indicator will begin to animate. If after 3 minutes the sensor still isn’t connected, bring the sensor inside next to the display and remove power from both the sensor and station. -
Page 10: Specifications
Specifications R AI N STAT IO N (724-1409v2) • Indoor Temperature Range: 32°F to 99°F (0°C to37°C) • Power Requirements: 2 “AA” Batteries (not included) • Battery Life: Over 12 months • Dimensions: 3.55” L x 1.19” W x 3.35” H ( 9.02 cm L x 3.02 cm W x 8.52 cm H) R AI N SE NSOR (TX145R) •... -
Page 11: Stay In Touch
Mon-Fri 8am-6pm CST Warranty & Patents La Crosse Technology, Ltd. provides a 1-year limited time warranty (from date of purchase) on this product relating to manufacturing defects in materials & workmanship. La Crosse Technology, Ltd, 2830 S. 26th St., La Crosse, WI 54601 For Full Warranty Details, Visit: www.lacrossetechnology.com/pages/warranty... -
Page 12: Fcc Statement
FCC Statement This equipment has been tested and found to comply with the limits for a Class B digital device, pursuant to part 15 of the FCC Rules. These limits are designed to provide reasonable protection against harmful interference in a residential installation. This equipment generates, uses and can radiate radio frequency energy and, if not installed and used in accordance with the instructions, may cause harmful interference to radio communications.
Need help?
Do you have a question about the Wireless Rain Station and is the answer not in the manual?
Questions and answers
How is the time set on the 724-1409 model. Please be very detailed with the email reply. Thank you.
To set the time on the La Crosse Technology Wireless Rain Station model 724-1409:
1. Hold the HISTORY/TIME SET button until the display changes to enter the Settings Menu.
2. Use the + or - button to adjust settings.
3. Press the HISTORY/TIME SET button to confirm each setting and move to the next.
4. Time settings include:
- Beep ON/OFF
- Hour
- Minutes
- 12/24 Hour format
The weekday will set automatically after setting the year, month, and date.
This answer is automatically generated
reconnect rain gauge (LTV-R3) to display (V61). I have tried removing the batteries and disconecting power, then reinstalling both power supplies.
To reconnect the La Crosse Technology Wireless Rain Station (LTV-R3) to the display (V61), follow these steps:
1. Install Batteries:
- Insert 2 AA batteries into the rain sensor.
- Insert batteries into the rain station display.
2. Search for Sensor:
- Press and hold the down button on the back of the display unit for 5 seconds.
- The dashes will flash, indicating it is searching for the rain sensor.
3. Wait for Connection:
- The temperature or rain data will appear once the connection is successful.
4. Troubleshooting:
- If data does not appear, replace the batteries in the rain sensor.
- Move the sensor closer to the display.
- Ensure all batteries are fresh and properly installed.
5. Note:
- Changing batteries will erase current rainfall readings, but rain history will be retained.
This answer is automatically generated