Table of Contents
Advertisement
Quick Links
Advertisement
Table of Contents

Related Manuals for Zanussi ZANZDLN6531


Summary of Contents for Zanussi ZANZDLN6531
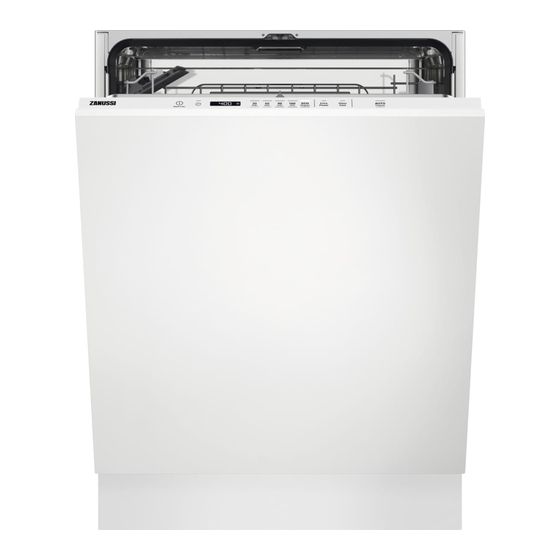
- Page 1 User Manual GETTING STARTED? EASY. ZDLN6531 EN User Manual Dishwasher...
-
Page 2: Safety Information
VISIT OUR WEBSITE TO: Get usage advice, brochures, trouble shooter, service and repair information: www.zanussi.com/support SAFETY INFORMATION Before the installation and use of the appliance, carefully read the supplied instructions. The manufacturer is not responsible for any injuries or damage that are the result of incorrect installation or usage. -
Page 3: Safety Instructions
This appliance may be used in, offices, hotel guest rooms, bed • & breakfast guest rooms, farm guest houses and other similar accommodation where such use does not exceed (average) domestic usage levels. Do not change the specification of this appliance. •... -
Page 4: Water Connection
• Do not use multi-plug adapters and extension cables. • Do not put flammable products or items that are • Make sure not to cause damage to the mains wet with flammable products in, near or on the plug and to the mains cable. Should the mains appliance. -
Page 5: Installation
• Disconnect the appliance from the mains • Remove the door catch to prevent children and supply. pets to get closed in the appliance. • Cut off the mains cable and discard it. INSTALLATION WARNING! Refer to Safety chapters. BUILDING IN SAFETY CAPS If the furniture panel is not installed, open the appliance door carefully to avoid the risk of injury. -
Page 6: Product Description
PRODUCT DESCRIPTION Upper spray arm Cutlery basket Lower spray arm Lower basket Filters Upper basket Rating plate The graphic is a general overview. For Salt container more details, refer to other chapters or documents provided with the Air vent appliance. Rinse aid dispenser Detergent dispenser BEAM-ON-FLOOR... -
Page 7: Control Panel
CONTROL PANEL On/Off button/Reset button Option buttons Delay start button AUTO programme button Display Programme buttons DISPLAY A. Indicators B. Time indicator INDICATORS Indicator Description Rinse aid indicator. It is on when the rinse aid dispenser needs refilling. Refer to "Before first use". -
Page 8: Programme Selection
PROGRAMME SELECTION PROGRAMMES consumption for crockery and cutlery with normal soil. This is the standard programme for test institutes. AUTO This programme automatically adjusts the dishwashing cycle to the type of load. The appliance senses the degree of soil and the amount of dishes in the baskets. - Page 9 Programme Dishwasher load Degree of soil Programme phases Options 160 min Crockery, cut- Normal to • Prewash • Extra Power lery, pots, heavy, dried- • Dishwashing 60 °C • Glass Care pans • Intermediate rinse • Final rinse 60 °C •...
-
Page 10: Basic Settings
Information for test institutes For any other questions regarding your dishwasher, To receive the necessary information for conducting refer to the service book provided with your performance tests (e.g. according to: EN60436 ), appliance. send an email to: info.test@dishwasher-production.com In your request, include the product number code (PNC) from the rating plate. -
Page 11: The Water Softener
How to navigate in setting mode 2. Press OK to enter the setting. You can navigate in setting mode using programme The current setting value flashes. buttons. 3. Press Previous or Next to change the value. 4. Press OK to confirm the setting. •... -
Page 12: The Rinse Aid Empty Notification
Regardless of the type of detergent used, set duration by another 5 minutes when it occurs at any the proper water hardness level to keep the point at the beginning or in the middle of a salt refill indicator active. programme. -
Page 13: Before First Use
KEY TONES AirDry is automatically activated with all programmes other than Pre-rinse. The buttons on the control panel make a click The duration of the drying phase and the door sound when you press them. You can deactivate opening time vary depending on the selected this sound. -
Page 14: Daily Use
6. Turn the cap of the salt container clockwise to CAUTION! The compartment (A) is for close the salt container. rinse aid only. Do not fill it with CAUTION! Water and salt can come detergent. out of the salt container when you fill it. - Page 15 HOW TO SELECT AND START THE 2. Press repeatedly until the display shows PROGRAMME PRE-RINSE the desired delay time (from 1 to 24 hours). 1. To select Pre-rinse, press and hold 30 min for The light related to the button is on. 3 seconds.
-
Page 16: Hints And Tips
The Auto Off function switches the appliance off All buttons are inactive except for the on/off button. automatically. HINTS AND TIPS GENERAL agents), rinse aid and salt separately for optimal cleaning and drying results. Follow the hints below to ensure optimal cleaning •... -
Page 17: Care And Cleaning
LOADING THE BASKETS • Put cutlery and small items in the cutlery basket. • Make sure that the spray arms can move freely • Always use the whole space of the baskets. before you start a programme. • Use the appliance to wash dishwasher-safe items only. -
Page 18: External Cleaning
EXTERNAL CLEANING 4. Wash the filters. • Clean the appliance with a moist soft cloth. • Only use neutral detergents. • Do not use abrasive products, abrasive cleaning pads or solvents. CLEANING THE FILTERS The filter system is made of 3 parts. 5. -
Page 19: Cleaning The Lower Spray Arm
CLEANING THE LOWER SPRAY ARM 3. To install the spray arm back, press it downwards. We recommend to clean the lower spray arm regularly to prevent soil from clogging the holes. Clogged holes can cause unsatisfactory washing results. 1. To remove the lower spray arm, pull it upwards. CLEANING THE UPPER SPRAY ARM Do not remove the upper spray arm. - Page 20 Problem and alarm code Possible cause and solution You cannot activate the appli- • Make sure that the mains plug is connected to the mains sock- ance. • Make sure that there is no damaged fuse in the fuse box. The programme does not start.
- Page 21 Problem and alarm code Possible cause and solution The displayed programme du- • The pressure and the temperature of the water, the variations of ration is different than the du- the mains supply, the options, the quantity of dishes and the ration in the consumption val- degree of soil can change the programme duration.
- Page 22 THE DISHWASHING AND DRYING RESULTS ARE NOT SATISFACTORY Problem Possible cause and solution Poor washing results. • Refer to "Daily use", "Hints and tips" and the basket load- ing leaflet. • Use more intensive washing programme. • Activate the Extra Power option to improve the washing re- sults of a selected programme.
-
Page 23: Technical Information
Problem Possible cause and solution Limescale deposits on the table- • The level of salt is low, check the refill indicator. ware, on the tub and on the in- • The cap of the salt container is loose. side of the door. •... -
Page 24: Environmental Concerns
ENVIRONMENTAL CONCERNS with the symbol with the household waste. Recycle materials with the symbol . Put the Return the product to your local recycling facility or packaging in relevant containers to recycle it. Help contact your municipal office. protect the environment and human health by recycling waste of electrical and electronic appliances. - Page 28 WWW.ZANUSSI.COM/SHOP...
Need help?
Do you have a question about the ZANZDLN6531 and is the answer not in the manual?
Questions and answers