Advertisement
Advertisement
Table of Contents

Subscribe to Our Youtube Channel
Related Manuals for TNICER T2


Summary of Contents for TNICER T2
- Page 1 HELMET BLUETOOTH HEADSET TNICER- T2 Bluetooth...
-
Page 2: Product Introduction
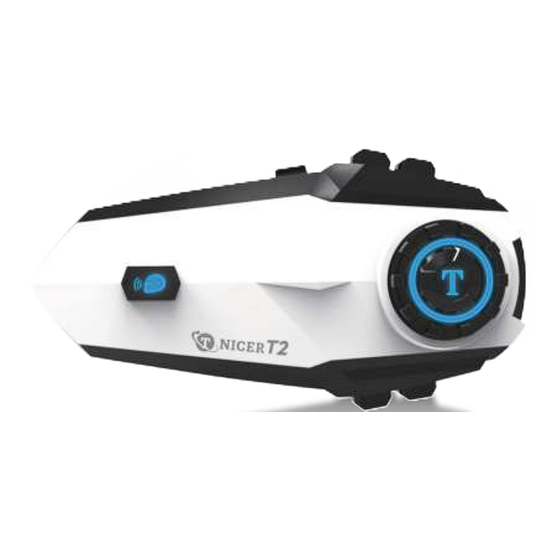
FM radio and receiving GPS navigation voice prompts.Provide you with a clear, safe and comfortable. TNICER T2 has the latest version 5.2 Bluetooth, stable system operation, dual intelligent noise cancellation,low power consumption, with 40MM high quality speakers and intelli- gent pickup microphone, support 6 devices connected to achieve 6 riders intercom. -
Page 3: Function Description
Function Description •Qualcomm version 5.2 Bluetooth chip •Intelligent DSP audio processing, the 12th generation of CVC noise reduction processing, 16K voice bandwidth transmission rate •1000m 6-way intercom Bluetooth headset •High pairing speed •Fast charging •Music sharing •FM radio •Voice assistant •Automatic answer, support last dialed number redial •Intelligent microphone •Support voice communication at 120 km/h speed... -
Page 4: Power On/Off
Button Functions and Operations Power on/off Power on: Press and hold the [multi-function button + intercom button] for 3 seconds, the power-on prompt will sound, and the blue light will be on. Power off: Press and hold the [multi-function button + intercom button] for 3 seconds,the power off prompt About 3 sec sounds, and the red light is on. -
Page 5: Music Control
Music Control ① Play/Pause: Intercom Bluetooth connection state, short press [multi-function button] to play music, short press [multi-function button] again to pause the music. ② Next song: short press the [next song button] to select the next song ③ Previous song: short press the [previous song button] to return to the previous song. -
Page 6: Pairing Operation
When the pairing is successful, it will be accompanied by the voice prompt "device is connected", and the Bluetooth connection is successful. If the connection fails, you can tap into the Bluetooth list of the Tnicer-T2 and click "Forget this device" and search for the connection again. - Page 7 Pairing and intercom between headsets 1. Pairing and intercom between two Bluetooth intercoms (A,B) Active/passive pairing operation: 1) Turn on the two Bluetooth intercoms (A,B), press and hold the B intercom [multi-function button] for 5 seconds,At this time, red and blue lights alternately flashing, passive pairing mode on.
- Page 8 2、Multiple Intercom Pairing Procedure Automatic pairing steps (as 6 intercoms for example) 1) Turn on all intercoms (123456), long press all intercoms [multi-function button] for 5 seconds to turn on the passive pairing mode, until the red and blue lights alternately flashing. 2)Choose any one intercom and short press [multi-function button] of it , the red and blue lights will flash alternately slowly, at this time this intercom enter the automatic pairing mode, there will be a voice prompt "searching".
-
Page 9: Music Sharing
Music Sharing Turn on sharing: When two devices are on, music sharing must be done by the device that initiates intercom in order to share to each other, such as specifying device A to share to device B. The operation steps are as follows: 1. -
Page 10: Microphone On/Off
Voice assistant In standby state, short press [volume up button+ volume down button] to enter the voice assistant function. At this time, the blue light flashes slowly. Last number redial In standby mode, short press [Multi-function key] twice to redial the last number. At this time, the blue light flashes quickly. -
Page 11: Installation
Installation Method 1: Use double-sided adhesive pad Put the double- sided adhesive pad on the mounting bracket Helmet Mounting Double- sided bracket adhesive pad Headset S nap the headset into the mounting bracket, Put the mounting bracket w ith the installation is complete double- sided tape on the helmet Attention: The headset insertion direction is "microphone logo" facing upward, as shown in the figure:... - Page 12 Installation Method 2: Use metal clip Helmet A dhere the single- sided adhesive to the mounting bracket, and then snap the metal clip into the mounting bracket Metal clip S ing le S ided adhesive pad Mounting bracket Headset Install the iron back clip w ith the base S nap the headset into the mounting bracket S nap the headset into the base, the Put the metal clip into the helmet into the helmet 把主机卡进底座上 installation is complete 把装好底座的铁背夹装入头盔 Quickly remove the Bluetooth headset from the helmet First unplug the headset cable, then one hand fixed intercom, use your fingers to press down hard on the fixed clips on the mounting bracket, you can hear the sound of loose equipment to smoothly remove the headset from the...
-
Page 13: Charging Instructions
T2 Package List Single-sided Mounting bracket Bluetooth headset Speaker & microphone adhesive pad Double-sided adhesive pad Speaker velcro Square velcro Charging cable Metal clip Manual Sponge Sticker 1.Bluetooth headset X1 7. Speaker velcro X2 2. Speaker & microphone X2 8. Sponge Sticker X2 3. -
Page 14: Product Parameters
Product Parameters Working distance: 1000m Bluetooth intercom for 6 riders Working frequency: 2.4GHz Bluetooth version: Bluetooth 5.2 Support Bluetooth protocol: HSP/HFP/A2DP/AVRCP Battery type: 900mAh rechargeable lithium polymer Standby time: 600 hours Talking time: 20 hours of cell phone talk/intercom Charging time: about 2 hours Power adapter: DC 5V 1A (optional) Charging interface: TYPE-C interface Operating temperature: 0℃-50℃... - Page 15 More installation and operation videos are available on our official Youtube channel. YouTube channel: TNICER After-sales service email: tnicerservice@tognicer.com If you have any questions, please feel free to contact us through the after-sales mailbox.
Need help?
Do you have a question about the T2 and is the answer not in the manual?
Questions and answers
Как переключить на русский язык