
Related Manuals for AUTOACCESS BEDSLIDE TYPE 3


Summary of Contents for AUTOACCESS BEDSLIDE TYPE 3
- Page 1 B E D S L I D E T Y P E 3 I n s t a l l a t i o n m a n u a l S S A N G Y O N G M U S S O ‘ 1 8 Delften 23 Hal 83 - B2390 Westmalle www.auto-access.eu...
-
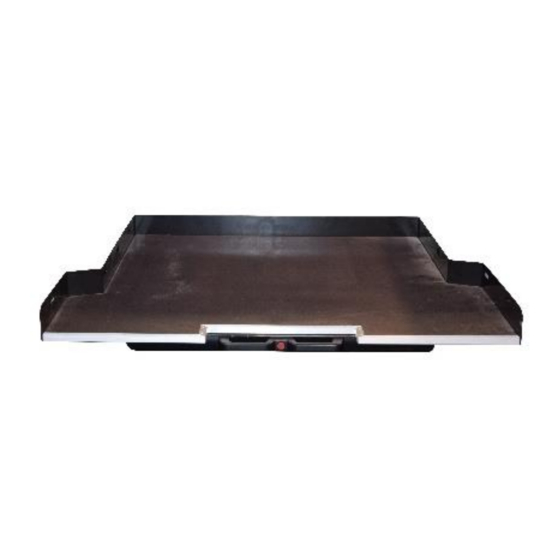
Page 2: Installation Kit
I N S T A L L A T I O N K I T NL: Extra benodigde materialen: GB: Extra tools needed: FR: Matériel extra nécessaire: Delften 23 Hal 83 - B2390 Westmalle www.auto-access.eu... - Page 3 NL: Beginsituatie GB: Starting point FR: Sitiuation initiale NL: Bereid de bedliner voor aan de hand van de originele gaten op plaatsen A en B GB: Prepare the bedliner by using the original holes at the indicated places A and B FR: Préparez le bedliner en fonction des trous d’origine des emplacements A et B NL: Maak op plaats A (rechts) een gaatje door het...
- Page 4 NL: Maak op plaats B (rechts) een gaatje door het middelpunt van de bestaande rubber en maak een NL: Maak op plaats A (rechts) een gaatje aftekening op de bedliner met een priem. Zorg ervoor dat de door de bedliner met een priem priem recht naar boven gaat GB: Make a hole through the bedliner with GB: Make a hole through the center point of the existing...
- Page 5 NL: Haal de bedliner uit de wagen en draai deze om GB: Remove the bedliner out of the car and flip it FR: Retirez le bedliner de la voiture et retournez-la NL: Boor een gat van 65mm met een klokboor op de plaatsen gemarkeerd in de vorige stappen.
- Page 6 NL: Plaats de bedliner opnieuw in de wagen GB: Reinstall the bedliner in the car FR: Replacez le bedliner dans la voiture NL: Schroef de bedliner opnieuw vast op de aangegeven plaatsen GB: Tighten te bedliner on the indicated places FR: Revissez le bedliner aux places indiquées NL: Plaats onderdeel in voorziene gaten in de bedliner...
- Page 7 NL: Plaats de schuifplateau met twee personen in de wagen GB: Place the sliding tray with two persons in the car FR: Placez le plateau coulissante avec deux personnes dans la voiture NL: Zorg ervoor dat de gaten van het frame evenwijdig liggen met de rubberen blokken GB: Make sure the holes of the frame are parallel to the rubber blocks...
- Page 8 NL: Plaats rondel en steek schroef door de gaten van het frame aan de zijkant van de bedliner GB: Place roundel and insert screw through the holes of the frame at the side of the sliding tray FR: Placez la rondelle et insérez vis dans les trous du cadre à...
- Page 9 NL: Herhaal dit aan de linkerkant GB: Repeat this for the left side FR: Répétez pour le côté gauche NL: Bevestig metalen steun (plaats B) met rondel moer GB: Attach metal support (place B) with roundel and nut FR: Fixez le support métallique (place B) avec la rondelle et l’écrou NL: Herhaal dit aan de linkerkant...
- Page 10 AUTOACCESS NV website: www.auto-access.eu contact: sales@auto-access.eu tel: +32 (0) 3 312 07 42 Delften 23 Hal 83 - B2390 Westmalle www.auto-access.eu...
Need help?
Do you have a question about the BEDSLIDE TYPE 3 and is the answer not in the manual?
Questions and answers