Advertisement
Quick Links
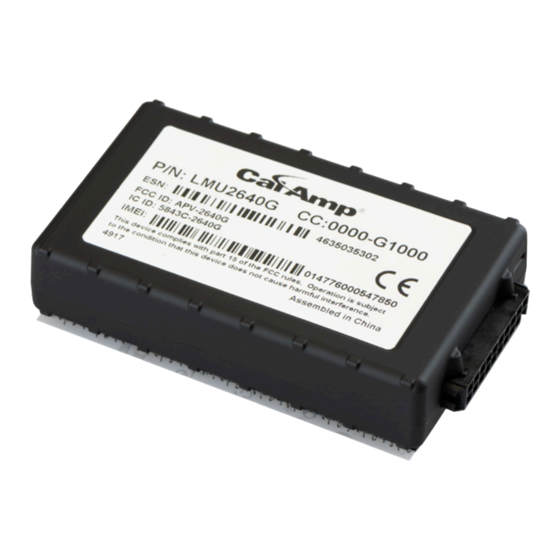
7 LEDs
Once the 20 pin harness is connected to the LMU Controller, it will have power connected.
The LMU Controller is configured to provide vehicle tracking information to vMax Live Plus users.
LEDs on the LMU Controller indicate operation status and display operation mode conditions as shown below.
LED Status Indicator
Comm LED - Orange
Condition
Off
Modem Off
Slow Blinking
Comm On - Searching
Fast Blinking
Network Available
Fast Blink to Solid
Registered - No Inbound
Acknowledgment
Solid
Registered - Inbound
Acknowledgment
8 Set Up LMU Controller in vMax Live+
Once the installation is complete, proceed to set up the LMU Controller in vMax Live+ so the AVL tracking
capability is enabled.
You can find a detailed description of this process in the LMU Controller Installation Guide.
To learn more about vMax Live+, refer to the vMax Live+ User Manual.
Both documents can be downloaded from the Documentation Library on the Safefleet Community website.
Warranty
For full warranty information, visit:
•
https://community.safefleet.net
GPS LED - Green
Condition
Off
GPS Off
Slow Blinking
GPS On
Fast Blinking
GPS Time Sync
Solid
GPS Fix
Support
•
Phone: 1-844-899-7366
•
Email:
PTsupport@safefleet.net
LMU 26 & 27 Quick Installation Guide
This guide provides information to install and set up the Location Messaging Unit LMU26 and LMU27
Controllers to provide vehicle tracking to view in vMax Live Plus.
The LMU Controllers work with vMax Live Plus to track fleet and vehicle activity in real time. The Quick
Start guide is intended as a reference. See the LMU Controller Installation Guide 700-1132 R2 for detailed
procedures.
NOTE: DVR Firmware
When installing the LMU Controller with a DVR, ensure the DVR has the most current firmware.
For more information, contact Technical Support.
1 Record Vehicle Installation
From Seon or the customer, the installer gets an Installation Record (see sample below) with the Device ID
column populated.
The information is needed to set up the vehicle record in vMax Live Plus.
The Device ID is the 10 digit ESN number on the label on the LMU Controller.
If the Installation Record is unavailable, contact the fleet administrator for it or create a form and record the
following vehicle information for each LMU Controller that is installed.
Device ID:
License Plate No:
FDate Installed:
Bus ID:
Odometer:
Notes:
© Safe Fleet | Aug 2020 | All rights reserved | Part #: 700-1194 R3
Advertisement

Related Manuals for Cal Amp LMU 26


Summary of Contents for Cal Amp LMU 26
- Page 1 LMU 26 & 27 Quick Installation Guide 7 LEDs Once the 20 pin harness is connected to the LMU Controller, it will have power connected. This guide provides information to install and set up the Location Messaging Unit LMU26 and LMU27 The LMU Controller is configured to provide vehicle tracking information to vMax Live Plus users.
- Page 2 4 Install the Antenna 2 Install LMU Controller With the supplied alcohol wipe pad, clean the vehicle surface where the LMU Controller will be installed. Find an appropriate spot on the inside of the front windshield out of the way of the driver’s view to Install the Choose a dry location with easy access to the electrical panel and cable connections, including the antenna’s.