Advertisement
Quick Links
Guide pratique de mise à niveau de système
Guida per il potenziamento del sistema
¡
For upgrading your system, read this manual carefully before use. This manual should be retained for future reference after
read.
¡
Lesen Sie dieses Handbuch sorgfältig durch, bevor Sie ein System-Upgrade vornehmen. Bewahren Sie dieses Handbuch für
späteres Nachschlagen auf.
¡
Veuillez lire attentivement ce mode d'emploi avant toute utilisation pour faire la mise à niveau du système. Conserver ce
manuel dans un endroit sûr pour toute consultation ultérieure.
¡
Lees deze handleiding zorgvuldig door voor u uw systeem gaat uitbreiden. Bewaar deze handleiding na gebruik zodat u er
later nog eens iets in op kunt zoeken.
¡
Per potenziare il proprio sistema, leggere attentamente questo manuale prima dell'utilizzo. Questo manuale deve essere con-
servato per poterlo consultare in futuro dopo la lettura.
¡
Para efectuar la mejora de su sistema, lea detenidamente este manual antes de la utilización. Después de su lectura, deberá
guardar este manual para poderlo consultar en el futuro.
System Upgrade Guidebook
System-Upgrade-Handbuch
Systeemuitbreidingsgids
Guía de mejora del sistema
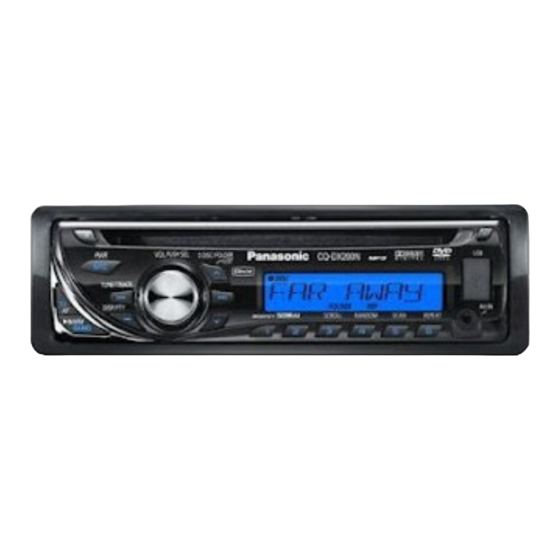
CQ-DX200N
Model:
Advertisement

Related Manuals for Panasonic CQ-DX200N


Summary of Contents for Panasonic CQ-DX200N
- Page 1 Guide pratique de mise à niveau de système Systeemuitbreidingsgids Guida per il potenziamento del sistema Guía de mejora del sistema CQ-DX200N Model: ¡ For upgrading your system, read this manual carefully before use. This manual should be retained for future reference after read.
-
Page 2: Safety Information
They contain instructions about how to use the sys- from improper connections and operations. The meanings of tem in a safe and effective manner. Panasonic assumes no the pictographs are explained below. It is important that you responsibility for any problems resulting from failure to fully understand the meanings of the pictographs in order to observe the instructions given in this manual. - Page 3 In case of battery leakage For maximum safety, have it installed by your dealer. ● Thoroughly wipe the battery liquid off the battery case and Panasonic is not liable for any problems resulting from your insert new battery. own installation of the unit. ●...
-
Page 4: Before Reading These Instructions
(Remote Control Unit Operating Instructions) Monitor: CY-VM7203N (Option) Head Unit: CQ-DX200N iPod Page 12) Hands Free Kit with Audio CD Changer Streaming featuring... -
Page 5: Table Of Contents
Contents English Deutsch Français Nederlands Italiano Español Safety Information ¡ Before Reading These Instructions ¡ General ¡ Disc Changer ¡ iPod Control ¡ Bluetooth ¡ Troubleshooting ¡ CQ-DX200N... -
Page 6: General
Changer: CA-CC30N ) allows users to connect the unit) (CY-EM100N). Connection of the Expansion Module optional Panasonic DVD changer unit (CX-DH801N). For allows you to simultaneously connect optional devices details, refer to the operating instructions for the DVD mentioned before as well as other AV devices. For changer unit. - Page 7 AUX terminal of the expansion module). AV IN When connecting DVD/CD Changer page 8, 10) Device connected to the AV IN terminal When connecting iPod page 12) AUX 1 Device connected to the AUX terminal of the this unit When connecting Expansion Module CQ-DX200N...
-
Page 8: Disc Changer
Hold down for 2 sec. or more. [}] (FOLDER): Next folder [{] (FOLDER): Preceding folder Track/File selection [7]: Next track/file [6]: Preceding track/file (press twice) Note: Hold down for fast forward/reverse. Display Change Press [DISP]. Track/Play time Track Play time Disc number Clock Time CQ-DX200N... - Page 9 Press [6] (REPEAT) again to cancel. Hold down [5] (SCAN) for 2 sec. or more. Hold down again to cancel. Direct Access A disc can be directly selected. Example: disc number 5 Press [GRP]. Press [5]. Press [ENTER]. CQ-DX200N...
- Page 10 When using the remote control unit supplied with (press twice) the DVD changer, aim it at the monitor display (CY-VM7203N). Note: Hold down for fast forward/reverse. Display Change Press [DISP]. Chapter number/Play time Chapter number Play time Disc number Clock Time CQ-DX200N...
- Page 11 The unit may not operate for some VCDs. ¡ The unit may not operate for a disc with the playback function activated. Direct Access A disc can be directly selected. Example: disc number 5 Press [GRP]. Press [5]. Press [ENTER]. CQ-DX200N...
-
Page 12: Ipod Control
Press [PUSH SEL] to determine the Note: Files without an album name or an artist selection. name are not playable in the playing mode of the album or artist display respectively. For using the remote control, use [BAND] (SET). CQ-DX200N... - Page 13 Note: All files are played back even at REPEAT-off set- lights. ting. (ALL REPEAT) Albums All the available albums are played in a random sequence. Hold down [4] (RANDOM) for 2 sec. or more. blinks. Hold down again to cancel. CQ-DX200N...
-
Page 14: Bluetooth
“BT HF” appears. Note: Some audio devices may be inoperable. Track selection [7] (TRACK): Next track [6] (TRACK): Preceding track (press twice) Note: Hold down for fast forward/reverse. Pause Press [BAND] ( 5 h ). Press again to cancel. CQ-DX200N... - Page 15 Note: If no operation takes place for 10 sec. or more in q : EC HIGH (significant echo suppression) the audio menu (2 sec. in Main volume adjustment), the w : EC LOW (echo suppression, default) display returns to the regular mode. CQ-DX200N...
- Page 16 Note: The buttons from [0] to [9] on the remote control time are also available for PIN code entry. Note: This is displayed only when information about the connected devices last time exists. Press [BAND]. Note: When information is successfully deleted, “DELETED” appears. CQ-DX200N...
-
Page 17: Troubleshooting
If the described suggestions do not solve the problem, it is example, without sound, or with smoke or a foul recommended to take the unit to your nearest authorized Panasonic smell, which can cause ignition or electric shock. Service Centre. The product should be serviced only by qualified Immediately stop using the unit and consult your personnel. - Page 18 Check whether the device to be connected is compatible with this unit. Check whether the entered PIN code is correct. Pairing establishment/cancellation failure due to an error of unknown cause. Check the device to be connected. Check whether the device to be connected is compatible with this unit. CQ-DX200N...
- Page 19 Memorandum CQ-DX200N...
- Page 20 Matsushita Electric Industrial Co., Ltd. Web Site : http://panasonic.net YFM264C054CA NY1107-1127 Printed in China...
Need help?
Do you have a question about the CQ-DX200N and is the answer not in the manual?
Questions and answers