Advertisement
Quick Links
Advertisement

Subscribe to Our Youtube Channel
Summary of Contents for Velotric Thunder 1 ST
- Page 1 Thunder 1 ST Quick Start Guide...
- Page 2 Congratulations on purchasing a Velotric Thunder 1 ST.
- Page 3 Contents This guide will get your new bike set up and ready to ride. What's in the Toolkit We highly recommend that you to follow along this video tutorial to assemble Bike Assembly your bike. Simply scan the QR code below. Bike Maintenance Bike Diagram Or visit:...
- Page 4 Bell Tool Bag Quick Start Guide Phillips Screwdriver M15 / M8 Wrench M4 / M5 / M6 Hex Key Phone Mount Front Light Rear Light Find My™–enabled Adapter & Charging Cable Kickstand Kickstand Bolt × 2 Thunder 1 ST Manual...
- Page 5 Kickstand & Handlebar Front Wheel Step 1 Step 2 Bike Assembly Bike Assembly Install the kickstand Turn the handlebar 90 Make sure the Take out the brake pad Gently slot the wheel Tighten and secure the on the left chain stay. degrees toward the headtube is locked spacer from the front...
- Page 6 Brake Lever Pedal Step 3 Step 4 Bike Assembly Bike Assembly Loosen the bolt on the Loosen both bolts on Twist the brake on both Differentiate the right Screw the right pedal Screw the left pedal left brake lever with the the right brake lever sides to a comfortable and left pedals by the...
- Page 7 Saddle Front Light & Front Reflector Step 5 Step 6 Bike Assembly Bike Assembly Loosen the seat post Raise or lower the Tighten up the seat Unscrew the bolt from Fix the bolt and nut with Connect the two front clamp with a M5 hex saddle to a height post clamp again with...
- Page 8 Rear Light Phone Mount Step 7 Step 8 Bike Assembly Bike Assembly Remove the bolt on the Adjust the light angle Remove the film Peel off the protective Press down firmly on Attach your phone to rear light clamp and (perpendicular to the spacer and press the layer from the 3M...
- Page 9 Charging Test the Features Step 9 Step 10 Bike Assembly Bike Assembly The charging port is To charge your bike, A green light indicates Press and hold the power The color of the LED ring Press the light button to located on the left side plug the included your bike is fully...
- Page 10 Disc Brake Calibration Rear Light Battery Replacement Step 11 Bike Assembly Spin the wheel and listen If there's signs of rubbing, Tighten the screws. Unscrew the bolt on Insert a coin beneath Replace both batteries. for any scraping sounds. loosen the screw with a Spin the wheel to the back of the light to the lid, spin the coin,...
- Page 11 Clean your e-bike with water or mild Do not spray directly onto bearing points or Check your tires regularly before you ride. The recommended pressure for Velotric detergent and a non-abrasive sponge. electrical parts. Do not use harsh chemicals We suggest checking around once a week tires is indicated on the side of the tire.
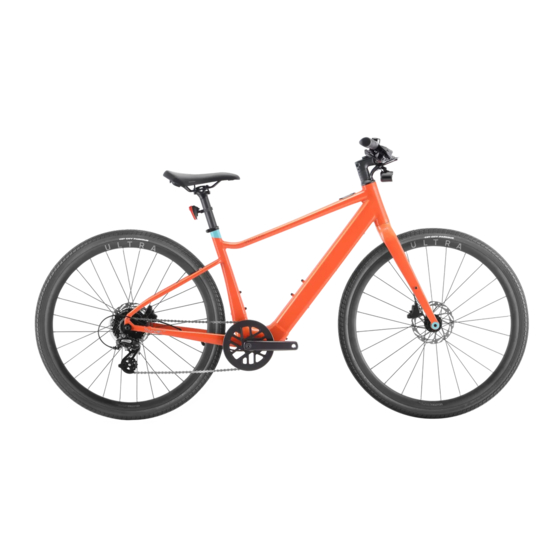
- Page 12 Bike Diagram Head Tube Rear Light Chain Front Light Seatpost Crankset Handlebar Seatpost Clamp Pedal Stem Motor Brake Rotor Control Panel Cassette Brake Caliper Saddle Rear Derailleur Tire...
- Page 13 Define Your Adventure.
- Page 14 Contact Website: www.velotricbike.com E-mail: help@velotricbike.com Phone: +1 888-559-3099 Hours: Monday-Friday, 7AM-6PM PST...


Need help?
Do you have a question about the Thunder 1 ST and is the answer not in the manual?
Questions and answers