Table of Contents
Advertisement
Quick Links
Advertisement
Table of Contents

Subscribe to Our Youtube Channel
Related Manuals for Blaupunkt TX60


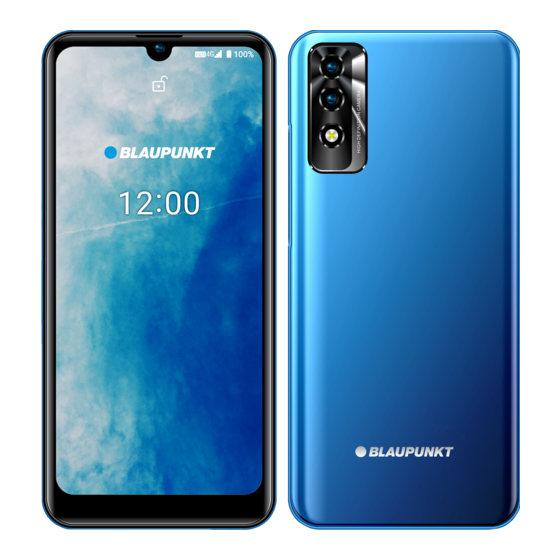
Summary of Contents for Blaupunkt TX60
- Page 1 User Manual Mobilephone TX60...
-
Page 2: Table Of Contents
CONTENT Safety Instructions ....................................3 Technical Details ....................................5 Installation of THE Device ................................... 6 Insert the memory and SIM Card ..............................6 Description of Device .................................. 6 Turn the device ON and OFF ............................... 6 Charging of the Battery ................................6 GETTING STARTED .................................... -
Page 3: Safety Instructions
Message settings ..................................16 Settings ......................................17 Network and internet ................................... 17 Wifi ......................................17 Mobile Network ..................................17 further network settings ................................18 Customize Your device .................................. 18 Notifications ....................................18 Sound ......................................19 Display and wallpaper ................................19 Language and input ................................... - Page 4 Hospitals and other healthcare facilities may have equipment that is particularly sensitive to radio frequency signals. Turn off your phone if prohibited signs instruct you to do so or if requested to do so by hospital staff. Electrical medical equipment Your phone is a radio transmitter that may interfere with electronic medical devices or implants such as hearing aids, pacemakers, insulin pumps, etc.
-
Page 5: Technical Details
Connect to another device Before connecting an external device, read the safety instructions in the user manual. Do not connect an incompatible device. Firmware versions This device will only work with firmware versions approved for use by your service provider and device manufacturer. If unauthorized firmware is installed on the device, it may not work properly. -
Page 6: Installation Of The Device
INSTALLATION OF THE DEVICE INSERT THE MEMORY AND SIM CARD Turn off the power and remove the back cover. Insert the SIM card according to the mark on the device. Make sure that the chip contact and the cut edge of the card are aligned in the correct direction. -
Page 7: Getting Started
• Connect the charger to the outlet. • Charging starts regardless of whether the device is turned on or not. • When switched on, the movement of the battery icon in the upper right corner indicates charging. When the movement stops, the phone is charged. •... -
Page 8: Navigation Bar
• With a long tap, you can open the app information. SWIPE • Lightly drag your finger across the screen. • Swipe the screen to unlock the device. • Swipe the screen to scroll through the Home screen or menu options. -
Page 9: Notification Bar
NOTIFICATION BAR The notification bar shows the device status and notifications. Notification icons notify you of new messages and e vents. When a new notification arrives, its icon will appear in the notification bar. To access the notification bar, swipe down from the top of the screen. You can see notification icons in the left corner of the screen and status icons in the right corne r. -
Page 10: Handle Apps
SET WALLPAPER Customize the appearance of your device: choose your favorite images or pre-installed wallpapers to personalize your start and lock screens. Touch and hold an empty area of the Home screen, then select Wallpapers. Select the photo you want to set as wallpaper, then select "Set Wallpaper" in the upper left corner of the screen. Select which screen you want to apply the setting to: •... -
Page 11: Folders
• In the Applications menu, start typing a word. As you type, relevant results appear on the screen. • Touch the corresponding match to open the application. FOLDERS You can create folders on the Home screen to organize your apps. CREATE A FOLDER •... -
Page 12: Contacts
GOOGLE TV Watch movies and TV shows purchased from Google Play. You can also view videos saved on your device. Visit support.google.com/googletv to learn more. MAPS Use Google Maps for navigation and other location-based information. Location must be enabled to use the map (see Notification bar). -
Page 13: Favourites
FAVOURITES Your contacts marked as favorites are arranged at the top of the Contacts list. You can also access your favorite contacts more easily in the Phone application: these contacts are displayed in the Speed Dial. Open the Contacts app and tap the contact you want to favorite. •... -
Page 14: Make A Call
• Settings MAKE A CALL Use your device to make and receive calls from the Home screen. In the Phone menu, enter the number you want to call in the dialer and press the green phone icon. MAKE A CALL FROM RECENTS The device stores all incoming, outgoing and missed calls in the Call list. -
Page 15: Call History
CALL HISTORY The device stores all incoming, outgoing and missed calls in the Call list. To open the call list, go to Phone > Call History, where a list of recent calls is displayed. If the caller is in the contact list, the saved name will be displayed. -
Page 16: Delete Message
• Enter the text and press Send. • You can add files (eg picture, contact) to the message by touching the + icon DELETE MESSAGE You can remove the message history by deleting conversations. • Open the Messages app. • Select the conversation you want to delete. •... -
Page 17: Settings
SETTINGS In the Settings menu, you can manage the operation of the various functions of the device, as well as the possibility to customize them. NETWORK AND INTERNET You can set up connections to different types of Wi-Fi networks and hotspots, manage your saved networks, and find your device's network addresses. -
Page 18: Further Network Settings
o VoLTE – when turned on, your device uses LTE to improve voice and other communications. o Preferred network type - you can choose whether the device uses a 4G (recommended), 3G or 2G network. o Automatic network selection - if active, the device automatically selects the o Access Point Names - Select or add APNs that have the network settings your device needs to connect to your provider (Internet, MMS). -
Page 19: Sound
o You can customize how the notification appears on the screen: Pop-up notification, Lock screen, Show notification dot. ▪ Privacy o Device & app notifications – control which apps and devices can read notifications o Notification on lock screen – you can set whether notifications appear on the lock screen. o Sensitive notifications –... -
Page 20: Date And Time
In Settings > Language and input you can find following options: ▪ Labguage – selecting the language of the device. Tap the + icon to add more languages from the list. ▪ On-screen keyboard – settings of on-screen keyboard: o Keys – number row, show emoji-switch key, show language switch key o Layout –... -
Page 21: Passwords And Accounts
PASSWORDS AND ACCOUNTS ▪ Passwords In this menu, you can save and manage your passwords to your Google account, as well as create new ones to make it easier to sign in to websites and apps. In the password manager, you can search among the passwords saved for applications, as well as check your passwords. -
Page 22: Declaration Of Conformity
DECLARATION OF CONFORMITY The Blaupunkt TX60 model complies with the essential requirements and relevant provisions of the 2014/53/EU Directive and RoHS Directive 2011/65/EU. The Declaration of Conformity is available on our website. Designed and Engineered by Blaupunkt Competence Center Mobile Europe HTM Mobile Kft.
Need help?
Do you have a question about the TX60 and is the answer not in the manual?
Questions and answers