Airobot l Installation And Maintenance Instructions Manual
Hide thumbs
Also See for l:
- Instructions for use, installation and maintenance (44 pages) ,
- User, installation, and maintenance manual (36 pages) ,
- User manual (15 pages)

Related Manuals for Airobot l


Summary of Contents for Airobot l
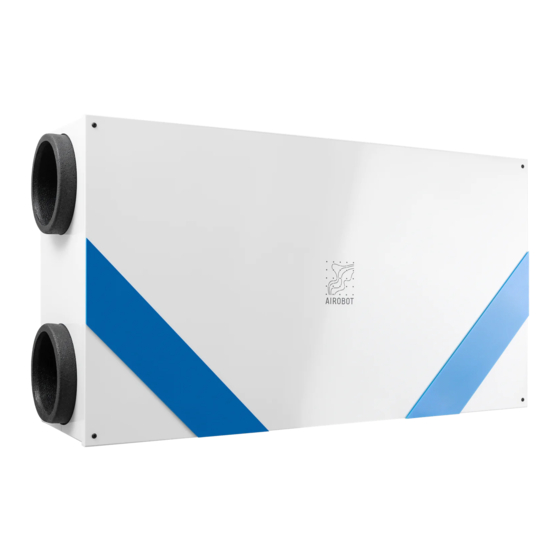
- Page 1 Installation and maintenance instructions Ventilation unit Airobot L / S1 / S2 / V3...
-
Page 2: Table Of Contents
Contents Installation instructions Installing the Airobot L / L EMC Dimensions Location of piping connections Ceiling mounting Condensation drain connection Installing the Airobot S1 / S2 Dimensions Location of pipeline connections Wall mounting Condensation drain connection Installing and Connecting the Button Controller (VB-2) -
Page 3: Installation Instructions
Installation instructions Airobot L / L EMC installation The device must be installed indoors. When selecting a location for your device, note: ● The device shall be installed in the required environmental conditions: 1) The ambient temperature must be between + 5 ° C and + 30 ° C and the humidity up to 80%. -
Page 4: Location Of Piping Connections
The type of device (location of the piping) is indicated on the type plate on the top of the device. The channel names are referenced by numbers in the previous figure. Type R Type L 1. Exhaust air Supply air 2. -
Page 5: Condensation Drain Connection
Condensation drain connection During the cold period, condensation forms in the unit and must be drained out of the unit. If a heat recovery heat exchanger (ERV model) is used, no condensate will form under normal conditions and the installation of a condensate hose is not mandatory. If there are rooms with a constant high humidity level (constantly more than 50% humidity during the winter, such as sauna or pool rooms, etc.), the installation of a condensate hose is mandatory. -
Page 6: Installing The Airobot S1 / S2
Installing the Airobot S1 / S2 The device must be installed indoors. When selecting a location for your device, note: ● The device shall be installed in the required environmental conditions: 1) The ambient temperature must be between + 5 ° C and + 30 ° C and the humidity up to 80%. -
Page 7: Location Of Pipeline Connections
Airobot S1 / S2 Airobot S1 160mm piping connection Airobot S2 200mm piping connection Location of piping connections The type of device is indicated on the type plate on the top of the device. The channel names are referenced by numbers in the previous figure. -
Page 8: Wall Mounting
Wall mounting the Airobot S1 / S2 p The device is mounted on the wall using a wall mount. Attach the wall mount to the wall with 3 screws. When installing the wall mount, note that: ● the load-bearing wall is strong enough. - Page 9 Airobot V3 The device must be installed indoors. When selecting a location for your device, note: ● The device shall be installed in the required environmental conditions: 1) The ambient temperature must be between + 5 ° C and + 30 ° C and the humidity up to 80%.
- Page 10 Airobot V3 Airobot V3 piping connection Location of piping connections The type of device is indicated on the type plate on the top of the device. The channel names are referenced by numbers in the previous figure. Type R Type L...
- Page 11 Airobot V3 The device is mounted on the wall using a wall mount. Attach the wall mount to the wall with 3 screws. When installing the wall mount, note that: ● the load-bearing wall is strong enough. ● the screws and dowels used correspond to the type of wall, the screws provided in the package may not be suitable.
-
Page 12: Condensation Drain Connection
Condensation drain connection During the cold period, condensation forms in the unit and must be drained out of the unit. If a heat recovery heat exchanger (ERV) is used, no condensate will form under normal conditions, but it is still recommended to connect it. -
Page 13: Installation, Connection And Control Of Accessories
The output operates on the normally opened (NO) principle and the cable of the circulation pump L must be connected to socket C in the electrical panel EXT1 and continued to the pump via the NO terminal. The pump is powered externally. Driving capability is not standard and is available as an option. -
Page 14: Wiring Diagram, Connection Diagram
Max cable 0.75mm STOP Connect the L (phase) cable of the circulation EXT control or pump to C and continue the L cable to the NO external circulation pump. Normally opened contact. The circulation pump control pump is powered externally, not from the connection ventilation unit. -
Page 15: Connecting The Appliance To The Power Supply
Connecting the device to a power source The Airobot S1 / S2 / V3 model operates on 230VAC 50Hz 16A. The power cable is of the plug type (IEC C19, 3x1.5mm², length 2m) and is included in the package. A separate circuit breaker (at least 16A) must be installed on the device. -
Page 16: Maintenance Instructions
Maintenance instructions Maintenance tips ● During the summer, it is recommended to check the filters of the appliance every 2 weeks as dust, insects, leaves or dirt can clog the filters of the appliance. Larger dirt can be removed with a vacuum cleaner, for example. ●... -
Page 17: Replacing The Air Filters
Airobot L / L EMC maintenance Replacing air filters 1. Unplug the appliance. Then carefully remove the blue filter strips (1) 2. Remove the filter doors (2) that hold the filters. If the filter hatches are tight, some flat tools can be used to help remove them. -
Page 18: Cleaning The Heat Exchanger And The Unit
Cleaning the heat exchanger and the appliance Sequence of works according to the drawing: 1. Unplug the appliance 2. Disconnect the condensate drain pipe (1) 3. Remove blue filter strips (2) 4. Remove filter hatches with filters 5. Unscrew the 4 bolts M5x10mm with the Allen key (4) 6. -
Page 19: Airobot L / L Emn Maintenance
Joonis . Airobot S soojusvaheti eemaldamine 6. Remove the heat exchanger (6) by gently pulling it out with the corresponding strap (7), pressing it against the device with your other hand. - Page 20 of the heat exchanger. If more water has flowed out of the heat exchanger, it is permitted to reinstall the heat exchanger in the unit. The grease of the seals decreases over time, for a smoother replacement of the heat exchanger and it is recommended to lubricate the seals with silicone grease for further maintenance.
-
Page 21: Replacing The Air Filters
Airobot V3 maintenance Replacing air filters Unplug the appliance. 4. The blue filter strip (1) must be removed first 5. Remove filter hatches (with filters) (2) 6. Remove dirty filters from the door and replace them with new ones (3) The arrow marked on the filters must point downwards. -
Page 22: Changing The Heat Exchanger Type
The grease of the seals decreases over time, for a smoother replacement of the heat exchanger and it is recommended to lubricate the seals with silicone grease for further maintenance. Changing the heat exchanger type The heat recovery heat exchanger can also be installed on an existing unit. If you decide to install a new type of heat exchanger, you must make a separate setting on the unit's control unit according to which type of heat exchanger is used in the unit. -
Page 23: Technical Specifications
Technical specifications Airobot S1 Airobot S2 Airobot V3 Airobot L Airobot L Depth (mm) Width (mm) Height (mm) 1170 1170 Weight (kg) Weight without sheet metal (kg) Power supply 1 ~ 230 1 ~ 230 1 ~ 230 1 ~ 230... -
Page 24: Warranty Conditions
11). Otherwise, in the event of a possible failure of the device, its servicing and repair will be hindered, in which case it is the responsibility of the customer or installation provider to ensure that Airobot technicians have the opportunity to service the device. -
Page 25: Support And Contact
Software updates may result in changes to this manual, you can always find the updated version at www.airobothome.com/abi We appreciate any feedback on device usage, features, etc. at info@airobothome.com. Manufacturer 's information AIROBOT OÜ Reg. no. 12405854 Suur-Sõjamäe 37a, Rae Parish, 75322, Estonia info@airobothome.com...
Need help?
Do you have a question about the l and is the answer not in the manual?
Questions and answers