Advertisement
Quick Links
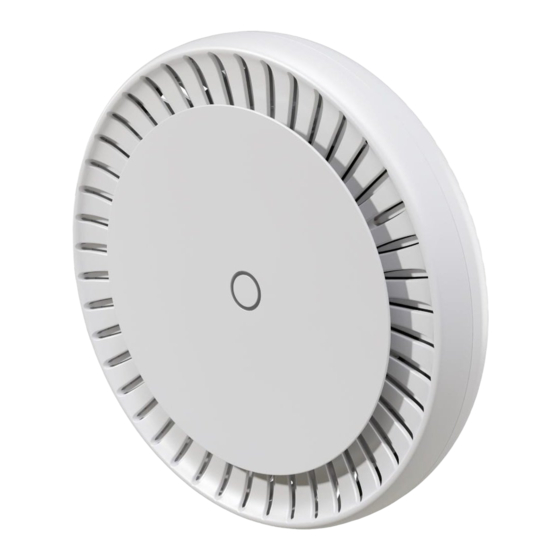
cAP ax
cAP ax
Safety Warnings
Before you work on any equipment, be aware of the hazards involved with electrical circuitry, and be familiar with standard practices for preventing
accidents.
Ultimate disposal of this product should be handled according to all national laws and regulations.
The Installation of the equipment must comply with local and national electrical codes.
This unit is intended to be installed in the rackmount. Please read the mounting instructions carefully before beginning installation. Failure to use the
correct hardware or to follow the correct procedures could result in a hazardous situation to people and damage to the system.
This product is intended to be installed indoors. Keep this product away from water, fire, humidity or hot environments.
Use only the power supply and accessories approved by the manufacturer, and which can be found in the original packaging of this product.
Read the installation instructions before connecting the system to the power source.
We cannot guarantee that no accidents or damage will occur due to the improper use of the device. Please use this product with care and operate at your
own risk!
In the case of device failure, please disconnect it from power. The fastest way to do so is by unplugging the power plug from the power outlet.
It is the customer's responsibility to follow local country regulations, including operation within legal frequency channels, output power, cabling
requirements, and Dynamic Frequency Selection (DFS) requirements. All Mikrotik radio devices must be professionally installed.
Exposure to Radio Frequency Radiation: This MikroTik equipment complies with the FCC, IC, and European Union radiation exposure limits set forth for an
uncontrolled environment. This MikroTik device should be installed and operated no closer than 30 centimeters from your body, occupational user, or the
general public.
Connecting
Make sure your Internet service provider is allowing hardware change and will issue an automatic IP address;
Connect the device to the power source;
Open network connections on your computer and search for MikroTik wireless network - connect to it;
The configuration can be done through the wireless network using a web browser or mobile app. Alternatively, you can use a WinBox
configuration tool
https://mt.lv/winbox
Open
https://192.168.88.1
check user and wireless passwords on the
Click the (Check for updates) button and update your RouterOS software to the latest version;
Choose your country, to apply country regulation settings;
Set up your wireless network password;
Set up your router password;
Powering
PoE-in 802.3af/at
PoE-Out Passive PoE up to 57V (<30v DC jack must be used, >30V PoE-In and
DC jack can be used)
;
in your web browser to start configuration, user name: a
sticker);
dmin
and there is no password by default
(or, for some models,
Advertisement

Related Manuals for MikroTik cAP ax


Summary of Contents for MikroTik cAP ax
- Page 1 Dynamic Frequency Selection (DFS) requirements. All Mikrotik radio devices must be professionally installed. Exposure to Radio Frequency Radiation: This MikroTik equipment complies with the FCC, IC, and European Union radiation exposure limits set forth for an uncontrolled environment. This MikroTik device should be installed and operated no closer than 30 centimeters from your body, occupational user, or the general public.
-
Page 2: Expansion Slots And Ports
PoE-Out ports Ether2, max out per port output (input < 30 V): 600 mA, max out per port output (input > 30 V): 400 mA. Over 300 mA current, please use a DC jack for powering the device. Number of DC inputs 2 Supported input voltage 18-57 V (DC jack) 18-57 (PoE-In) Max power consumption (without attachments) 9 W Max power consumption 28,2 W... -
Page 3: Mode Button
Antenna gain 5.5 dBi Operating system RouterOS v7, License level 4 Switch chip model IPQ-6010 Dimensions 228 x 48 mm Operating temperature -40°C to +70°C tested Buttons and jumpers Reset button The reset button has three functions: Hold this button during boot time until LED light starts flashing, release the button to reset RouterOS configuration (total 5 seconds). Keep holding for 5 more seconds, LED turns solid, release now to turn on CAP mode. - Page 4 MikroTik mobile app Use the MikroTik smartphone app to configure your router in the field, or to apply the most basic initial settings for your MikroTik home access point. Scan the QR code and choose your preferred OS. Install and open the application.
- Page 5 This MikroTik equipment complies with the FCC and IC radiation exposure limits set forth for an uncontrolled environment. This MikroTik device should be installed and operated no closer than 30 centimeters from your body, occupational user, or the general public. FCC regulations restrict operation to indoor use only.
- Page 6 EN Hereby, Mikrotīkls SIA declares that the radio equipment type cAPGi-5HaxD2HaxD is in compliance with Directive 2014/53/EU. The full text of the EU declaration of conformity is available at the following internet address: https://mikrotik.com/products ES Por la presente, Mikrotīkls SIA declara que el tipo de equipo radioeléctrico cAPGi-5HaxD2HaxD es conforme con la Directiva 2014/53/UE. El texto completo de la declaración UE de conformidad está...
- Page 7 Konformitätserklärung / Cet appareil MikroTik respecte les limites maximales de puissance de transmission WLAN conformément aux réglementations ETSI. Pour plus d'informations, voir la déclaration de conformité ci-dessus / Questo dispositivo MikroTik è conforme ai limiti massimi di potenza di trasmissione WLAN in conformità con le normative ETSI. Per ulteriori informazioni, consultare la dichiarazione di conformità sopra / Este dispositivo MikroTik cumple con los límites máximos de potencia de transmisión WLAN de acuerdo con las regulaciones ETSI.
Need help?
Do you have a question about the cAP ax and is the answer not in the manual?
Questions and answers