Table of Contents
Advertisement
Quick Links
Advertisement
Table of Contents

Subscribe to Our Youtube Channel
Related Manuals for Gram ACCUREX TXM


Summary of Contents for Gram ACCUREX TXM
- Page 1 INDICATOR USER MANUAL...
-
Page 3: Table Of Contents
INDEX 1. Main specifications 2. Keyboard 2.1. Keyboard 2.2. Keyboard function 3. Connection of load cells to the indicator 4. Instructions for use and description 4.1. Tare 4.2. Zero 4.3. Animal weighing function 4.4. Accumulation function 4.5. Upper and lower limit alarm settings 5. -
Page 5: Main Specifications
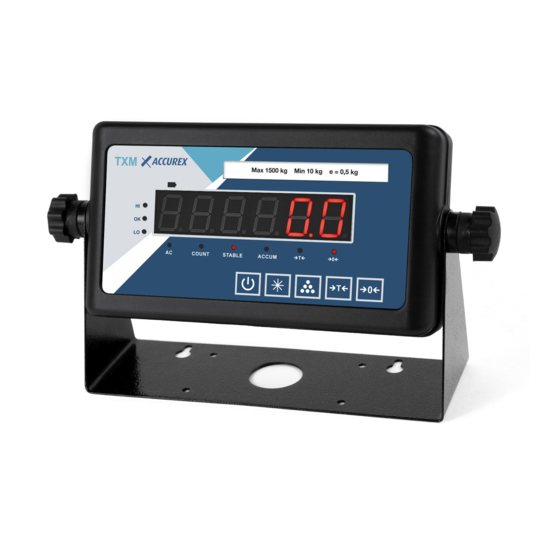
1. Main specifications 1. Model: TXM Digital weighing indicator 2. Sampling rate: 10-20 times/second 3. Load cell sensitivity: 1.5~3mV / V 4. Intervall: 1/2/5/10/20/50 (Configurable) 5. Display: 6-digit LED display with 10 status indicators 6. Serial communication interface: RS232 signal transmission distance ≤ 20m 7. -
Page 6: Keyboard Function
2.2. Function of the keyboard Function Press this key to turn the indicator on or off. Press and hold this button for more than 5 seconds in the weighing mode, it will enter the user parameter setting mode; when the serial communication mode is manual output, press briefly to send the weight data. -
Page 7: Instructions For Use And Description
4. Instructions for use and description 4.1. Tara Place the load to be weighed on the scale platform, when the stability indicator lights up, press the key to tare. The display shows zero and the net weight indicator light illuminates. Remove the load and press the key again to cancel the tare, the net weight indicator light will go out. -
Page 8: System Setup
5. System configuration 5. System configuration In weighing mode, press and hold the key to enter the user setting mode. Press the key to change the value. Press the key to enter the next parameter; when all parameter settings have been completed, press the key to exit the user configuration mode. -
Page 9: Communication Protocol Instruction
Display Function Parameter Instructions Fast Time of stability Medium [P7 1] Slow Range of stability Medium [P8 1] High Deactivate Animal weighing [P9 1] Activate RS232 Output protocol Reference communication data [P10 1] selection 6. Instrucción del protocolo de comunicación 6. -
Page 10: Failure And Correction
7. Failure and correction Display Instructions The AD value is too small when calibrated or the capacity is too low. Err1 of the load cell is too large. The zero point is out of range when calibrated. Err2 The zero point is out of range at start-up or there is too much weight Err3 on the scale. -
Page 11: Maintenance And Precautions
9. Maintenance and precautions • In order to extend the life of the weight indicator it should not be installed in direct sunlight. • Avoid installing the scale in humid environments and keep it isolated from severe vibrations. • Do not use strong solvents such as benzene and nitro based oils to clean the housing. •... - Page 12 10.3. Press the key to enter the Max Capacity setting. Press the to change digit, press key to change the value. Display Parameter Press to enter the maximum capacity setting. [FULL] Press to move the digit from left to right. When the number flashes, press to add 1 value to the flashing number until the [2000.0]...
- Page 13 10.7. Open the cable sealing device on the back of the indicator. Unscrew the M5 screw with a screwdriver. The calibration switch is located under the M5 screw. 10.8. Put the M5 screw back into position. Then unscrew the M4 screw with a screwdriver- Place the M4 screw into the port of the calibration switch.
- Page 14 02/23032023 Gram Precision S.L. Travesía Industrial, 11 · 08907 Hospitalet de Llobregat · Barcelona (Spain) Tel. +34 902 208 000 · +34 93 300 33 32 Fax +34 93 300 66 98 gram.es comercial www.gram-group.com...
Need help?
Do you have a question about the ACCUREX TXM and is the answer not in the manual?
Questions and answers