Robot Coupe Blixer 23 Manual
Hide thumbs
Also See for Blixer 23:
- Safety & operating instructions (2 pages) ,
- Safety & operating instructions (2 pages)

Related Manuals for Robot Coupe Blixer 23


Summary of Contents for Robot Coupe Blixer 23
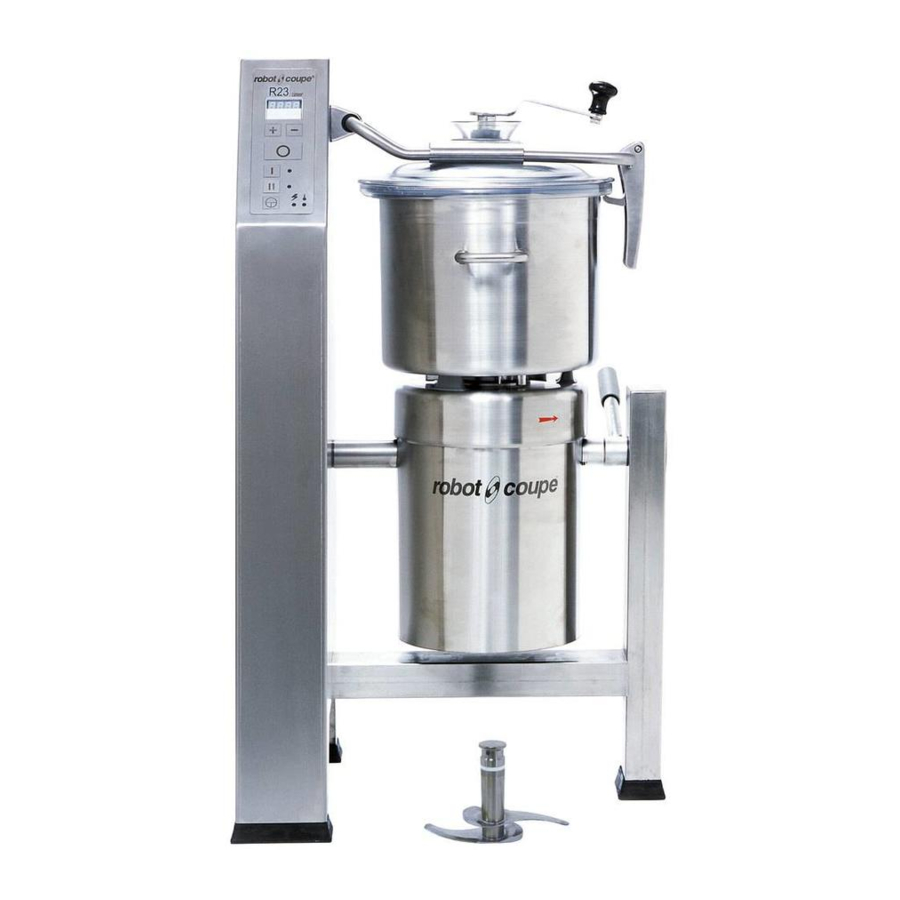
- Page 1 • R 23 / Blixer ® • R 30 / Blixer ® • R 45 / Blixer ® • R 60 / Blixer ®...
-
Page 2: Table Of Contents
SUMMARY WARRANTY EXAMPLES OF USE IMPORTANT WARNING CLEANING INTRODUCING THE NEW VERTICAL • Bowl CUTTER-MIXER R 23 • R 30 • R 45 • R 60 and • Blades THE NEW EMULSIFIER-MIXER BLIXER 23 • ® • BLIXER 30 • BLIXER 45 •... - Page 3 Service Agency of the possibility of ched, stained, chipped, pitted, dented or discolo- warranty coverage and provide a Neither ROBOT COUPE U.S.A., INC. nor its red surfaces, blades, knives, attachments or copy of the dated sales or delivery affiliated companies or any of its distributors, accessories.
-
Page 4: Important Warning
IMPORTANT WARNING W A R N I N G EEP THESE INSTRUCTIONS IN A SAFE PLACE WARNING: In order to limit accidents such as electric shocks, personal injury or fire, and in order to limit material damage due to misuse of the appliance, please read these instructions carefully and follow them strictly. -
Page 5: Introducing The New Vertical
INTRODUCING THE NEW ASSEMBLY VERTICAL CUTTER-MIXER R 23 1) With the appliance • R 30 • R 45 • R 60 and facing you, position the THE NEW EMULSIFIER-MIXER bowl directly above the BLIXER 23 • BLIXER 30 • motor shaft. Lower it so ®... -
Page 6: Switching On The Machine
SWITCHING ON 4) Clip the lid onto the lid rest and turn it so that the THE MACHINE bosses are inside the arm. The logo should now be • ADVICE ON ELECTRICAL CONNECTIONS facing you, lined up with the handle, with the Before plugging in, check that your power supply safety magnet on the corresponds to that indicated on the machine’s... -
Page 7: Control Panel
• CONTROL PANEL Stage 4 The orange light will go - Dual-speed machines out and the two green indicator lights will come The orange indicator light screen on. The machine is now will come on. ready to use. Buttons for setting timer “Off”... -
Page 8: Safety Indicator Lights
- Extended standby Wait for the red light to go out before beginning a 3) Empty the bowl once new batch of product. it is in the tilted position. If the machine is left powered up but unused for more than 2 hours, without any movement of any of It is advisable to remove ƒ... -
Page 9: Blade Assemblies Blixer
Coarse chopping • BLADE ASSEMBLIES BLIXER ® In order to minimize vibration and to ensure opti- Emulsion mum cutting quality, Robot Coupe has developed a Kneading (in lb of flour) new patented blade design. Grinding Fine serrated edge for all... -
Page 10: Fitting And Using The Blade Assembly
FITTING AND USING THE BLADE ASSEMBLY • BLIXER ONLY ® 2-BLADE ASSEMBLY POSITION 1: With spacer between lower blade and blade shaft. FITTING: • Fit the blades and spacers so that they are the right distance apart, according to the: - type - weight and - volume of the foodstuffs to... -
Page 11: Vertical Cutter Mixers Only
• 3-BLADE ASSEMBLY : • VERTICAL CUTTER MIXERS ONLY We recommend you use the 3-blade assembly for processing large quantities of more than half the maximum limit indicated, with the exception of liquid or blended prepa- • 2-BLADE ASSEMBLY : rations for which we strongly recommend you use the 2-blade assembly. - Page 12 OPERATING INSTRUCTIONS FOR THE VACUUM KIT R-VAC ® VERTICAL CUTTER MIXERS ONLY 1° ASSEMBLING THE VACUUM KIT R-VAC ® - Insert filter into body - Screw the tube onto the body (the tube should pass through the body 2° POSITIONING THE R-VAC VACUUM KIT ON THE LID ®...
-
Page 13: Vertical Cutter Mixer Options
VERTICAL CUTTER • R-VAC VACUUM KIT ® USES MIXER OPTIONS (lbs) R 23 R 30 R 45 R 60 Your machine can be equipped with • COARSE SERRATED BLADES vacuum kit. Vacuum CHOPPING processing gives incom- The blade shaft can be fit- parable results for all ted with serrated blades, •... -
Page 14: Cleaning
• BLIXER CLEANING ® USES (lbs) R 23 R 30 R 45 R 60 The cutter will enable you to perform all your cutting W A R N I N G tasks in minimum time. We recommend therefore, As a precaution, always unplug your that you keep a close eye on the mixture in order to GRINDING... -
Page 15: Lid
˜ Dismantling the blade assembly - Start to set the seal at I M P O R T A N T - Lift the blade assembly the hinge side. Hold firm- Check that your detergent is suitable for out of the appliance. ly the seal with the thumb cleaning the plastic parts. -
Page 16: Bowl Seal
In order to ensure that the motor remains comple- • BOWL SEAL tely watertight, we recommend checking the lip The bowl seal, located bet- ween the bowl and the bus- seals once a quarter for signs of wear and tear, hing, ensures that the bowl and replacing them every 6 months. -
Page 17: Diagnostic System
DIAGNOSTIC SYSTEM - « iSbA » « or » « iSCU » « thEn » Checks to be made in the following order: « iSbC » « And » « iSCO » message 1) Check that the lid has been closed properly. •... - Page 18 - « Pto » « or » « rth » « or » « bPA » message The thermal relay is open: wait a couple of minutes - « rELEASE bP2 » message for the thermal relay to reset and reduce the load ª...
-
Page 19: Technical Specifications
- « FrEquEnCY » message • INSTALLATION W A R N I N G ª We recommend that you install your vertical ª The blades are extremely sharp. cutter-mixer on a flat, stable surface. Handle with care. • NOISE LEVEL R E M E M B E R The equivalent continuous sound pressure level when The control board cannot determine the frequency of... -
Page 20: Technical Data
TECHNICAL DATA... - Page 30 Robot Coupe U.S.A., Inc., Phone: 800/824-1646 • 601/898-8411 264 South Perkins St., Ridgeland, MS 39157 e-mail: info@robotcoupeusa.com website: www.robot-coupe.com...
Need help?
Do you have a question about the Blixer 23 and is the answer not in the manual?
Questions and answers