Advertisement
Available languages
Available languages
Quick Links
Advertisement

Related Manuals for Rollei VH-9


Summary of Contents for Rollei VH-9
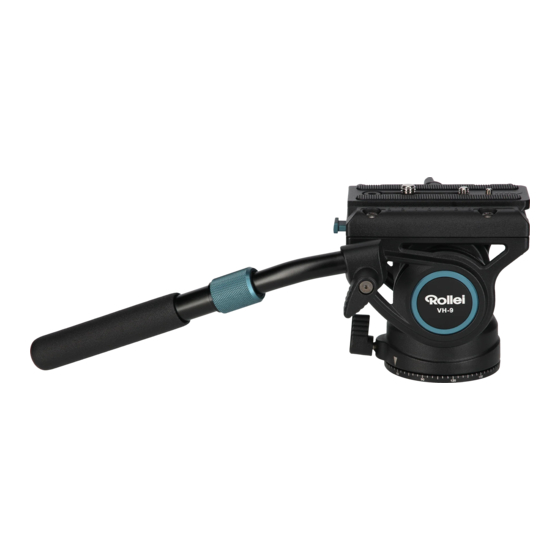
- Page 1 VH-9 Videokopf VH-9 Video Head ANLEITUNG AUF DEUTSCH MANUAL IN ENGLISH www.rollei.de...
- Page 2 Produktübersicht Sicherheitspin Sicherungsknopf 1/4-Zoll-Gewinde Griff-Verriegelungsknopf Wechselplatten- Griff (beidseitig montierbar) Verriegelungsknopf Wasserwaage Neigungsverriegelungs- Basis-Verriegelungsknopf knopf Versteckter Inbusschlüssel Schnellwechselplatte DEUTSCH...
- Page 3 Anbringen und Abnehmen der Schnellwechselplatte 1. Entfernen der Schnellwechselplatte aus dem Kopf Lösen Sie den Verriegelungsknopf der Schnellwechselplatte, drücken Sie dann den Sicherungsknopf und nehmen Sie dann die Platte aus der Klemme. 2. Befestigen der Schnellwechselplatte an Ihrer Kamera Befestigen Sie die Platte mit der mitgelieferten 1/4“- oder 3/8“-Schraube an Ihrer Kamera.
- Page 4 Anbringen und Abnehmen der Schnellwechselplatte 4. Abnehmen der Kamera mit Schnellwechselplatte vom Kopf Halten Sie die Kamera fest und lösen Sie den Schnellwech- selplatten-Verriegelungsknopf. Drücken Sie den Schnell- wechselplatten-Sicherungsknopf [A], um die Schnellwech- selplatte hochzuklappen, und nehmen Sie dann die Kamera mit der Schnellwechselplatte ab [B].
- Page 5 Kompatibel mit DJI RS Serie Der Videokopf ist nicht nur mit der Standard-Schnellwechsel- platte kompatibel, sondern auch mit der DJI RS-Serie. Sie kön- nen ganz leicht mit den seperaten Sicherungstasten zwischen dem Standard-Modus und DJI RS-Modus wechseln. – Wenn ein Knopf nach unten gedrückt wird, wird der andere hochgeklappt.
- Page 6 Kompatibel mit DJI RS Serie – Wenn Sie den Standard-Modus wählen möchten, drücken Sie den „For RS2/RS3“ Knopf ein, sodass der „Standard“ Pin heraus steht. Hinweis: Bevor Sie die Schnellwechselplatte anbringen, muss der Sicherungsknopf der Schnellwechselplatte gelöst sein. Standard-Modus Sicherungsknopf DEUTSCH...
- Page 7 Bedienung Griff montieren Bringen Sie den Griff in der gewünschten Position an und ziehen Sie den Verriegelungs- knopf für den fest. Neigeposition einstellen Lösen Sie den Neigungsverrie- gelungsknopf für die Auf- und Abwärtsbewegung. Schwenkposition einstellen Entriegeln Sie den Basis- verriegelungsknopf für 360°-Schwenks.
- Page 8 Technische Daten Stativkopf Material Aluminium Basis Durchmesser 7,3 cm Gegengewichtsausgleich 6 kg Drehung 360° Neigung -65° bis +90° Center of Gravity 48 mm Traglast maximal 12 kg Anschlüsse 3/8-Zoll-Gewinde Länge Griff 24 cm (zusammengefahren); 36,3 cm (ausgefahren) Maße (L x B x H) 32 x 16 x 11,5 cm Gewicht 930 g...
- Page 9 Product Overview Safety pin Handle locking knob 1/4 inch thread Handle (can be mounted Interchangeable plates on both sides) locking knob Spirit level Tilt locking knob Base locking knob Quick release plate Hidden Allen key Safety knob ENGLISH...
- Page 10 Attachment and Removal of the Quick-Release Plate 1. Removing the quick-release plate from the head Release the quick-release plate locking lever, then press the safety button and then remove the plate from the clamp. 2. Attach the quick-release plate to your camera Attach the plate to your camera using the 1/4“...
- Page 11 Attachment and Removal of the Quick-Release Plate 4. Remove the camera with quick-release plate from the head Hold the camera firmly and release the quick-release plate locking lever. Press the quick-release plate locking button to raise the quick-release plate [A], then remove the camera with the quick-release plate [B].
- Page 12 Compatible with DJI RS Series The video head is not only compatible with the standard quick release plate, but also with the DJI RS series. You can easily switch between standard mode and DJI RS mode with the separate locking buttons. –...
- Page 13 Compatible with DJI RS Series – If you want to select the standard mode, press the ”For RS2/RS3“ button in so that the ”Standard“ pin is sticking out. Note: Before attaching the quick-release plate, the safety button of the quick-release plate must be released. Standard mode Safety knob...
- Page 14 Operation Fitting the handle Fit the handle in the desired position and pull the locking lever for the firmly. Tilt position adjust Loosen the tilt locking knob for the up and down movement. Tilt position adjust Unlock the base lock knob for 360°...
- Page 15 Size 11 x 4,9 x 1.2 cm Weight 70 g Box content and packaging details Box content VH-9 video head, allen key, quick release plate Packaging size 15.9 x 14 x 25 cm Packing weight 1.14 kg Design and technical data are subject to change without notice.
- Page 16 Rollei GmbH & Co. KG In de Tarpen 42 22848 Norderstedt Service Hotline: +49 40 270750277 /rollei.foto.de @rollei_de Item No.: 22952 www.rollei.com...
Need help?
Do you have a question about the VH-9 and is the answer not in the manual?
Questions and answers