Table of Contents
Advertisement
Quick Links
Version: 2022-06-28
Infrared heater
CALDO-IRB-BLACK-2000 PHA20WR
User's manual
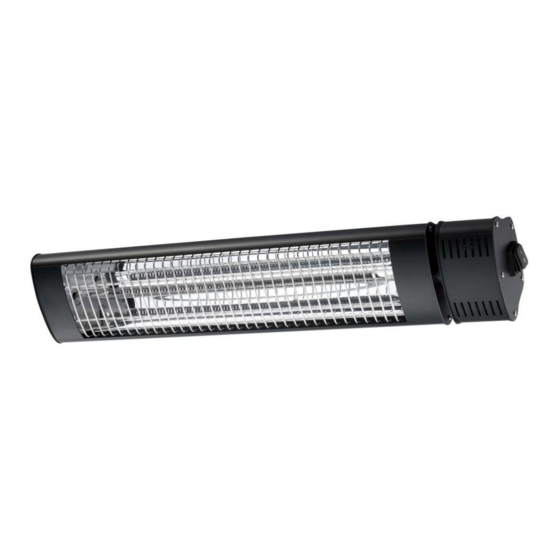
The photo is only indicative, the real device may appear slightly different coloring.
IMPORTANT INFORMATION
Read the operating instructions carefully before installing and using the infrared heater.
This user manual contains important information about your safety, as well as
recommendations on the proper use of the unit and its maintenance.
Advertisement
Table of Contents

Related Manuals for SINED CALDO-IRB-BLACK-2000 PHA20WR


Summary of Contents for SINED CALDO-IRB-BLACK-2000 PHA20WR
- Page 1 Version: 2022-06-28 Infrared heater CALDO-IRB-BLACK-2000 PHA20WR User's manual The photo is only indicative, the real device may appear slightly different coloring. IMPORTANT INFORMATION Read the operating instructions carefully before installing and using the infrared heater. This user manual contains important information about your safety, as well as...
- Page 2 Keep the operating manual together with the warranty certificate, the sales receipt and, if possible, the cardboard packaging and packing material. The infrared lamp you have purchased may differ in some ways from what is described in the manual, but this does not affect the way it is used or how it operates. Important precautions and instructions provided in this manual are not intended to cover all possible methods and situations that you may encounter.
- Page 3 cleaning. • The heater must be installed at least 1.8 m above the floor when the heater is wall mounted. • The heater must not be located immediately below a power outlet. The outlet should not be located at the rear of the heater. It should be located outside the physical footprint of the units to minimize heat buildup behind the heater.
- Page 4 maximum slope of ±5°. Never install the unit on a flammable surface (plastic, nylon, cardboard, etc.). If the appliance is used outdoors, it is recommended to use a watertight socket. Otherwise the plug must be connected to an internal socket. Install the device at a minimum distance of ...
- Page 5 2.3 Installation 2.3.1. : Check that all accessories are included in the package Progr. Accessory type Screw M6x16 On Heater Bracket Set Aluminum In the box Bolt + Nut M6x100+M6 Fixed on Bracket Set #2 Bolt + Nut M8x100+M8 Fixed on Bracket Set #2 Expansion bolt M6x60 In the box...
- Page 6 2.3.4: Drill two holes (Ф8*40) in the wall, distance 55mm. Install the bracket (#4 in the accessories list) on the wall with 2 pieces M6*60 (#3 in the accessories list) using the wrench. Attention: it is absolutely necessary to maintain a distance of at least 1.9 m between the bottom hole and the floor.
- Page 7 3. OPERATION 3.1 Connect the heater to the main power supply and press the switch, the pilot lamp is flashing and the heater is in stand-by mode; 3.2 Press the "ON" button on the remote control: a beep sounds and the lamp pilot lights up.
- Page 8 RONGGUI, SHUNDE, FOSHAN, GUANGDONG, CHINA Made in China Imported in Italy by M.P.C. srl Via Tortona 21 20144 Milano Italia Tel +39 02 21117815 e-mail info@mpcnet.it website www.sinedtechnology.com The trademark SINED and the logo SINED are registered by Sined Ventas Online s.l.u EUTM 018196373...
Need help?
Do you have a question about the CALDO-IRB-BLACK-2000 PHA20WR and is the answer not in the manual?
Questions and answers