Panasonic LUMIX G 25 mm/F1.7 ASPH (H-H025) Manual and Review Video
- Operating instructions (2 pages)
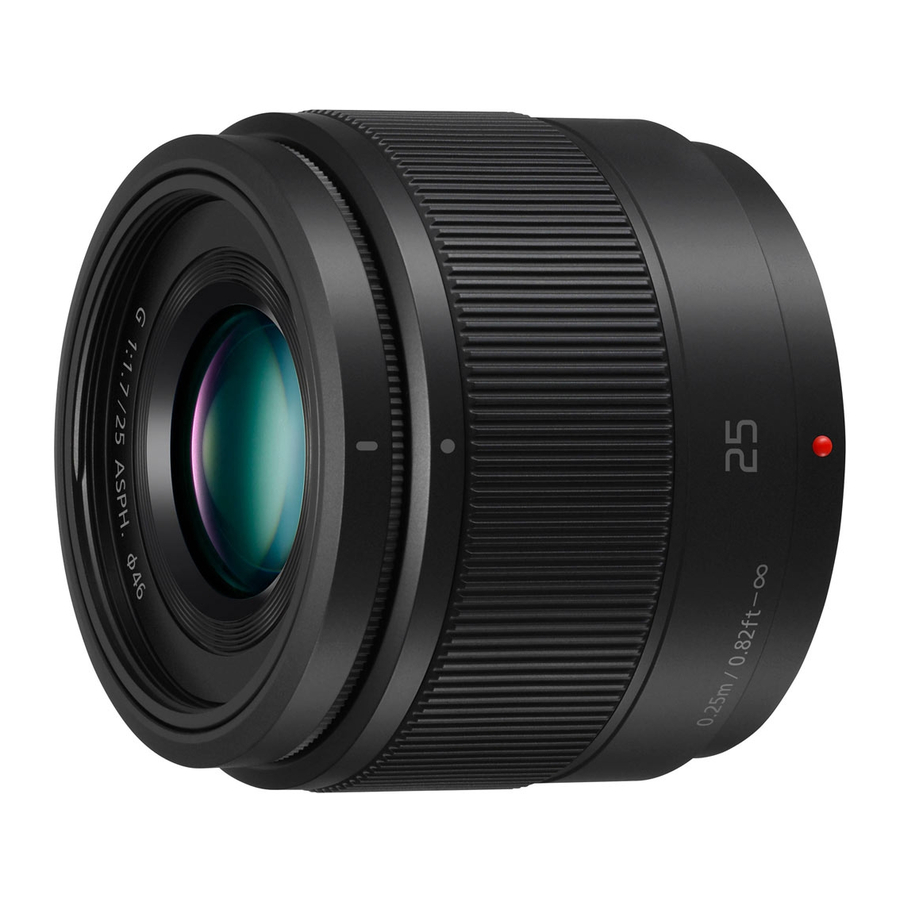
Advertisement
Introduction
Please read these instructions carefully before using this product, and save this manual for future use.
-If you see this symbol-
Disposal of Old Equipment Only for European Union and countries with recycling systems

This symbol on the products, packaging, and/or accompanying documents means that used electrical and electronic products must not be mixed with general household waste. For proper treatment, recovery and recycling of old products, please take them to applicable collection points in accordance with your national legislation. By disposing of them correctly, you will help to save valuable resources and prevent any potential negative effects on human health and the environment. For more information about collection and recycling, please contact your local municipality. Penalties may be applicable for incorrect disposal of this waste, in accordance with national legislation.
Information for Your Safety
Keep the unit as far away as possible from electromagnetic equipment (such as microwave ovens, TVs, video games, radio transmitters, highvoltage lines etc.).
- Do not use the camera near cell phones because doing so may result in noise adversely affecting the pictures and sound.
- If the camera is adversely affected by electromagnetic equipment and stops functioning properly, turn the camera off and remove the battery and/or the connected AC adaptor. Then reinsert the battery and/or reconnect the AC adaptor and turn the camera on.
The lens can be used with a digital camera compatible with the lens mount standard for the "Micro Four Thirds System".
- It cannot be mounted on the Four Thirds specification camera.
- The digital camera illustrations in these operating instructions show DMC-G7 as an example.
- The appearance and specifications of products described in this manual may differ from the actual products you have purchased due to later enhancements.
- Micro Four Thirds TM and Micro Four Thirds Logo marks are trademarks or registered trademarks of Olympus Corporation, in Japan, the United States, the European Union and other countries.
- Four Thirds TM and Four Thirds Logo marks are trademarks or registered trademarks of Olympus Corporation, in Japan, the United States, the European Union and other countries.
- G MICRO SYSTEM is an interchangeable lens type digital camera system of LUMIX based on a Micro Four Thirds System standard.
- Other names of systems and products mentioned in these instructions are usually the registered trademarks or trademarks of the manufacturers who developed the system or product concerned.
Precautions
Lens Care
- Sand and dust can damage the lens. Make sure that no sand or dust gets inside the lens or the terminals when using the lens on a beach, etc.
- The lens is neither waterproof nor splash-proof. If drops of water get onto the lens, wipe the lens with a dry cloth.
- Do not press the lens with excessive force.
- When there is dirt (water, oil, and fingerprints, etc.) on the surface of the lens, the picture may be affected. Lightly wipe the surface of the lens with a soft, dry cloth before and after taking pictures.
- Do not place the lens mount facing downwards. Do not allow the lens contact points
![]() to become dirty. (See illustration
to become dirty. (See illustration ![]() )
)

 to become dirty. (See illustration
  )
)
About Condensation (Fogging of the Lens)
- Condensation occurs when there are differences in temperature and humidity as described below. Condensation can cause the lens to become dirty and lead to mold and malfunctioning, so exercise caution in the following situations:
- When the camera is brought indoors from outside during cold weather
- When the camera is brought into an air-conditioned car
- When cold air from an air conditioner is directly blown onto the lens
- In humid places
- Put the camera into a plastic bag to allow it to acclimatize to the surrounding temperature in order to prevent condensation. If condensation occurs, turn the power off and leave it for about two hours. Once the camera acclimatizes to the surrounding temperature the condensation will go away naturally.
Supplied Accessories

[Inspection to be performed when you unpack the unit]
When removing the unit from its packing box, check that the main unit and the supplied accessories are there and also check their external appearance and functions to verify that they have not sustained any damage during distribution and transportation.
If you discover any trouble, contact your vendor before using the product.
Product numbers correct as of September 2015. These may be subject to change.
- Lens Cap
- Lens Rear Cap
- Lens Hood
- Black,
- Silver
- Decoration ring
- Black,
- Silver
(The lens cap, lens rear cap, and decoration ring are attached to the lens at the time of purchase.)
Names and Functions of Components

- Lens surface
- Decoration ring Remove this cover when using the lens hood.
- Focus ring Rotate to focus when taking pictures with manual focus (MF).
- Lens fitting mark
- Contact points
 Note
Note
- If you turn off the camera, the aperture will be set to a reduced value.
- When flash recording with a close subject, the light of the flash will be blocked by the lens and part of the picture may be dark. Check the distance from the subject when recording.
Attaching/Detaching the Lens


- Refer also to the camera's operating instructions for attaching and detaching the lens.
- Check that the camera is turned off.
- Remove the lens rear cap from the lens. (See illustration
![]() )
)
 )
)Attaching the Lens (See illustration  )
)
Align the lens fitting marks  on the camera body and the lens and then rotate the lens in the direction of the arrow until it clicks.
- Do not press the lens release button
![]() when you attach a lens.
when you attach a lens. - Do not try to attach the lens when holding it at an angle to the camera body as the lens mount may get scratched.
- Check that the lens is attached correctly.
Detaching the Lens (See illustration  )
)
While pressing on the lens release button  , rotate the lens toward the arrow until it stops and then remove.
- When rotating the lens, hold
![]() , the portion near the base of the lens.
, the portion near the base of the lens. - Attach the lens rear cap so that the lens contact point does not get scratched.
- Attach the body cap to the camera so no dirt or dust will get inside the main unit.
 , the portion near the base of the lens.
Attaching the Lens Hood (Supplied Accessory) (See illustration  )
)
- Rotate the decoration ring
![]() in the direction of the arrow and then remove.
in the direction of the arrow and then remove. - Align the mark
![]() (
(![]() ) on the lens hood with the mark on the tip of the lens.
) on the lens hood with the mark on the tip of the lens. - Rotate the lens hood in the direction of the arrow until it clicks and then align the mark
![]() (
(![]() ) on the lens hood with the mark on the tip of the lens.
) on the lens hood with the mark on the tip of the lens.
 in the direction of the arrow and then remove.
  (
( ) on the lens hood with the mark on the tip of the lens.
  (
( ) on the lens hood with the mark on the tip of the lens.
 Temporarily Storing the Lens Hood (See illustration  )
)
- Rotate the lens hood
![]() in the direction of the arrow and then remove.
in the direction of the arrow and then remove. - Align the mark
![]() (
(![]() ) on the lens hood with the mark on the tip of the lens.
) on the lens hood with the mark on the tip of the lens. - Rotate the lens hood in the direction of the arrow until it clicks into place.
 in the direction of the arrow and then remove.
  Note
Note
- When taking pictures with the flash with the lens hood attached, the lower portion of the screen may turn dark (vignetting effect) and the control of the flash may be disabled because the photo flash may be obscured by the lens hood. We recommend detaching the lens hood.
- When using the AF assist lamp in the dark, detach the lens hood.
Attaching the decoration ring (See illustration  )
)
- Align the mark
![]() (
(![]() ) on the decoration ring with the mark on the tip of the lens.
) on the decoration ring with the mark on the tip of the lens. - Rotate the decoration ring in the direction of the arrow until it clicks and then align the mark
![]() (
(![]() ) on the decoration ring with the mark on the tip of the lens.
) on the decoration ring with the mark on the tip of the lens.
 (
( (
(Attaching Filters
- Vignetting may occur if using 2 or more MC protectors (optional: DMW-LMC46), PL filters (optional: DMW-LPL46) or ND filters (optional: DMW-LND46), or if using thick protectors and/or filters.
- The filter may become impossible to remove if excessively tightened, so please refrain from tightening it too strongly.
- It is possible to attach the lens cap with the filter already attached.
- When the lens hood is attached to this lens, you cannot attach a filter to it.
- You cannot attach a conversion lens or adaptor to this lens. A filter may be used, but attaching any other element may cause damage to the lens.
Cautions for Use
Take care not to drop or knock the lens. Also take care not to put a lot of pressure on the lens.
- Take care not to drop the bag that you inserted the lens in as it may strongly shock the lens. The camera may stop operating normally and pictures may no longer be recorded. Also, the lens may be damaged.
When using pesticides and other volatile substances around the camera make sure that they do not get onto the lens.
- If such substances get onto the lens they can damage the exterior case or cause the paint to peel.
Do not point the lens at the sun or other strong light sources.
- This could cause the lens to collect an excessive amount of light, resulting in fire and malfunction.
Do not carry the unit when it is still attached to the camera body.
- Under no circumstances should the unit be stored in any of the following locations since doing so may cause problems in operation or malfunctioning.
- In direct sunlight or on a beach in summer
- In locations with high temperatures and humidity levels or where the changes in temperature and humidity are acute
- In locations with high concentrations of sand, dust or dirt
- Where there is fire
- Near heaters, air conditioners or humidifiers
- Where water may make the unit wet
- Where there is vibration
- Inside a vehicle
- Refer also to the operating instructions of the digital camera.
- When the unit is not going to be used for a prolonged period, we recommend storing with a desiccant (silica gel). Failure to do so may result in performance failure caused by mold, etc. It is recommended that you check the unit's operation prior to use.
- Do not leave the lens in contact with rubber or plastic products for extended periods of time.
- Do not touch the lens contact point. Doing so can cause failure of the unit.
- Do not disassemble or alter the unit.
Do not use benzine, thinner, alcohol or other similar cleaning agents to clean the lens glass or exterior cabinet.
- Using solvents can damage the lens or cause the paint to peel.
- Wipe off any dust or fingerprints with a soft, dry cloth.
- Use a dry, dust cloth to remove dirt and dust on the focus ring.
- Do not use a household detergent or a chemically treated cloth.
Troubleshooting
A sound is heard when the camera is turned on or off.
A sound is heard from the lens when taking a picture of a bright subject such as when outdoors.
- This is the sound of lens or aperture movement and is not a malfunction.
Specifications
Specifications are subject to change without notice.
INTERCHANGEABLE LENS FOR DIGITAL CAMERA "LUMIX G 25 mm/F1.7 ASPH."
| Focal length | |
| f=25 mm (35 mm film camera equivalent: 50 mm) | |
| Aperture type | |
| 7 diaphragm blades/circular aperture diaphragm | |
| Maximum aperture | |
| F1.7 | |
| Minimum aperture value | |
| F22 | |
| Lens construction | |
| 8 elements in 7 groups (2 aspherical lenses, 1 UHR Lens) | |
| In focus distance | |
0.25 m (0.82 feet) to  [from the focus distance reference line] [from the focus distance reference line] | |
| Maximum image magnification | |
| 0.14k (35 mm film camera equivalent: 0.28k) | |
| Optical image stabiliser | |
| Not available | |
| Mount | |
| "Micro Four Thirds Mount" | |
| Angle of view | |
| 47x | |
| Filter diameter | |
| 46 mm | |
| Max. diameter | |
| Approx. 60.8 mm (2.39 inch) | |
| Overall length | |
| Approx. 52 mm (2.05 inch) (from the tip of the lens to the base side of the lens mount) | |
| Mass | |
| Approx. 125 g (0.28 lb) |


VideosPanasonic LUMIX G 25 mm/F1.7 ASPH (H-H025) Review Video
Panasonic 25mm f/1.7 Lens Review: The BEST Value MFT Lens Video
Documents / ResourcesDownload manual
Here you can download full pdf version of manual, it may contain additional safety instructions, warranty information, FCC rules, etc.
Download Panasonic LUMIX G 25 mm/F1.7 ASPH (H-H025) Manual and Review Video
Advertisement


Need help?
Do you have a question about the H-H025 and is the answer not in the manual?
Questions and answers