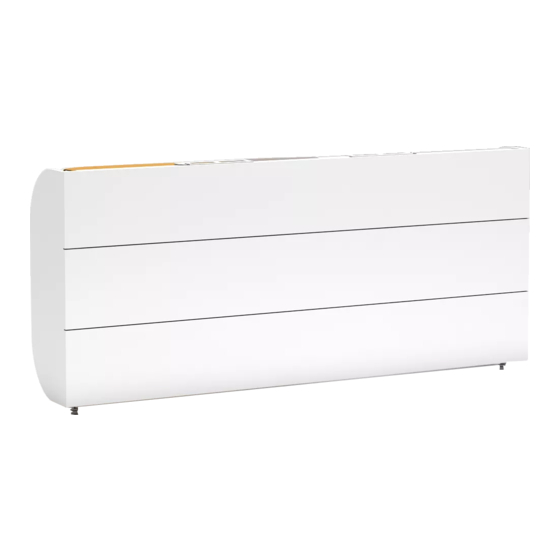
Summary of Contents for Multimo A 751
- Page 1 A 751- SIMPLE TWIN 100 CM hours Technical Service hours End User VIDEO https://youtu.be/v0iYmDpHkwQ Assembly Instructions...
- Page 2 Track Title (inch) (mm) Piece Piece T hickness Length Width T hick H eight Most 0,71 40,08 13,58 1018 0,71 84,17 13,39 2138 0,71 84,17 13,39 2138 0,71 84,17 13,39 2138 E-R / E-L 31,30 75,98 1930 Accessories List MNX 02 MNG - 01 KVL 01 TAP - 01...
- Page 3 SC-101 3 / piece KOR -B LTA - 01 AL - 01 (4MM) AL - 02 (5MM) 1 / piece 14 / piece 1 / piece 1 / piece Page 2...
- Page 4 STEP 1 KBY - 02 SYS - 01 VIDEO BKA - 01 https://youtu.be/5O4oYTvrHSc Page 3...
- Page 5 ATTENTION!!! Must be secured to the wall made of brick, concrete or similarly strong material. Mounting to wooden or metal studs is also acceptable. STEP 2 Do not mount directly to sheetrock or paper-mache type walls not supported by studs. Ø...
- Page 6 STEP 4 Ø 10 mm / 0,254 nch STEP 5 DD - 01 x 11 VIDEO https://youtu.be/ZLoblB_9C9g Page 5...
- Page 7 STEP 6 FİRST LOCATE THE STUDS BY USİNG ''STUD FİNDER'' İN THE WALL AND DRİLL İT SC - 98 TFC - 01 X 3 SC - 101 X 3 TFC - 01 X 6 SC - 101 DD - 01 X 2 TFC - 01 X 2 SUPPLY DRYWALL FASTENERS APPROPPRİATE VIDEO...
- Page 8 STEP 7 KVL 01 MNG - 01 MNX - 03 210° 210° MNG - 01 x 5 MNG - 01 x 10 KVL - 01 x 4 MNX - 03 x 10 210° KVL - 01 x 4 VIDEO MNG - 01 x 5 https://youtu.be/MXxWZklhtWE Page 7...
- Page 9 210° STEP 8 STEP 9 210° KVL 01 MNG - 01 MNG - 01 x 6 KVL - 01 x 3 VIDEO https://youtu.be/T83F5yBtXls Page 8...
- Page 10 LTA - 01 x 14 STEP 10 SKT - 01 Install plastic corners and metal joints without gaps CTM - 01 AL - 01 VIDEO https://youtu.be/aKnZw0RnzKw Page 9...
- Page 11 Assemble the brackets over the STEP 11 VTB - 02 x 20 places shown over H,K proles SC-110 x 10 69 mm 69 mm VTB - 02 x 8 Assemble the brackets over the places shown over G-L,G-R proles VIDEO SC-110 x 4 https://youtu.be/RdZtPuBgHns Page 10...
- Page 12 STEP 12 Unscrew the Screws VIDEO https://youtu.be/V6AFsdNAwRg Page 11...
- Page 13 STEP 13 LTA - 01 x 14 VIDEO https://youtu.be/LmG3kcJefIk Page 12...
- Page 14 STEP 14 AMR - 03 SG - 01 AMR - 03 STEP 15 MNX - 02 x 12 MNX - 02 VIDEO https://youtu.be/-hXwpV7j9RU Page 13...
- Page 15 STEP 16 YSB - 01 KOR - B PL - 04 AL - 02 IM - 02 x 2 STEP 17 SC - 78 SC - 78 SC - 78 VIDEO https://youtu.be/p3YWPp5ZrpU Page 14...
- Page 16 STEP 18 Method of application on sloping oors STEP 18-A STEP 18-B CTM - 04 STEP 18-A AL - 01 CTM - 04 VIDEO AL - 01 SC - 79 https://youtu.be/EGaL1sYfIF0 Page 15...
- Page 17 STEP 19 AMR - 03 SG - 01 VIDEO AMR - 03 https://youtu.be/upmBP0y0oSI Page 16...
- Page 18 STEP 20 MNG - 01 X 12 210° VIDEO https://youtu.be/yD7Z9EtV2FM Page 17...
- Page 19 STEP 21 SC - 78 VTB - 02 x 4 VIDEO https://youtu.be/gTdJIDFx_LE Page 18...
- Page 20 STEP 22 KCE - 01 X 4 TAP - 01 VIDEO https://youtu.be/c6WzdVZkD08 Page 19...
- Page 21 STEP 23 2. BED OPEN 1. BED CLOSED VIDEO https://youtu.be/-926K2b40iA Page 20...
- Page 22 Page 21...
- Page 23 With seasonal humidity change please inspect the interior and exterior of the furniture for deformation and/or discoloration. Before any un-mounting or disassembly please contact Multimo Beds for technical support and instructions. Failure to properly detach may result in personal injury and damage to property.
- Page 24 www.mult mobeds.com...


Need help?
Do you have a question about the A 751 and is the answer not in the manual?
Questions and answers