Advertisement
Accessories
Please locate the included accessories.
To order replacement units, visit http://www.RCAav.com
- Remote control (with battery) x 1
- AC power adapter x 1
- Audio Cable x 1
Remote Control
USING THE REMOTE CONTROL
- Point the remote control at the REMOTE SENSOR located on the unit (see Front Panel illustration for precise location).
- When there is a strong ambient light source, the perform ance of the infrared REMOTE SENSOR may be degraded, causing unreliable operation.
- The recommended effective distance for remote operation is about 16 feet (5 meters).
Take out the plastic sheet before operating the Remote Control.

TO CHANGE REMOTE BATTERY
- Open the battery door.
![]()

- Insert one CR2032 (3V) size battery.
![]()

BATTERY REPLACEMENT
When the battery becomes weak, the operating distance of the remote control is greatly reduced and you will need to replace it.
Note: If the remote control is not going to be used for a long time, remove the battery to avoid damage caused by battery leakage corrosion.

- Do not dispose of battery in fire; battery may explode or leak.
- Do not expose battery to excessive heat such as bright sunshine, fire or similar heat sources.
- Possibility of explosion if battery is incorrectly replaced. Replace with only the same or equivalent type.

When discarding battery, environmental problems must be considered and local rules or laws governing the disposal of the battery must be strictly followed.
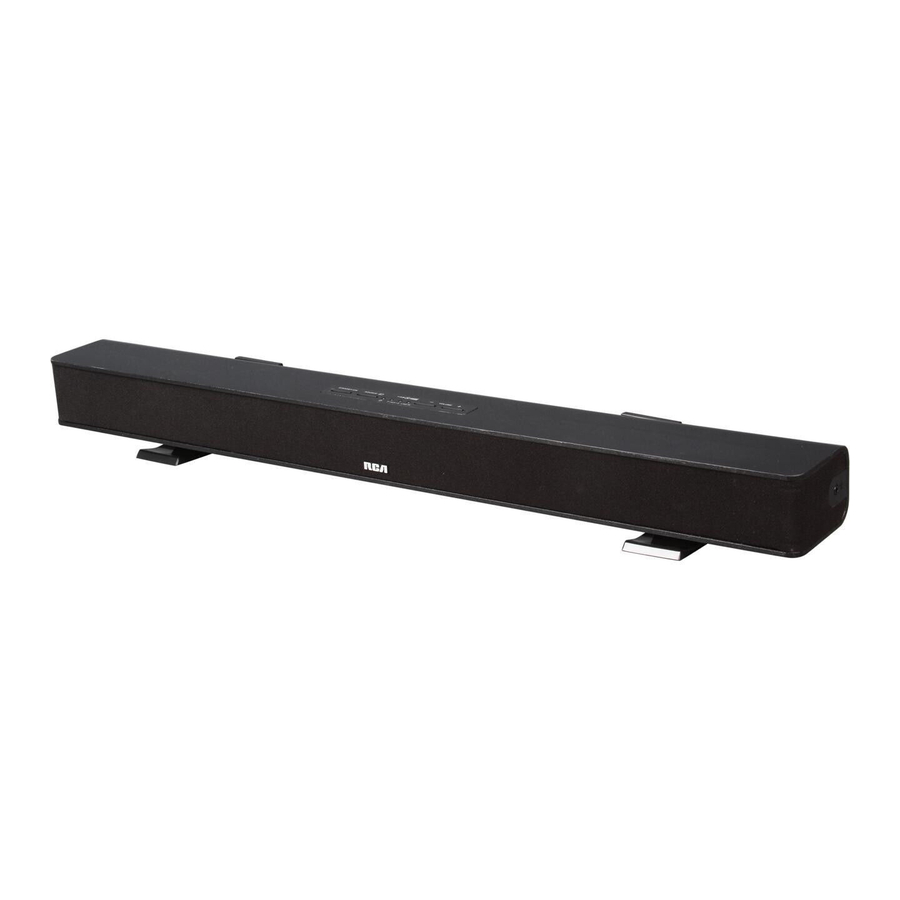
Location of Controls
SOUND BAR

- STANDBY/ON button
- SOURCE button
- STANDBY/ON indicator Indicator ON: Unit is in standby mode. Indicator OFF: Unit is turned on.
- AUX 1 / LEVEL indicator
- AUX 2 / LEVEL indicator
- LINE IN / LEVEL indicator
- VOLUME + / - button
- AUX 2 L / R jack
- AUX 1 L / R jack
- DC IN jack
- Remote Sensor
- STAND
- LINE IN 3.5mm jack
REMOTE CONTROL

![]() STANDBY/ON button
STANDBY/ON button- AUX 1 button
- AUX 2 button
- LINE IN button
- VOL + / - button
- BASS + / - button
- TREBLE + / - button
![]() MUTE button
MUTE button


Power Supply
USING THE AC ADAPTER
Using an AC adapter other than the one supplied with the unit may damage the unit.
- Before use, ensure the rated voltage of the adapter matches your local voltage.
- The included AC adapter is for use with this unit only. Do not use it with other equipment.
- If you are not going to use the unit for a long time, disconnect the AC adapter from the wall outlet.
- Whenever the AC adapter is plugged in to a wall outlet, the AC adapter will draw some power, even when the Sound Bar is turned off.
Connections
AUX 1 OR AUX 2
Use the supplied Audio cable to connect AUX 1 or AUX 2 on the Sound Bar (rear panel) to the AUDIO OUT of your TV, Set- Top Box or Blu-ray/DVD Player. Be sure to match connector colors.

LINE IN
Plug one end of a 3.5mm cable (not included) into the LINE IN jack (side panel) on the Sound Bar into your iPad®, iPhone®, iPod® or other audio devices.

Configuring the Stands for Wall-mount Applications
The Sound Bar can be placed freestanding on a table or mounted on a wall. If you choose to mount the Sound Bar on a wall, please follow instructions below for removing the stands. Using a screwdriver, remove the stands from their original configuration (freestanding) as shown and re-attach to the Sound Bar in the configuration as shown (for wallmount).

- We recommend that Wall-mounting be carried out by a professional. The stands' "key-holes" are intended for use with #8 (Imperial) or M4 (Metric) pan head screws. Additional or alternative parts may be needed for certain types of wall constructions.
- Make sure that the wall-mount is fixed securely enough so that it meets safety standards.
- Allow at least 2"(5 cm) separation in all directions between the Sound Bar and other AV equipment (such as your TV or Set-Top Box).
- It is recommended that all cables (AC adapter and Audio cables) be connected to the Sound Bar before placing it on the wall.
Basic Operation

- Press STANDBY/ON button to turn on the unit - the Standby/ ON indicator on top of Sound Bar will turn off.
- Press SOURCE to select AUX 1, AUX 2 or LINE IN source (input). The LEDs located on top of Sound Bar will indicate the currently-selected source.
- Press VOLUME +/-, BASS +/- or TREBLE +/- to adjust Volume, Bass or Treble levels. When adjusting Volume, Bass or Treble, the three LEDs will temporarily display the current level setting (see illustration).
Troubleshooting
| PROBLEMS | SOLUTIONS |
The unit does not switch on |
|
I have no sound |
|
The remote control doesn't work |
|

Documents / Resources
References
Download manual
Here you can download full pdf version of manual, it may contain additional safety instructions, warranty information, FCC rules, etc.
Advertisement


Need help?
Do you have a question about the RTS735E and is the answer not in the manual?
Questions and answers