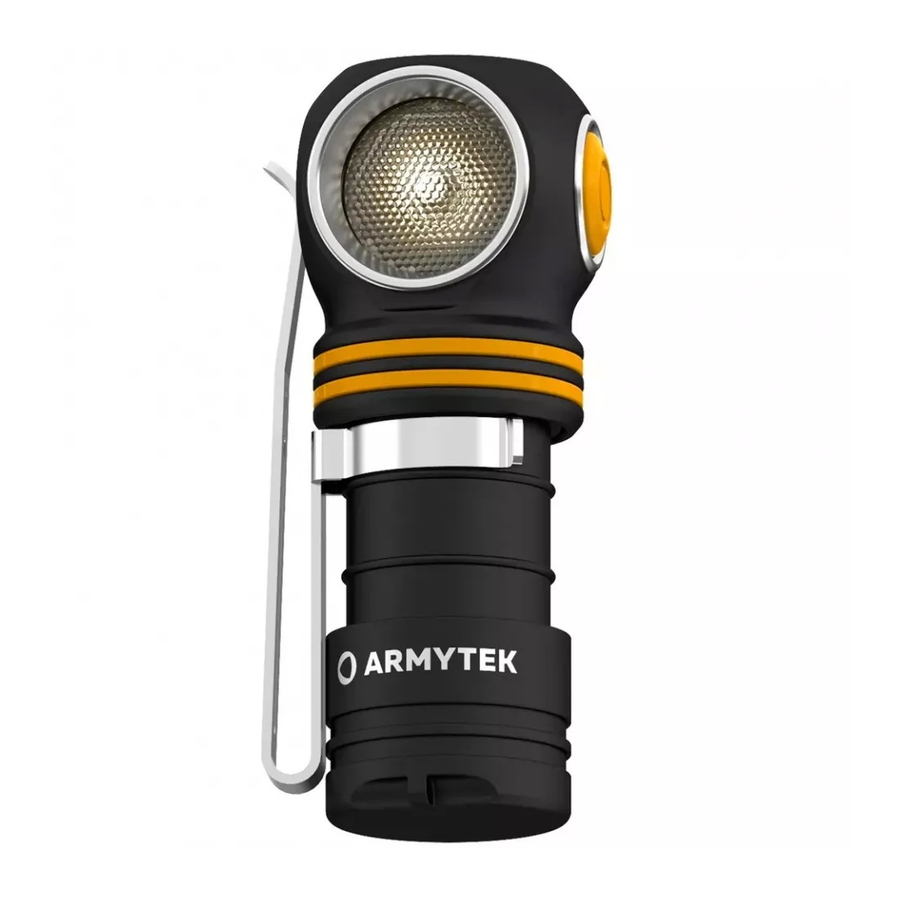
Armytek ELF C1 - Multi Flashlight Manual
- User manual (2 pages) ,
- User manual (4 pages)
Advertisement

OPERATION

Before use: Tighten the tailcap as far as it can go.
In OFF state:
1 click: To turn on the last used mode.
Press and hold: To start cycling through Firefly modes. Release to select. Keeping button pressed will start cycling through Main modes.
In ON state:
1 click: To turn off the flashlight.
Press and hold: To start cycling through Main modes from any mode. In Firefly1 cycling through Main modes starts after cycling through Firefly modes.
Release to select.
2 clicks: To turn on Turbo mode from any mode. The second double click brings back last used mode.
MOMENTARY ACCESS
Firefly. Press and hold the button in OFF state to start cycling through Firefly modes. Release to select. Keeping button pressed will start cycling through Main modes.
Main. Short click from OFF state activates Main mode if it was the last used mode.
Turbo. Double click in any mode in ON state. The second double click brings back last used mode.
Cycling through Main modes.
In ON state press and hold the button in any mode. Main modes will start switching cyclically. In Firefly1 cycling through Main modes starts after cycling through Firefly modes. Release to select.
Lamp mode. The flashlight can work without battery in Firefly1, Firefly2 and Main1 modes. For this connect the Micro USB cable to the flashlight and power source, remove the battery.
1 click: To turn on/off the flashlight.
Press and hold: To start cycling through modes.
For activation of the timer, unscrew the tailcap to 1/4 while the flashlight is off, press the button and tighten the tailcap while keeping the button pressed.

Press and hold the button for 5 seconds. When the flashlight starts flashing with the main LED, release the button. Press the button the required number of times to set the timer:
1 click – 2 min;
2 clicks – 5 min;
3 clicks and more – 10 min.
The main LED will flash from 1 to 3 times, confirming the action:
1 flash – 2 min;
2 flashes – 5 min;
3 flashes – 10 min.
After confirming the activation of the timer, the flashlight will work in the previously selected mode for a specified period of time. The next click turns the flashlight off and resets the timer.
To return to permanent on, unscrew the tailcap to 1/4 while the flashlight is off, press the button, release it and tighten the tailcap.
Lock-out function. Unscrew the tailcap to 1/4 for protection from accidental switching on.
FLASHLIGHT CHARGING

Turn off the flashlight and connect the cable. Color indication in the button displays the charging stage: red — the flashlight is charging, green — the flashlight is charged. If there is no indication, the battery is removed or installed in the wrong polarity.
Approximate time for charging a fully discharged battery is 2 h 30 min. We recommend using adapters with 1A current and higher.
WARNINGS
- For effective operation of the flashlight, we recommend branded 18350 Li-Ion batteries or 16340 Li-Ion batteries without PCB (unprotected) or with PCB which guarantees 3A discharge current.
The flashlight can get hot in Turbo mode quickly and discharge the battery with high current. Don't leave it without your attention as very bright light might heat objects and cause fire.
- For storage or transportation of the flashlight in a pocket or a bag it is necessary to activate the lock-out function to ensure protection from accidental switching on.
- It is forbidden to charge the battery inside the flashlight when the ambient temperature is below 0°C.
WARRANTY AND SERVICE
Armytek provides free warranty repairs for 10 years (excluding batteries, chargers, switches and connectors, which have 2-year warranty) from the date of purchase if there is a document confirming the purchase. The warranty does not extend to damage during:
- Improper usage.
- Attempts to modify or repair the flashlight by nonqualified specialists.
- Application in chlorinated, contaminated liquids or sea water.
- Immersion into liquids in case of broken leakproofness.
- Exposure to high temperatures and chemicals, including the liquids from defected batteries.
- Usage of low-quality batteries.
Armytek
Germany, 10551 Berlin, Jonasstraße 6
+1 (206) 785-9574 • service@armytek.com • www.armytek.com
Specifications are subject to change without notice.

Documents / Resources
References
Download manual
Here you can download full pdf version of manual, it may contain additional safety instructions, warranty information, FCC rules, etc.
Advertisement
 The flashlight can get hot in Turbo mode quickly and discharge the battery with high current. Don't leave it without your attention as very bright light might heat objects and cause fire.


Need help?
Do you have a question about the ELF C1 and is the answer not in the manual?
Questions and answers