Table of Contents
Advertisement
COMPACT COMPONENT SYSTEM
SYSTEME DE COMPOSANTS COMPACT
MX-J300
MX-J206
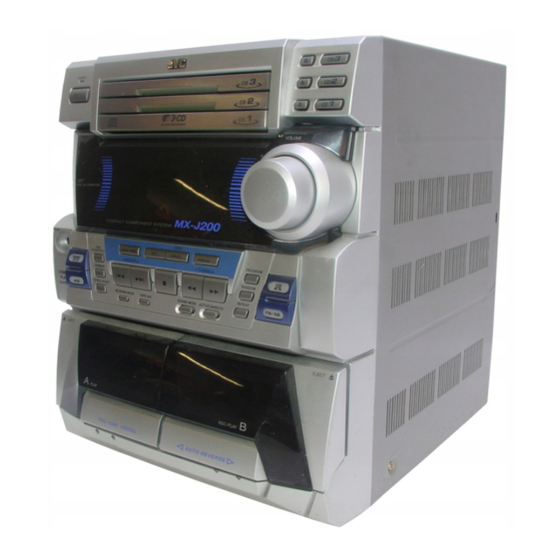
MX-J200
SP-MXJ300
RM-SMXJ300V REMOTE CONTROL
CLOCK
TIMER
POWER
1
2
3
–
SELECT
+
PHONES
SLEEP
4
5
6
SET
AUX
7
8
9
FM MODE
FM/AM
10
+
10
COMPU
PLAY
CD1
CD2
CD3
PLAY MODE
CONTROL
C D
/CLEAR
TAPE
REC PAUSE
A – TAPE - B
SHIFT
SOUND
ACTIVE
VOLUME
MODE
BASS EX.
SP-MXJ200
RM-SMXJ300V REMOTE CONTROL
CLOCK
TIMER
POWER
1
2
3
–
SELECT
+
SLEEP
PHONES
4
5
6
SET
AUX
7
8
9
FM MODE
FM/AM
+
10
10
COMPU
CD1
CD2
CD3
PLAY MODE
PLAY
CONTROL
C D
/CLEAR
TAPE
REC PAUSE
A – TAPE - B
SHIFT
SOUND
ACTIVE
VOLUME
MODE
BASS EX.
Consists of CA-MXJ300 and SP-MXJ300.
—
Composé du CA-MXJ300 et SP-MXJ300.
—
Consists of CA-MXJ206 and SP-MXJ206.
—
Composé du CA-MXJ206 et SP-MXJ206.
—
Consists of CA-MXJ200 and SP-MXJ200.
—
Composé du CA-MXJ200 et SP-MXJ200.
—
CA-MXJ300
SP-MXJ300
3
STANDBY
CD
3
2
POWER
CD
CD
2
CD
1
CD
COMPACT
1
CD
PLAY & EXCHANGER
DIGITAL AUDIO
VOLUME
+
1 BIT
DUAL D/A CONVERTER
–
MX-J300
PANEL OPEN / CLOSE
POWERED ROLLING PANEL
TAPE
CD
AUX
FM /AM
EJECT
EJECT
PLAY
REC/PLAY
AUTO REVERSE
FULL - LOGIC CONTROL
CA-MXJ200
SP-MXJ200
CD
3
STANDBY
POWER
CD
3
2
CD
CD
2
1
CD
COMPACT
CD
1
PLAY & EXCHANGER
DIGITAL AUDIO
VOLUME
+
1 BIT
DUAL D/A CONVERTER
–
MX-J200
DEMO
CLOCK/TIMER
SET
CANCEL
DISPLAY
REC
START/STOP
PROGRAM
–
+
PRESET
TUNNER
TAPE
CD
DUBBING
RANDOM
AUX
CD REC START
REPEAT
FM /AM
SOUND MODE
ACTIVE BASS EX
REVERSE MODE
TAPE A/B
EJECT
EJECT
PLAY
REC/PLAY
AUTO REVERSE
FULL – LOGIC CONTROL
INSTRUCTIONS
MANUEL D'INSTRUCTIONS
SP-MXJ206
STANDBY
POWER
RM-SMXJ300V REMOTE CONTROL
CLOCK
TIMER
POWER
1
2
3
–
SELECT
+
PHONES
SLEEP
4
5
6
SET
AUX
7
8
9
FM MODE
FM/AM
10
+
10
COMPU
PLAY
CD1
CD2
CD3
PLAY MODE
CONTROL
C D
/CLEAR
TAPE
REC PAUSE
A – TAPE - B
EJECT
SHIFT
SOUND
ACTIVE
VOLUME
MODE
BASS EX.
For Customer Use:
CA-MXJ206
SP-MXJ206
CD
3
3
CD
CD
2
2
CD
1
CD
1
COMPACT
CD
DIGITAL AUDIO
PLAY & EXCHANGER
VOLUME
+
1 BIT
DUAL D/A CONVERTER
–
MX-J206
DEMO
CLOCK/TIMER
SET
CANCEL
DISPLAY
REC
START/STOP
PROGRAM
–
+
PRESET
TUNNER
TAPE
CD
DUBBING
RANDOM
AUX
CD REC START
REPEAT
FM /AM
SOUND MODE
ACTIVE BASS EX
REVERSE MODE
TAPE A/B
EJECT
REC/PLAY
PLAY
FULL – LOGIC CONTROL
AUTO REVERSE
COMPACT
DIGITAL AUDIO
Enter below the Model No. and Serial
No. which are located either on the rear,
bottom or side of the cabinet. Retain this
information for future reference.
Model No.
Serial No.
LVT0484-004C
[C]
Advertisement
Table of Contents


Need help?
Do you have a question about the SP-MXJ206 and is the answer not in the manual?
Questions and answers