Advertisement
Quick Links
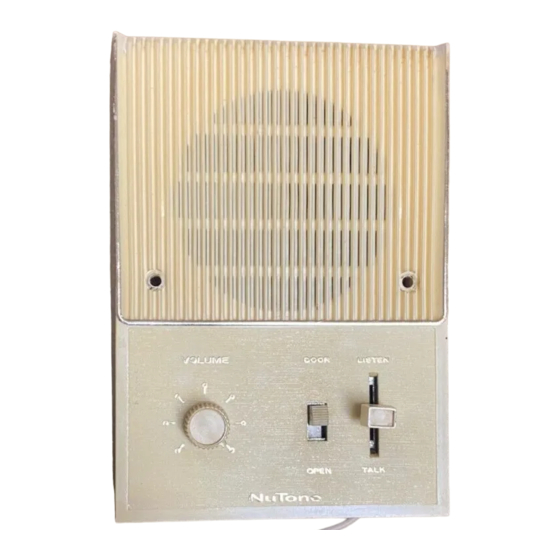
Built-In Apartment Speaker
MODELS: N482BX SERIES
DIRECT-A-COM 3
GENERAL INSTALLATION INFORMATION
1. Mount Apartment Speaker in NuTone rough-in frame for
built-in installation. For surface mounting installation,
mount Apartment Speaker in NuTone surface mount frame.
2. All necessary interconnecting wires and cables should be
installed when the rough-in frames are mounted.
3. For system wiring diagrams concerning the optional
Direct-A-Com 3 installations, see Installation Instructions
on the NuTone Direct-A-Com Series 3.
MULTI-FLOOR & GARDEN APARTMENT
INSTALLATION
Each Apartment Speaker connects to a speaker at the
main entry. The following equipment may be used at the main
entrance:
(1) Entrance Directory as shown in Figure 1.
(2) Mailboxes with pushbuttons and either built-in door
speakers, or surface mounted door speaker.
(3) Separate pushbuttons and either built-in or surface
mounted door speaker.
SYSTEM WIRING
1. Refer to Figure 1 riser wiring detail. The 3-twisted pair
cable (NuTone IW-6) is common between the Amplifier and
all Apartment Speakers.
2. Common throughout the system:
(a) 18 gauge wire between Speaker Door Release Switch
and Electric Door Release
(b) 18 gauge, 16vAC wire between Transformer and
Speaker Buzzer and Speaker Door Release Switch.
3. Run individual 18 gauge wire between each Apartment
Pushbutton and Speaker Buzzer.
APARTMENT SPEAKER WIRING
Refer to Figure 2.
1. Connect 3-twisted pair cable(s): ORANGE pair to ORN
terminals, RED pair to RED terminals, BLACK pair to BLK
terminals.
2. Connect one BROWN wire on Buzzer and one BROWN
wire on Door Release Switch to 18 gauge, 16vAC wire
from Transformer.
3. Connect other BROWN wire on Buzzer to 18 gauge wire
from individual pushbutton at main entry.
4. Connect other BROWN wire on Door Release Switch to
18 gauge wire from DR-1 Electric Door Release at
main entry.
NOTE: Use wire connectors, or splice and tape for wire
connections in steps 2, 3 and 4 above.
(use recommended NuTone wire)
INSTALLATION INSTRUCTIONS
READ & SAVE THESE INSTRUCTIONS!
MULTI-FLOOR & GARDEN APARTMENTS
SYSTEM WIRING DIAGRAM
FOR SYSTEMS USING SPEAKERS WITH BUZZERS
TO OTHER
APARTMENTS
2nd
APARTMENT
FLOOR
SPEAKER
1st
APARTMENT
FLOOR
SPEAKER
CENTRAL
AMPLIFIER
16vAC
POWER
120vAC
TRANSFORMER
SUPPLY
DR-1 DOOR
RELEASE
SPEAKER WIRING
APARTMENT SPEAKERS
TO
TRANSFORMER
INDIVIDUAL
PUSHBUTTON
AT MAIN ENTRY
TO DOOR
RELEASE
USING SMALL SCREWDRIVER, ADJUST THE VOLUME
CONTROL ("VOL CON") FOR DESIRED VOLUME LEVEL
TO 3rd FLOOR
APARTMENTS
TO 3rd FLOOR
2-COND., 18GA.
APARTMENTS
18 GA.
(BUZZER)
18 GA.
(BUZZER)
3-TWISTED PAIR
(6-WIRE) CABLE
IW-6-200 0R IW-6-100
2-WIRE
1
22-18 GA.
2
TWISTED
3
PAIR
MAIN ENTRANCE
USE 18GA. SINGLE
DIRECTORY
CONDUCTOR* OR
MULTI-CONDUCTOR CABLE*
(NOT AVAILABLE FROM
NUTONE)
DIRECTORY (OPTIONAL)
POST LOCK SWITCH ADD
DOTTED LINE WIRING
FIGURE 1
TO OTHER
APARTMENTS
BLK
BLK/WHT
ORN
ORN/WHT
RED
RED/WHT
3-TWISTED PAIR CABLE
(NUTONE IW-6) TO
CONTROL AMPLIFIER
(MATCH COLOR-CODED WIRES
TO COLOR-CODED TERMINALS)
FIGURE 2
18 GA.
(BUZZER)
Advertisement

Subscribe to Our Youtube Channel
Related Manuals for NuTone N482BX Series


Summary of Contents for NuTone N482BX Series
- Page 1 MULTI-FLOOR & GARDEN APARTMENTS DIRECT-A-COM 3 SYSTEM WIRING DIAGRAM FOR SYSTEMS USING SPEAKERS WITH BUZZERS GENERAL INSTALLATION INFORMATION TO 3rd FLOOR 1. Mount Apartment Speaker in NuTone rough-in frame for APARTMENTS TO 3rd FLOOR 2-COND., 18GA. APARTMENTS built-in installation. For surface mounting installation, TO OTHER mount Apartment Speaker in NuTone surface mount frame.
- Page 2 WARRANTIES OF MERCHANTABILITY OR FITNESS FOR A PARTICULAR PURPOSE. During this two year period, NuTone will, at its option, repair or replace, without charge, any product or part which is found to be defective under normal use and service. THIS WARRANTY DOES NOT EXTEND TO FLUORESCENT LAMP STARTERS OR TUBES, FILTERS, DUCT, ROOF CAPS, WALL CAPS AND OTHER ACCESSORIES FOR DUCTING.
Need help?
Do you have a question about the N482BX Series and is the answer not in the manual?
Questions and answers