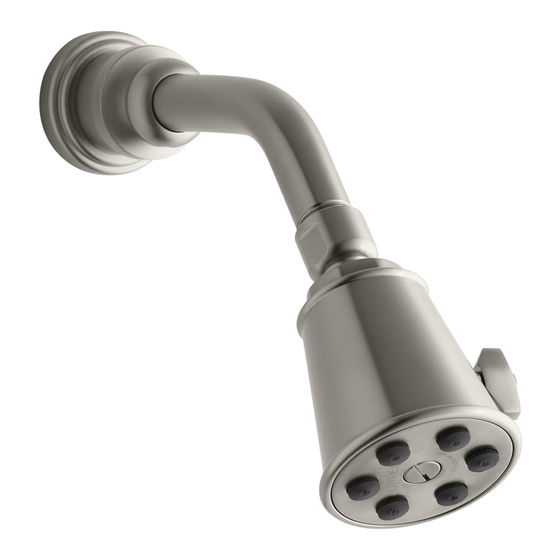
Kohler K-6812 Installation Manual
Bath spout
Hide thumbs
Also See for K-6812:
- Installation and care manual (28 pages) ,
- Installation manual (25 pages) ,
- Installation manual (4 pages)
Table of Contents
Advertisement
Available languages
Available languages
Quick Links
Advertisement
Table of Contents

Summary of Contents for Kohler K-6812
- Page 1 Installation Guide Bath Spout K-6812, K-6854, K-6855, K-6856, K-6881, K-6907, K-6941 M product numbers are for Mexico (i.e. K-12345M) Los números de productos seguidos de M corresponden a México (Ej. K-12345M) Français, page“ Français-1” Español, página“ Español-1” 1011147-2-C...
-
Page 2: Tools And Materials
Before You Begin Observe all local plumbing and building codes. Shut off the main water supply. Kohler Co. reserves the right to make revisions in the design of products without notice, as specified in the Price Book. 1011147-2-C Kohler Co. -
Page 3: Prepare The Site
Temporarily install 1/2″ nipples to the bath and shower elbows, extending at least 2″ (5.1 cm) beyond the finished wall. For spout-only installation, plug the unused shower outlet on the yoke or valve. Turn on the water supply and check for leaks. Complete the finished wall. Kohler Co. 1011147-2-C... - Page 4 Apply a bead of plumbers putty or other sealant around the inlet end of the spout according to the manufacturer’s instructions. Apply thread sealant to the nipple and thread the spout onto the nipple. Carefully tighten with a clean strap wrench. Remove all excess putty. 1011147-2-C Kohler Co.
-
Page 5: Guide D'installation
Respecter tous les codes de plomberie et de bâtiment locaux. Couper l’alimentation d’eau principale. Kohler Co. se réserve le droit d’apporter toutes modifications sur le design des produits et ceci sans préavis, tel que spécifié dans le catalogue des prix. -
Page 6: Préparer Le Site
à au moins [2″ (5,1cm)] du mur fini. Pour une installation de bec seulement, boucher la sortie de douche inutilisée sur l’arcade ou la valve. Ouvrir l’alimentation d’eau et vérifier s’il y a des fuites. Compléter le mur fini. 1011147-2-C Français-2 Kohler Co. - Page 7 Appliquer un ruban d’étanchéité sur le filetage du mamelon et visser le bec sur ce dernier. Serrer doucement à l’aide d’une clé à sangle propre. Retirer tout excédant de mastic. Kohler Co. Français-3 1011147-2-C...
-
Page 8: Guía De Instalación
Cumpla con todos los códigos locales de plomería y de construcción. Cierre el suministro principal de agua. La empresa Kohler se reserva el derecho de modificar el diseño de los productos sin aviso, tal como se especifica en la lista de precios. - Page 9 En las instalaciones de sólo el surtidor, tape la salida de la ducha no utilizada en el cuerpo o en la válvula. Abra los suministros de agua y verifique que no haya fugas. Termine la pared acabada. Kohler Co. Español-2 1011147-2-C...
- Page 10 Aplique cinta selladora de roscas en el niple y enrosque el surtidor sobre éste. Apriete cuidadosamente con una llave de correa limpia. Elimine el exceso de masilla de plomería. 1011147-2-C Español-3 Kohler Co.
- Page 11 1011147-2-...
- Page 12 USA: 1-800-4-KOHLER Canada: 1-800-964-5590 México: 001-877-680-1310 kohler.com ©2004 Kohler Co. 1011147-2-C...


Need help?
Do you have a question about the K-6812 and is the answer not in the manual?
Questions and answers