
Related Manuals for Hanna Instruments HI 96719C


Summary of Contents for Hanna Instruments HI 96719C
- Page 1 Instruction Manual HI 96719C Magnesium Hardness ISM w w w . h a n n a i n s t . c o m contact: www.ponpe.com sale@ponpe.com...
-
Page 2: Table Of Contents
BATTERY MANAGEMENT ....................21 BATTERY REPLACEMENT ....................22 ACCESSORIES ........................22 WARRANTY ........................23 All rights are reserved. Reproduction in whole or in part is prohibited without the written consent of the copyright owner, Hanna Instruments Inc., Woonsocket, Rhode Island, 02895 , USA. contact: www.ponpe.com sale@ponpe.com... -
Page 3: Preliminary Examination
PRELIMINARY EXAMINATION Please examine this product carefully. Make sure that the instrument is not damaged. If any damage occurred during shipment, please notify your Dealer. Each HI 96719 Ion Selective Meter is supplied complete with: • Two Sample Cuvettes and Caps •... -
Page 4: General Description
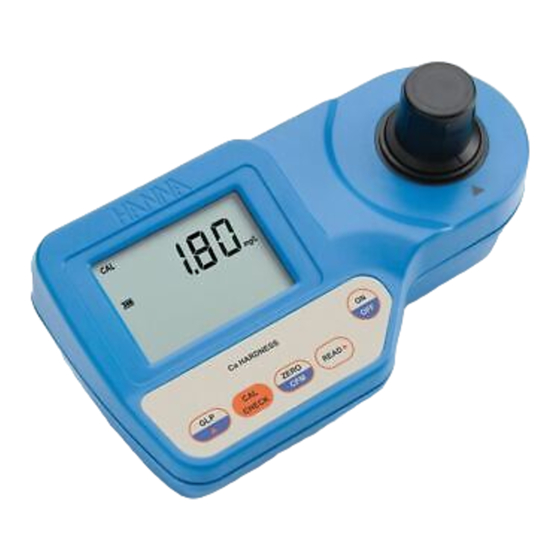
GENERAL DESCRIPTION The HI 96719 is an auto diagnostic portable microprocessor meter that benefits from Hanna’s years of experience as a manufacturer of analytical instruments. It has the advanced optical system based on a special tungsten lamp and a narrow band interference filter that allows most accurate and repeatable readings. -
Page 5: Specifications
SPECIFICATIONS Range 0.00 to 2.00 mg/L Resolution 0.01 mg/L Accuracy ±0.11 mg/L ±5% of reading @ 25°C Typical EMC Deviation ±0.02 mg/L Light Source Tungsten lamp Light Detector Silicon Photocell with narrow band interference filter @ 525 nm Method Adaptation of the Standard Methods for the Examination of Water and Wastwater, 18 edition , EDTA colorimetric method. -
Page 6: Principle Of Operation
PRINCIPLE OF OPERATION Absorption of Light is a typical phenomenon of interaction between electromagnetic radiation and matter. When a light beam crosses a substance, some of the radiation may be absorbed by atoms, molecules or crystal lattices. If pure absorption occurs, the fraction of light absorbed depends both on the optical path length through the matter and on the physical-chemical characteristics of the substance according to the Lambert-Beer Law: = ε... -
Page 7: Functional Description
A microprocessor controlled special tungsten lamp emits radiation which is first optically conditioned and beamed to the sample contained in the cuvette. The optical path is fixed by the diameter of the cuvette. Then the light is spectrally filtered to a narrow spectral bandwidth, to obtain a light beam of intensity I or I. - Page 8 KEYPAD DESCRIPTION • ON/OFF: to turn the meter on and off. • ZERO/CFM: to zero the meter prior to measurement, to confirm edited values or to confirm factory calibration restore. • READ/ /TIMER: this is a multi-functional key. In measurement mode , press to make a measurement, or press and hold for three seconds to start a pre-programmed countdown prior to measurement.
-
Page 9: Errors And Warnings
ERRORS AND WARNINGS The instrument shows clear messages when erroneous condition appears. Messages are also displayed when the obtained values are outside expected range. The beeper is playing a beep on errors. a) on zero reading Light High: There is too much light to perform a measurement. Please check the preparation of the zero cuvette. - Page 10 Under range: A blinking “0.00” indicates that the sample absorbs less light than the zero reference. Check the procedure and make sure you use the same cuvette for reference (zero) and measurement. Over Range: A flashing value of the maximum concentration indicates an over range condition.
-
Page 11: General Tips For An Accurate Measurement
Battery low: The battery must be replaced soon. Dead battery: This indicates that the battery is dead and must be replaced. Once this indication is displayed, the meter will lock up. Change the battery and restart the meter. GENERAL TIPS FOR AN ACCURATE MEASUREMENT The instructions listed below should be carefully followed during testing to ensure best accuracy. -
Page 12: Startup
• It is important that the sample does not contain any debris. This would corrupt the reading. • Each time the cuvette is used, the cap must be tightened to the same degree. • Whenever the cuvette is placed into the measurement cell, it must be dry outside, and completely free of fingerprints, oil or dirt. - Page 13 • When the beeper sounds briefly and the LCD displays dashes, the meter is ready. The blinking “ZERO” indicates that the instrument needs to be zeroed first. • Fill a graduated beaker with 50 mL of sample. • Add 0.5 mL of HI 93719A-0 Magnesium indicator solution, then swirl to mix.
- Page 14 • Remove the blank and insert the sample into the instrument and ensure that the notch on the cap is positioned securely into the groove. • Press and hold READ/ /TIMER for three seconds. The display will show the countdown prior to measurement. The beeper is playing a beep at the end of countdown period.
-
Page 15: Validation Procedure
Now, follow normal measurement procedure. The true value of the sample is the reading obtained multiplied by a factor of one hundred (the dilution factor). For your reference, factors to convert readings in mg/L to French degrees (FD), German degrees (DD) and English degrees (ED) of hardness are as follows: 1 mg/L = 0.1 FD = 0.056 DD = 0.07 ED INTERFERENCES... - Page 16 • After a few seconds, the display will show “-0.0-”. The meter is now zeroed and ready for validation. • Remove the cuvette. • Place the CAL CHECK Standard HI 96719-11 Cuvette B into the cuvette holder and ensure that the notch on the cap is positioned securely into the groove.
-
Page 17: Calibration Procedure
CALIBRATION PROCEDURE Note: It is possible to interrupt calibration procedure at any time by pressing CAL CHECK or ON/OFF keys. Warning: Do not calibrate the instrument with standard solutions other than the HANNA CAL CHECK Standards, otherwise erroneous results will be obtained. •... - Page 18 • After a few seconds the display will show “-0.0-”. The meter is now zeroed and ready for calibration. The blinking “READ” asks for reading calibration standard. • Remove the cuvette. • Place the CAL CHECK Standard HI 96719-11 Cuvette B into the cuvette holder and ensure that the notch on the cap is positioned securely into the groove.
- Page 19 DATE INPUT • Press GLP/ to edit the desired year (2000-2099). If the key is kept pressed, the year number is automatically increased. • When the correct year has been set, press ZERO/CFM or READ/ /TIMER to confirm. Now the display will show the month blinking.
-
Page 20: Glp
• The instrument will return automatically to measurement mode by displaying dashes on the LCD. In the GLP mode, the last user calibration date can be consulted and the factory calibration can be restored. LAST CALIBRATION DATE To display the calibration date: to enter GLP mode . -
Page 21: Battery Management
• Press READ/ /TIMER to enter in the factory calibration restore screen. The instrument asks for confirmation of user calibration delete. • Press ZERO/CFM to restore the factory calibration or press GLP/ again to abort factory calibration restore. • The instrument briefly notifies “done” when restores factory calibration and returns to measurement mode . -
Page 22: Battery Replacement
BATTERY REPLACEMENT To replace the instrument’s battery, follow the steps: • Turn the instrument off by pressing ON/OFF. • Turn the instrument upside down and remove the battery cover by turning it counterclockwise. • Extract the battery from its location and replace it with a fresh one. •... -
Page 23: Warranty
If the repair is not covered by the warranty, you will be notified of the charges incurred. If the instrument is to be returned to Hanna Instruments, first obtain a Returned Goods Authorization Number from the Customer Service Department and then send it with shipment costs prepaid. - Page 24 Hanna Instruments Inc. Highland Industrial Park 584 Park East Drive Woonsocket, RI 02895 USA Technical Support for Customers Tel. (800) 426 6287 Fax (401) 765 7575 E-mail tech@hannainst.com www.hannainst.com Local Sales and Customer Service Office Printed in EUROPE MAN96719 12/10...
Need help?
Do you have a question about the HI 96719C and is the answer not in the manual?
Questions and answers