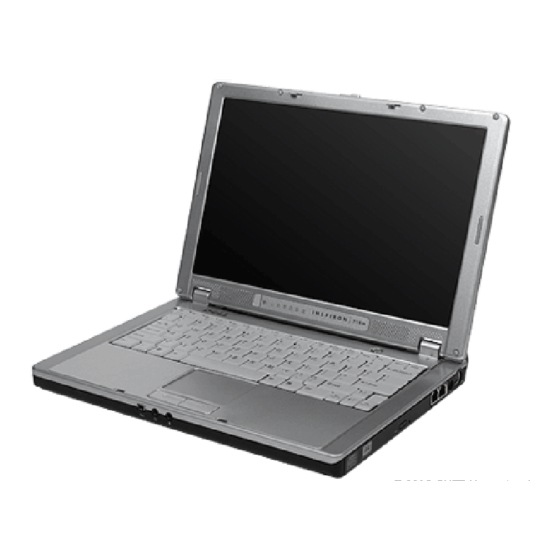
Dell Inspiron 700m Service Manual
Hard drive
Hide thumbs
Also See for Inspiron 700m:
- Owner's manual (188 pages) ,
- Setup manual (88 pages) ,
- Service manual (82 pages)
Advertisement
Back to Contents Page
Hard Drive
Dell™ Inspiron™ 700m/710m Service Manual
Replacing the Hard Drive
Returning a Hard Drive to Dell
Replacing the Hard Drive
CAUTION:
Before you begin any of the procedures in this section, follow the safety
instructions in the Product Information Guide.
NOTICE:
Disconnect the computer and any attached devices from electrical outlets.
NOTICE:
To avoid ESD, ground yourself by using a wrist grounding strap or by touching an
unpainted metal surface on the computer.
NOTICE:
Read
procedure.
1.
Remove the battery.
2.
Loosen the three captive screws that secure the hard drive to the bottom case.
NOTE:
Rubber grommets secure each screw to the hard drive so that you do not need to
completely remove the screws.
1 captive screws (3)
2 hard drive cover
"Before Working Inside Your
Computer" before performing the following
Advertisement
Table of Contents

Summary of Contents for Dell Inspiron 700m
- Page 1 Back to Contents Page Hard Drive Dell™ Inspiron™ 700m/710m Service Manual Replacing the Hard Drive Returning a Hard Drive to Dell Replacing the Hard Drive CAUTION: Before you begin any of the procedures in this section, follow the safety instructions in the Product Information Guide.
- Page 2 NOTICE: When the hard drive is not in the computer, store it in protective antistatic packaging. See "Protecting Against Electrostatic Discharge" in the Product Information Guide. Loosen the two captive screws on the hard-drive securing bracket and remove the bracket. Pull the hard drive out of the computer using the pull tab.
- Page 3 1 hard-drive securing bracket 2 pull tab 3 hard drive Remove the new drive from its packaging. Save the original packaging for storing or shipping the hard drive. NOTICE: Use firm and even pressure to slide the drive into place. If you use excessive force, you may damage the connector.
- Page 4 Press on the connector until the drive is fully seated. Replace the hard-drive securing bracket and tighten the two captive screws. Replace the hard drive cover and tighten the three captive screws. Install the operating system for your computer. Install the drivers and utilities for your computer.


Need help?
Do you have a question about the Inspiron 700m and is the answer not in the manual?
Questions and answers