Advertisement

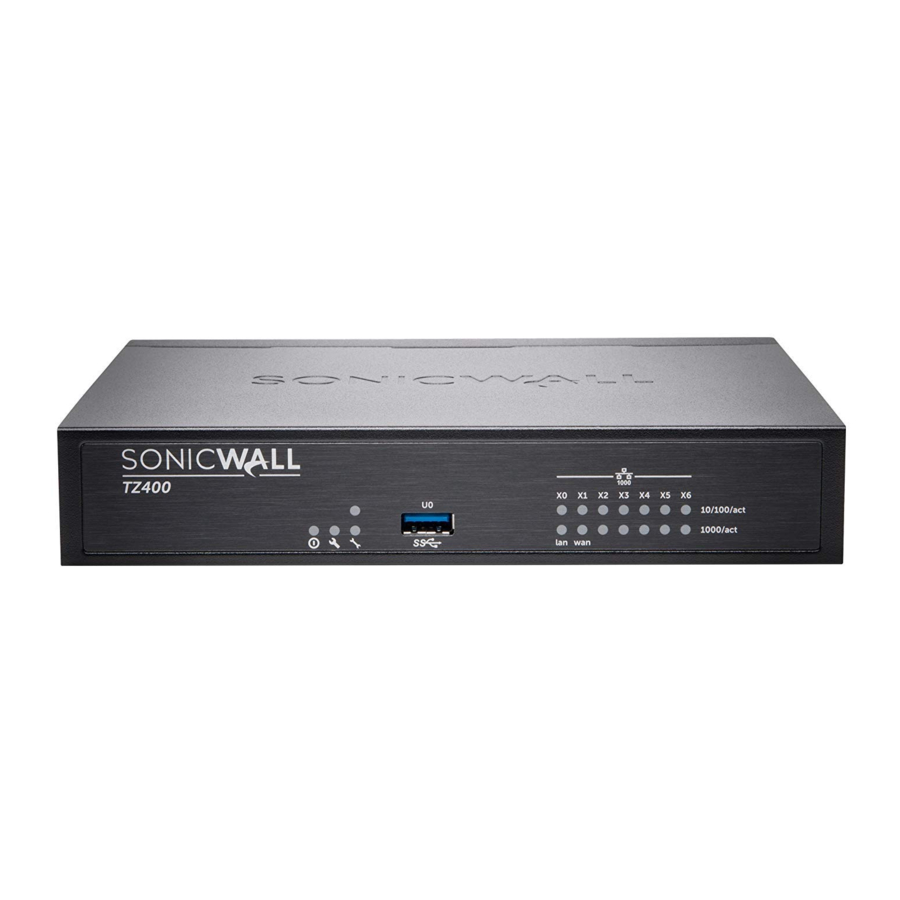
TZ400 / TZ400 W front and rear panels

Reset Button
Press and hold for several seconds to set the appliance into Safe Mode
Check package contents
Verify that your package has the following contents:

- Dell SonicWALL appliance
- Antennas (3) (TZ400 W appliance only)
- Ethernet cable
- Standard power adaptor
- Standard power cord
- Quick Start Guide

Power on
- Connect the antennas to the appliance. Note that the center antenna is labeled and is only compatible with the center antenna screw. (TZ400 W appliance only)
- Connect the power adaptor to the appliance and to the power cable. Plug the power cable into an appropriate outlet (100-240 volts).
![Dell - SonicWALL TZ400 - Power on - Step 1 Power on - Step 1]()
- The TZ appliance powers on and the Test LED blinks during the boot sequence.
![Dell - SonicWALL TZ400 - Power on - Step 2 Power on - Step 2]()
Only use the included power adapter with this appliance. Do not use a power adapter that is damaged or from another appliance.
Connect the interfaces

- Connect the WAN interface (X1) to your Internet connection using a standard Ethernet cable.
- Connect the LAN interface (X0) to your computer using a standard Ethernet cable.
Run the Setup Wizard
- Navigate to https://192.168.168.168 on your Web browser.
![Dell - SonicWALL TZ400 - Run the Setup Wizard - Step 1 Run the Setup Wizard - Step 1]()
TIP: Your computer should be using DHCP IP addressing.
- Click on the link in "To launch the Dell SonicWALL Setup Wizard, click here."
![Dell - SonicWALL TZ400 - Run the Setup Wizard - Step 2 Run the Setup Wizard - Step 2]()
- The SonicOS Startup Guide opens.
![Dell - SonicWALL TZ400 - Run the Setup Wizard - Step 3 Run the Setup Wizard - Step 3]()
- Click Next and follow the prompts in the Startup Guide pages that follow.
- Enter the TZ appliance administrator credentials to change the password, if you wish. Click Next.
NOTE: The default administrator credentials are
Username: admin
Password: password - The automatic WAN IP settings are displayed. Click Next.
![Dell - SonicWALL TZ400 - Run the Setup Wizard - Step 4 Run the Setup Wizard - Step 4]()
NOTE: For manual configuration, refer to the latest SonicOS Administration Guide.
- The new IP Configuration is displayed. Click Done.
Configuring Wireless LAN settings
- Log in to your TZ appliance and click the Wizards icon.
- Select the radio button for the Wireless Guide wizard.
![Dell - SonicWALL TZ400 - Configuring Wireless LAN settings Configuring Wireless LAN settings]()
- Click Next and follow the prompts in the Wireless Guide wizard.
For more information and complete procedures, refer to the latest SonicOS Administration Guide.
Register product
- Point your browser to the appliance LAN IP address (default https://192.168.168.168) and log in using the administrator credentials.
- Click Register on the System > Status page under Security Services.
![]()
TIP: Registering the appliance from SonicOS requires that DNS Server settings are configured on the WAN (X1) interface.
- Log in using your MySonicWALL account name and password. If you do not have a MySonicWALL account, click the Create MySonicWALL account link to create an account.
![]()
- MySonicWALL directly obtains the necessary information from the TZ appliance. When finished, you will see a message that registration has been completed. Click Continue.
![]()
NOTE: Your appliance must be registered to download the latest firmware.
Get the latest firmware
- In a Web browser, navigate to http://www.mysonicwall.com
- Click Downloads and select TZ400 or TZ400 W Firmware from the Software Type menu.
- Click the link for the firmware you want and save the file to a location on your computer.
- On the TZ appliance, navigate to the System > Settings page. Click the Upload New Firmware button.
- Click the Browse button to navigate to and select the firmware you just downloaded.
![]()
- Click Upload and wait for the upload to complete.
- In the Firmware Management Table, click the Boot icon for your new firmware.
Mounting the TZ appliance
Do not mount the appliance on the ceiling, it is not designed for secure ceiling mounting.
For optional wall mounting, you need:
- Screwdriver
- Drill with appropriate size bit
- For mounting on drywall:
- Two #6 pan-head screws, 1 inch long (7mm diameter head, 25mm long)
- Two wall anchors
- For mounting on solid wood or metal:
- Two #6 pan-head wood or machine screws, 1 inch long (7mm diameter head, 25mm long)
To mount the appliance on the wall:
- Drill two holes 4.5 inches (11.5 cm) apart in the wall where you want to mount the appliance.
- If using wall anchors, insert a wall anchor into each hole.
- Insert a screw into each wall anchor (into each hole if not using wall anchors), leaving 3/16 inches (0.45 cm) of the screws exposed (including screw head).
- Position the appliance mounting slots over the screws and press in and down until the appliance is securely mounted.

Documents / Resources
References
Download manual
Here you can download full pdf version of manual, it may contain additional safety instructions, warranty information, FCC rules, etc.
Download Dell SonicWALL TZ400 / TZ400 W - TZ Series Firewall Quick Start Guide
Advertisement


Need help?
Do you have a question about the SonicWALL TZ400 and is the answer not in the manual?
Questions and answers