
Related Manuals for Antrica ANT-36000


Summary of Contents for Antrica ANT-36000
- Page 1 ANT-36000 QUICK START GUIDE Applicable to ANT-36000 / 36000M Antrica Quick Start Guide ANT-36000 Series V12018 Page ! 1...
- Page 2 Contents 1 Whats in the box 2 Setting up the ANT-36000 3. Configuring the ANT-36000 3.1 Video & Audio: Information 3.2 Network : Remote 3.3 Network : Remote : ONVIF 3.4 Network : Remote : RTSP 3.5 Network : Remote : MPEG-TS 3.6: Network : Decode List...
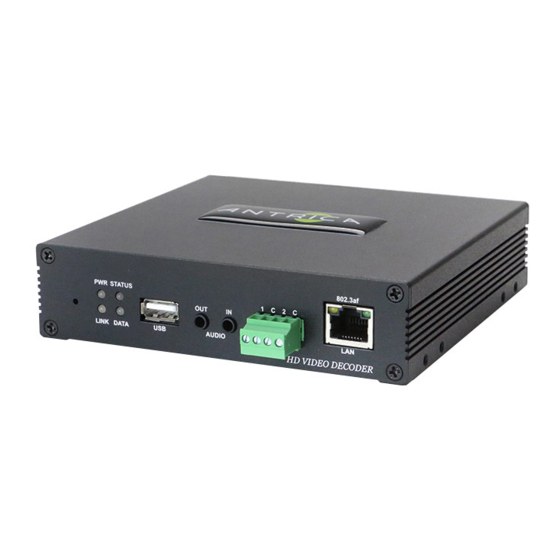
- Page 3 Connect an ONVIF camera or RTSP camera/source as a test unit to the switch. Connect the ANT-36000 to a suitable display via HDMI or HD SDI (composite can be used but it will reduce the image size to PAL or NTSC resolution) Connect the ANT-36000 12 volt power input (or use PoE) and switch on.
- Page 4 In the video information page you can see up to 4 lines representing 4 streams being decoded . These lines will move up and down to represent data coming in. Flat line means no data or decode. Antrica Quick Start Guide ANT-36000 Series V12018 Page ! 4...
- Page 5 Click Get Profile list and select which profile you wish to decode. After any changes always click APPLY (not shown above but bottom right ) To display this stream you will need to setup the video output in section 4 Antrica Quick Start Guide ANT-36000 Series V12018 Page ! 5...
- Page 6 To add MPEG-TS URLs you will select MPEG-TS first from the REMOTE TYPE Then enter the IP address : eg 227.2.2.7 if Multicast plus Port: eg 1234 Click APPLY If unicast enter IP address of remote laptop with VLC or decoder. Antrica Quick Start Guide ANT-36000 Series V12018 Page ! 6...
- Page 7 (timed) or via API HTTP commands (See API document on website ) Stream URLs are added into this list and can be set to decode sequentially as shown below. 4.0 Video & Audio: Output Antrica Quick Start Guide ANT-36000 Series V12018 Page ! 7...
- Page 8 Video and Audio : OUTPUT : is the section where the ANT-36000 video output is set. The HDMI ,HDSDI output format is set here and the Composite video output (scaled to PAL or NTSC) is also set here. OUTPUT: REMOTE: 1,2,3,4 settings include how the image is scaled or cropped.
Need help?
Do you have a question about the ANT-36000 and is the answer not in the manual?
Questions and answers