
Summary of Contents for Titan TTS-NP Series
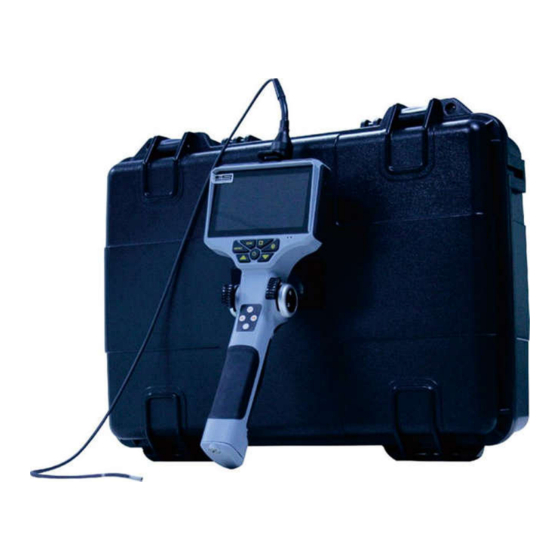
- Page 1 Models of the TTS-NP series Industrial videoscope with 2 or 4 way swiveling camera head User manual...
-
Page 2: Safety Recommendations
Safety recommendations This device must not be used for medical or veterinary purposes. Do not use this item in explosive atmospheres. Do not modify or disassemble the unit. Do not subject the insertion tube (camera cable) or other cables to strong pulling. ... - Page 3 Open the battery compartment 1. Use the supplied screwdriver to remove the screw at the bottom of the handle and pull out the battery compartment. 2. Open the battery compartment by lifting the cover carefully. 3. Replace the 2 supplied batteries, observe correct polarity. 4.
-
Page 4: Parts And Their Functions
Parts and their functions 01 display 08 arrow key up 15 DC in 02 playback 09 MENU button 16 reset 03 charge indicator 10 OK 17 headphone 04 power indicator 11 camera cable 18 video key 19 illumination/brightness 05 freeze key 12 micro USB 06 arrow key down 13 HDMI output... -
Page 5: Button Description
Button description Button Preview mode Playback mode Indication mode Menu mode switch to next adjust optional select previous function no function photo or video functions or options or option go to the previous adjust optional select next function or no function photo or video functions or options option... -
Page 6: Operation Modes
brightness (except for brightness (except no function no function model TTS-S08-6.0(D) – for model there this button means TTS-S08-6.0(D) – lens change - front to side there this button and vice versa) means lens change - front to side and vice versa) Operation modes There are 4 basic modes for easier usage:... - Page 7 Buttons of indication mode and their functions Button Function brightness (5 levels) exposure (0.0, + 1,0, +2,0, -2.0, -1,0) zoom (original = 1x, 2x, 4x, 8x) freeze image 90° image rotation (up, down, left, right) adjusting image colours: original, negative, black & white change between full screen and 16:9 scale for measurements –...
- Page 8 System settings in menu mode Press the MENU button in preview or indication mode to display options as follows: For all options of the system setting applies: Choose the respective options by moving with the arrow keys and confirm your selection with OK.
- Page 9 Date & Time Confirm your selection of ‘Date & Time’ with OK. A new submenu will open. A red cursor shows you the adjustable values like year, month, date (YY/MM/DD), hours and minutes. Increase the value by pressing the up arrow and reduce it by pressing the down arrow You can move the red cursor to the next value by pressing the ‘freeze’...
- Page 10 Date Stamp The ‘Date Stamp’ function allows you to add the recorded date and time on your photos or videos. You 3 options: OFF: Photos and videos are shown WITHOUT date and time. Date: Date of the recording appears on the photos and videos. Date&Time: Date and time of the recording appears on the photos and videos.
- Page 11 Reset All When you want to delete all your settings, you can reset the system to default settings. After confirming ‘Reset All’, a submenu with ‘Yes’ or ‘No’ will open. Yes means that all your settings will be deleted and reset to factory settings. ‘No’ means that nothing will happen and your settings will be retained.
- Page 12 Caution when pulling out the camera cable When pulling out the camera cable please hold it as straight as possible otherwise it could be damaged. Cleaning Cleaning insertion tube Clean the insertion tube immediately after withdrawing. Because leaving it dirty could cause corrosion.
- Page 13 Cleaning distal end Hold the rigid portion of the distal end and use a clean soft piece of gauze, cloth or a cotton swab to wipe off dirt and liquids. The best results may obtained by using commercially available absolute ethanol.
-
Page 14: Problems And Solutions
Problems & solutions No image on the screen after turning the power on Battery is exhausted. Connect the main unit to the power adapter and recharge or replace the battery. Unable to take photo or record video No TF card inserted, wrongly inserted, full or faulty. How to shut down the sytem When all functions freeze or fail, insert an insulated needle into the hole (“Reset”) at the side of the main unit will be reset and restarts automatically. -
Page 15: Working Environment
RoHS WTX19X06040679C Imprint This manual was published by Titan Technology GmbH, An der Feuerwache 9, D-41836 Hückelhoven (www.titan-tech.de). All rights, including translations are reserved. Any reproduction, e.g. photo-copying, microfilming or storage on electronic media requires the prior written consent of the publisher.