Advertisement
BEFORE YOU BEGIN
ZIRCON® CIRCUIT BREAKER FINDERS WORK BY SENSING AN ELECTRONIC SIGNAL FROM THE TRANSMITTER.
- Always use a new 9V alkaline battery with an extended expiration date at least 3 years beyond the current date. Match battery direction to image inside of battery cavity.
- Readings should always be consistent and repeatable.
- Zircon circuit breaker finders should be used in a dry environment.
- Compatible with aluminum and copper circuit wiring.
- Clean transmitter with dry cloth only. Do not expose product to liquids.
- If the device is used in a manner not specified here, then the protection provided by the device may be impaired.
- 80–300 V AC, 50–60 Hz, 4 W maximum.
- Maximum altitude: 2,188 yd (2,000 m).
- Maximum operating temperature: 104°F (40°C).
- Pollution Degree 2 or less.
- Maximum humidity: 80%.
- No part of this device may be replaced or repaired by anyone except the manufacturer.
- Device must be used on a live circuit.
TROUBLESHOOTING & CONSTRUCTION TIPS
| SITUATION | LIKELY CAUSE | SOLUTION |
| No indication: no green LED and buzzer. | The breaker for that circuit is not in the box being scanned. | Find and scan the box that supplies that circuit. |
| The breaker is off. | Look for the breaker that is off and turn it on. | |
| Multiple indications on second scan. | First scan was performed too quickly. | Scan again, moving the Receiver slowly. Keep the nose of the Receiver close to the breaker, and maintain proper orientation. |
| Receiver indicates breaker above the correct one. | Receiver is held at an incorrect angle, with only the tip of the Receiver contacting the breaker. | Hold the Receiver at an angle so the entire Contact Area of the Receiver touches each circuit breaker as shown in Figures B, C, and D. |
| Receiver does not operate. | Low battery. | Install new 9V alkaline battery with an extended expiration date at least 3 years beyond the current date. |
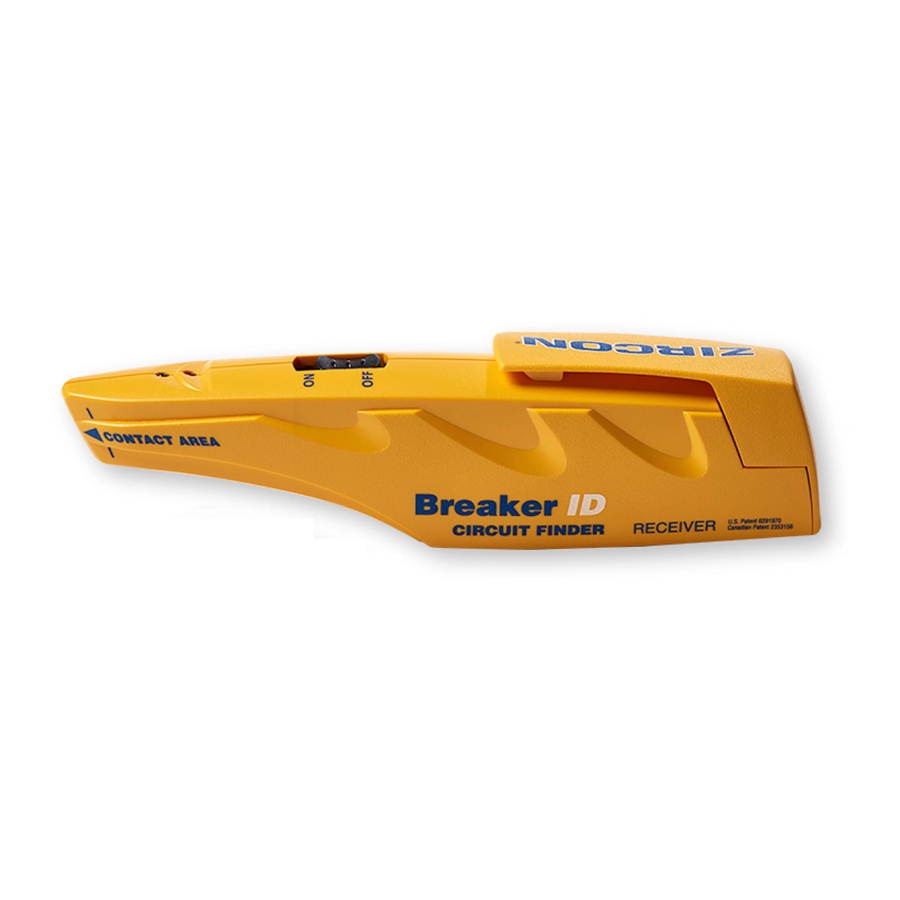
Receiver

Transmitter

Accessories
 Not Shown: Carrying/Storage Case

In no event may the Breaker ID Pro Transmitter be used where the voltage across the Transmitter exceeds 300 V AC, as this will cause failure of the device with consequent damage beyond repair.
INSTALL BATTERY
- Remove the Receiver battery cover by lifting (a) and sliding (b) as shown.
NOTE: If the clip is too tight to move easily, use a flat-head screwdriver to gently pry open.

- Slide a new 9V alkaline battery into the compartment, terminals first, matching + and − on the battery with markings in the compartment.
- Slide the cover back on the Receiver until it snaps in place.


LOCATE A CIRCUIT
In a three-phase application, the Transmitter may be connected between any power line and neutral, or from line to line not to exceed 300 V AC, in both wye and delta type power configurations.
- Attach the appropriate Accessory(ies) to the Transmitter. (Figure A)

- Connect the Transmitter to the circuit to be identified. The Red LED will blink approximately five seconds then glow solid to indicate the Transmitter is functioning and the circuit is live.
- At the circuit panel, turn the Receiver to ON.
- Holding the Receiver at an angle that gives maximum contact between the Contact Area and the breaker, slowly scan all breakers. (Figure B)

The Contact Area must touch each breaker during the scan. The first scan calibrates the tool. During first scan, the Receiver may indicate more than one breaker. This is normal. If there is more than one panel, perform this step on each panel without turning the Receiver off. - Perform a second pass over the breakers to identify the breaker that corresponds with the outlet where the Transmitter is plugged in.
When the green LED glows and the buzzer sounds, the Receiver is directly over the breaker for the outlet where Transmitter is plugged in.
Note:
Some circuit boxes are mounted with breakers oriented vertically. See Figures C and D for proper Receiver orientation for horizontally or vertically oriented breakers.

- Once the correct breaker is identified, turn it off and label the breaker for future reference.
- With the Transmitter still plugged in, verify that the Red LED on the Transmitter is off, indicating a dead circuit, before beginning work.


TRACE THE CIRCUIT FOR A LIGHT FIXTURE
Screw the Light Socket Adapter into the socket where a bulb would normally go, then plug the Transmitter into the Adapter.

STORE THE TOOL
Before storing, use a dry cloth to clean the parts.
Do not expose the tool to liquids.
LIMITED 1 YEAR WARRANTY
Zircon Corporation ("Zircon") warrants to the product owner that this product will be free from defects in materials and workmanship for one year from the original date of purchase. Any defective product returned to Zircon within the warranty period to the address below, freight prepaid, along with proof of purchase, will be repaired or replaced, at Zircon's option. Repair or replacement may be made with a new or refurbished product or components, at Zircon's sole discretion. If the returned product is no longer available, Zircon may replace the product with a similar product of similar function. This warranty is limited to the electronic circuitry of the product and original case of the product, and specifically excludes any damage caused by abuse, modification, handling contrary to these instructions, other unreasonable use, or neglect. This is your sole and exclusive remedy for breach of this Limited Warranty. This Limited Warranty is in lieu of all other warranties, express or implied, and no other representations or claims of a similar nature will bind or obligate Zircon. Any implied warranties applicable to this product that cannot be disclaimed are limited to the one year period following its purchase. This Limited Warranty does not cover consumable parts, including batteries, or software, even if packaged with the product.
IN NO EVENT WILL ZIRCON BE LIABLE FOR ANY SPECIAL, INCIDENTAL OR CONSEQUENTIAL DAMAGES RESULTING FROM POSSESSION, USE OR MALFUNCTION OF THIS PRODUCT. Some states do not allow limitations on certain implied warranties and/or the limitation on incidental or consequential damages, so the above limitations and exclusions may not apply to you. This warranty gives you specific legal rights, and you may also have other rights which vary from state to state. Return products for warranty service, freight prepaid with proof of purchase (a dated sales receipt) to:
Zircon Corporation
Attn: Returns Department
1580 Dell Avenue Campbell, CA 95008-6992 USA
Be sure to include your name and return address. Allow 4–6 weeks for delivery.
Customer Service: 1-800-245-9265 or 1-408-963-4550 Monday–Friday, 8:00 a.m.–5:00 p.m. PT
info@zircon.com • www.zircon.com
©2018 Zircon Corporation
Zircon is a registered trademark of Zircon Corporation.
Visit www.zircon.com for the most current instructions.
 ZirconCorporation
 ZirconTV
 ZirconTools | ZirconToolPro
 ZirconTools

VideosHow to Use Zircon Breaker ID Pro 300 Circuit Breaker Finder Kit Video
Documents / Resources
References
Download manual
Here you can download full pdf version of manual, it may contain additional safety instructions, warranty information, FCC rules, etc.
Download Zircon Breaker ID Pro 300 - Circuit Breaker Finder Kit Manual
Advertisement


Need help?
Do you have a question about the Breaker ID Pro 300 and is the answer not in the manual?
Questions and answers