Oculus Go Virtual Reality Manual
Also See for Go:
- Safety & warranty manual (27 pages) ,
- Getting started (16 pages) ,
- Operation manual (10 pages)
Advertisement
Table of Contents
Contents
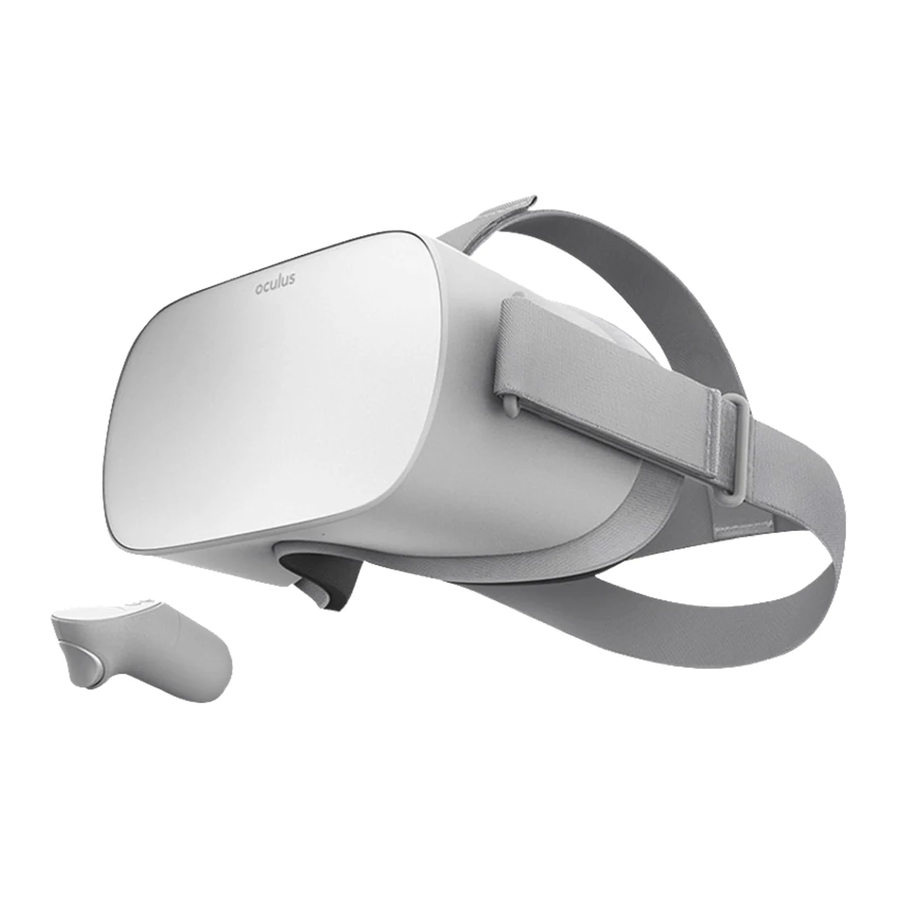
Oculus Go Virtual Reality Manual
Package contents and controls overview

Charging
- Plug in the supplied micro USB cable and connect to a computer or USB charger.
![]()
- Refer to the below table to get the battery status while the headset is plugged in :


Before use
- Ensure the headset is charged
- Install the eyeglasses spacer if needed. You can try the headset on without the spacer first if your vision is close to perfect.
- The following link provides a step-by-step guide on installing the eyeglasses spaser: https://youtu.be/YA5U8MbkUrE
- Wipe the lenses with provided lens cloth.
- Ensure the controller contains the AA battery and the lanyard is attached.
Operation
- Put the headset on adjusting the straps as necessary – it should fit comfortably and shouldn't apply too much pressure on your face and head.
- Press the power button until the Oculus appear on the screen.
- If prompted, long-press the oculus/menu button on the controller to recenter the screen. (The system can give a warning of low controller battery charge in which case the AA battery should be replaced).
- Controller use :

Oculus/menu button - short press brings up the menu bar, long press recenters the menu in the direction the controller is pointing to
Back button - returns to the previous menu
Trigger button - equivalent to ok/enter command (eg. press a button in program)
Touchpad - used for scrolling (up/down/left/right)
- Controller use :
- Once at the home screen, adjust your view by slowly moving the headset up/down and left/right until the image is clear.
- The headset display can go to sleep (if taken off for example) – short press the power button to turn the display back on. Alternatively a sensor inside the headset reactives it every time it's put on.
- The headset has built in speaker system - volume can be adjusted using the volume button located on the top of the headset.
- Headphones can be used if needed – the headphone jack inlet is located next to the micro USB port.

Light indicator meanings (while in operation)
")
Connecting to Wi-Fi
Wi-Fi connection is required to operate the headset, navigate to Settings then Wi-Fi to choose a network:

The following parameters should be used when connecting to AirYorkPLUS Wi-Fi:
EAP method: PEAP
Phase 2 authentication: None
CA certificate: Use system certificate
Domain: yorku.ca
Identity: your yorku user name excluding @my.yorku.ca
Anonymous identity: skip
Password: your yorku password
Advanced: skip
360 video file transfer
- File transfer is only available on Windows machines.
- When powered on plug the headset into a Windows PC using the USB cable.
- The headset will show a prompt requesting to allow access to data – press Allow. If no prompt shown disconnect the cable from the computer and plug it in again.

- The headset will now show on the computer as an external drive with subfolders under the name 'VR-Headset'.

- Navigate to VR-Headset / Internal shared storage / Movies.
- Paste 360 video files to the directory.
- The files are now available for viewing on the headset.


Watching 360 video
- Select Library on the menu bar on the bottom (you can access the menu bar from any place in the system by pressing the oculus/menu button on the controller. Select submenu Navigate to access options such as Home, Library etc.).
- Open Oculus Gallery application.

- Select Internal Storage to open device's media file storage

- Transferred videos are shown here. Click on a video to start playback.

- The video will start.
- (Optional) Sometimes the video can be presented in 2D flat screen format - press the 2D button on the playback menu bar, then press 360 button:


- (Optional) Sometimes the video can be presented in 2D flat screen format - press the 2D button on the playback menu bar, then press 360 button:


Safety instructions from the manufacturer
The full list of health and safety instructions can be found at https://www.oculus.com/legal/health-and-safety-warnings/?locale=en_US
VideosOculus Go Setup & Review Video
Documents / Resources
References
Download manual
Here you can download full pdf version of manual, it may contain additional safety instructions, warranty information, FCC rules, etc.
Advertisement


Need help?
Do you have a question about the Go and is the answer not in the manual?
Questions and answers