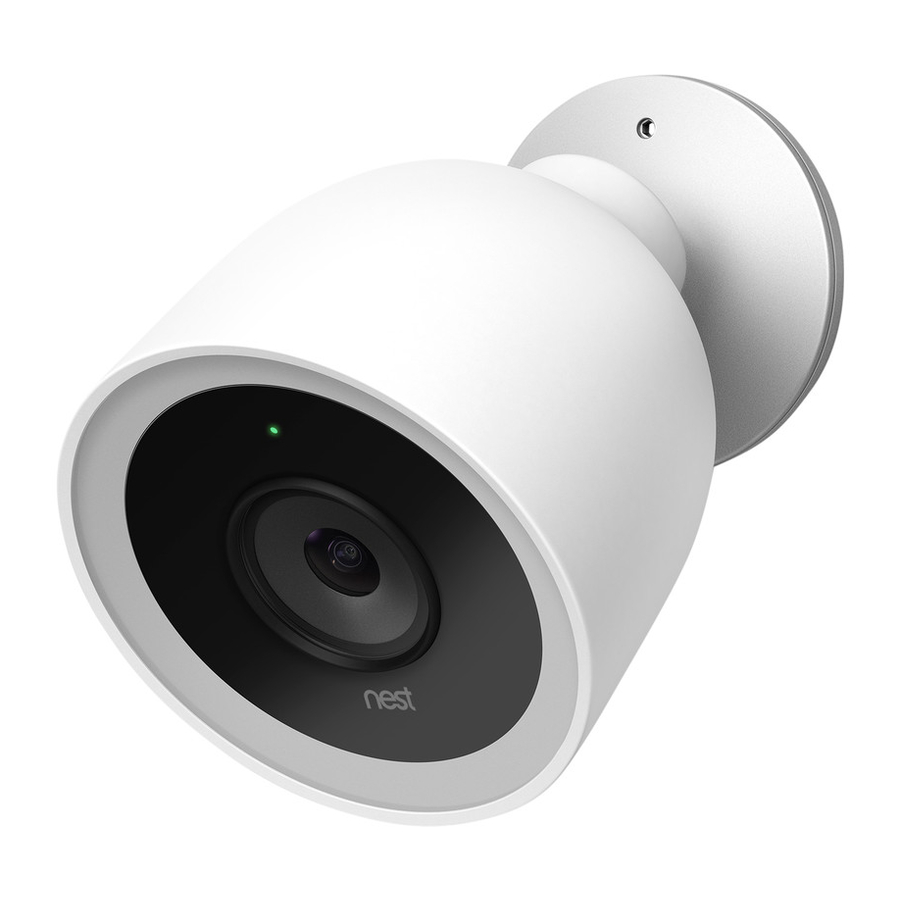
Nest Cam IQ Outdoor Installation Guide
- Installation manual (68 pages) ,
- Installation manual (23 pages) ,
- Installation manual (9 pages)
Advertisement
In the box


Nest Cam IQ's power adapter is not weatherproof and should only be plugged into an indoor outlet
What you'll need
- Wi-Fi and a working broadband internet connection with at least 2 Mbps upload speed DSL connections may not have enough bandwidth
- A compatible phone or tablet with Bluetooth 4 0
- A Nest Account
- An indoor power outlet
- A power drill with Phillips driver bit
Other items you may need
- Drill bits (3/32" for pilot holes, 7/32" for wall anchors, 1/2" for cable hole)
- Caulk to seal the wall plate
Do this first
Turn on Nest Cam IQ indoors

Push the latch to unlock the cable before trying to remove it
Start by turning on your camera inside your home to get it set up before you take it outside
Plug the end of the power cable with the gray ring into the base of your camera It will click into place
Plug the other end into the power adapter
Then plug the adapter into an indoor power outlet close to your Wi-Fi router Your Nest Cam IQ will turn on and its light ring will turn blue.
Connect it to the app

If you're new to Nest:
- Get the Nest app from the App Store or Google Play ®
![www.apple.com]()
![play.google.com]()
- Open the app and tap "Sign up" to create an account
- Then tap Add If you already have a Nest Account:
- Tap the Settings icon in the top-right corner of the app home screen
- Then tap "Add product"


The app will guide you through a few steps You'll scan the camera's QR code, name your camera, and connect it your Wi-Fi network If you need help, go to nest.com/pair
Test your camera's video streaming outside

Keep your camera plugged into an outlet and take it outside Hold it where you'd like to mount it and check to make sure it's streaming video to the Nest app.
If you don't see video, the Wi-Fi may not be strong enough there – you'll need to find a different spot or move your Wi-Fi router → See location tips
Plan the cable path

Before you mount your camera, measure the cable along the route where you'll be installing it You can disconnect your camera from the cable to make it easier to measure
If there's an existing opening, you may be able to run the cable through it to the outside If not, you can use a ½" bit to drill a hole for the cable Make sure you know where all in-wall pipes and electrical wires are before drilling.
Choose a good spot
Consider the view

Nest Cam IQ has a wide 130-degree field of view and a fully articulating hinge, so you can mount it almost anywhere you want and point it in any direction Typically, you should install it where it can look over a large area of your property: over the garage or patio, or your back, side or front doors You can also use the Nest app to zoom and enhance the view to get it exactly how you want.
Install it just above head height

7 to 10 feet above the ground, tilted downward, is best — this is high enough to let you see people's faces and talk to them with the camera's speaker and microphone
Look for a nearby indoor outlet

Nest Cam IQ has a 25 foot (7 5 m) outdoorrated power cable that is designed to be easily routed through or along a wall to an indoor power outlet Look for an outlet that's close to where you want to install your camera
Keep it in range of your router

Make sure to pick a place within range of your network Thick or insulated walls can greatly reduce Wi-Fi signal strength even if your router is close by So you should test streaming video with the app before you mount your camera.
Learn more at nest.com/wifihelp
Mount your camera
Install the wall plate

Use a 3/32" drill bit to drill pilot holes for the screws
If the wall is made of a hard material like brick or stucco, you may need to use the included wall anchors to hold the screws Use a 7/32" bit for the anchors
Spread caulk around the edge of the wall plate before installing to seal it Leave a small open space at the bottom for water to drain out
- If you're installing the camera directly over the cable hole (see illustration), mount the wall plate over the hole and route the cable through the center hole
- If you're running the cable along the wall before it goes inside, mount the wall plate where you want and route the cable through the notch in the wall plate
Attach the camera

- Plug the end of the power cable that has the gray rubber ring into the base of your camera It will click into place
- Then push the camera base into the wall plate until it clicks into place
- Your Nest Cam will turn on and reconnect to Wi-Fi
- Check your camera's video feed with the Nest app and adjust the camera angle if needed
Install the cable

Secure the cable using as many of the included cable clips as you need
For a clean looking installation, try to route the cable along a ledge or corner You can also paint the cable and the clips to match your home Do not paint the camera
Using your Nest Cam
For help getting started, learning about Nest Cam IQ features, tips and more, go to nest.com/camerabasics
If you ever need to unmount your camera, you can use the included hex key to disconnect it from the wall plate.

Safety
PLACEMENT GUIDELINES
To avoid risk of overheating and burns:
Use only in temperatures between –40° and 113°F (–40° to 45°C)
Do not block airflow to Nest Cam IQ
To avoid risk of fire and shock:
Use only provided power cable and power adapter.
Install in accordance with building and installation codes where you live
To avoid risk of other serious injury:
Keep camera and all components out of the reach of children and pets.
For more information on safety go to nest com/camsafety

VideosGoogle Nest Cam IQ Outdoor How to set up and install Video
Documents / Resources
References
![www.apple.com]() App Store - Apple
App Store - Apple![play.google.com]() Google Play
Google Play![nest.com]() Choose your country | Nest
Choose your country | NestTroubleshoot wireless interference - Android - Google Nest Help
Get started with your Nest camera - Google Nest Help
Safety & regulatory documentation - Product Documentation Help
Download manual
Here you can download full pdf version of manual, it may contain additional safety instructions, warranty information, FCC rules, etc.
Advertisement


Need help?
Do you have a question about the Cam IQ and is the answer not in the manual?
Questions and answers