Table of Contents
Advertisement
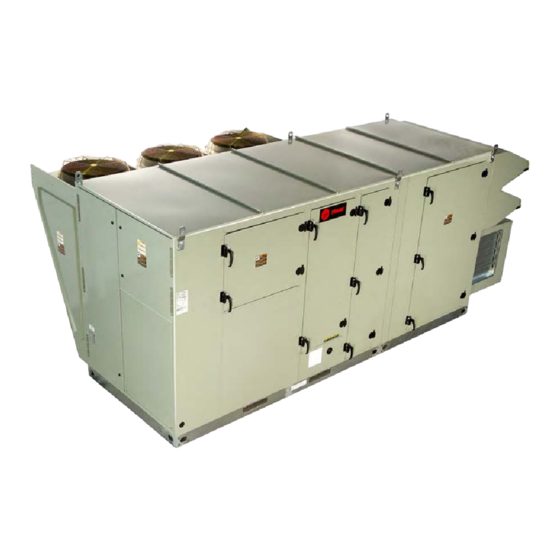
Installation, Operation, and Maintenance
Horizon™ Outdoor Air Unit
Horizon UC600 Controls Program Version 12.0
Models
OABD, OABE, OABF, OADG, OAGD, OAGE, OAGF, OAKD, OAKE, OAKF, OAND, OANE, OANF,
OANG
Important:
Proper completion of the tasks outlined in this Installation, Operation, and Maintenance manual require and assume
the technician has been certified as a start up technician for the Horizon Outdoor Air unit. This includes working
knowledge of the Tracer TU program.
Only qualified personnel should install and service the equipment. The installation, starting up, and servicing of
heating, ventilating, and air-conditioning equipment can be hazardous and requires specific knowledge and training.
Improperly installed, adjusted or altered equipment by an unqualified person could result in death or serious injury.
When working on the equipment, observe all precautions in the literature and on the tags, stickers, and labels that are
attached to the equipment.
L'installation et l'entretien de cet équipement doivent être assurés exclusivement par du personnel qualifié.
L'installation, la mise en service et l'entretien d'équipements de chauffage, de ventilation et de climatisation (CVC)
présentent un danger et requièrent des connaissances et une formation spécifiques. Une installation, un réglage ou une
modification inappropriés d'un équipement par une personne non qualifiée peut provoquer des blessures graves, voire
la mort. Lors de toute intervention sur l'équipement, respectez les consignes de sécurité figurant dans la
documentation, ainsi que sur les pictogrammes, autocollants et étiquettes apposés sur l'équipement.
February 2023
SAFETY WARNING
AVERTISSEMENT DE SÉCURITÉ
OAU-SVX007A-EN
Advertisement
Table of Contents


Need help?
Do you have a question about the Horizon OABD Series and is the answer not in the manual?
Questions and answers