Table of Contents
Advertisement
Quick Links
www.WorkshopManuals.co.uk
Service
Manual
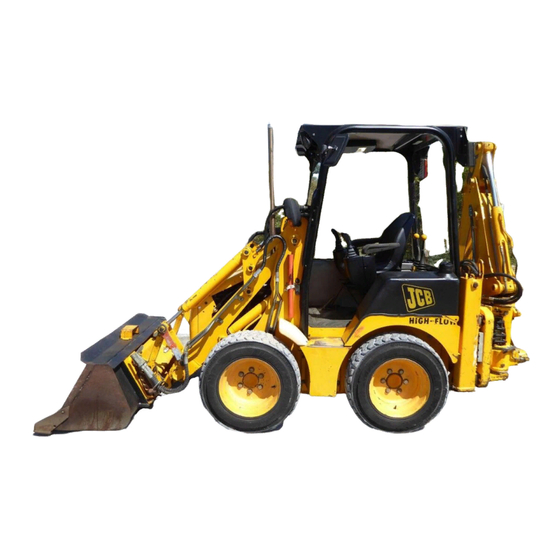
1CX, 208S
Backhoe
Loader
PUBLISHED BY THE
TECHNICAL PUBLICATIONS DEPARTMENT
OF JCB SERVICE; ©
WATERLOO PARK, UTTOXETER,
STAFFORDSHIRE, ST14 5PA, ENGLAND
Tel. ROCESTER (01889) 590312
PRINTED IN ENGLAND
Publication No. 9803/8550
Purchased from www.WorkshopManuals.co.uk
General Information
Care & Safety
Routine Maintenance
R
Attachments
Body & Framework
Electrics
Controls
Hydraulics
Transmission
Brakes
Engine
1
2
3
A
B
C
D
E
F
G
K
Advertisement
Chapters
Table of Contents


Need help?
Do you have a question about the 1CX and is the answer not in the manual?
Questions and answers