Advertisement
Quick Links
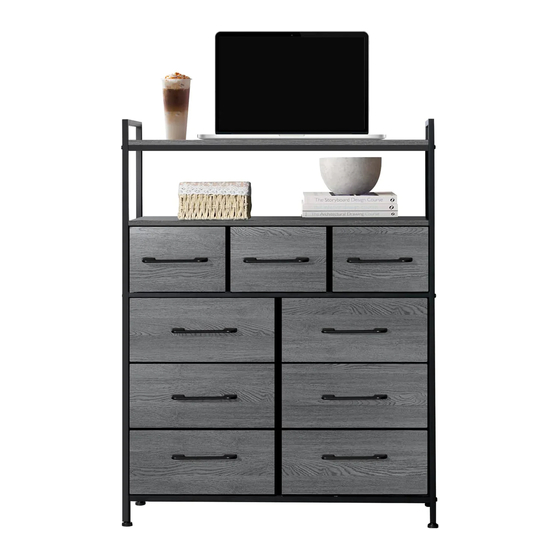
Dresser
Assembly Instructions - Please keep for future reference
Read all instructions before assembly and use.
KEEP INSTRUCTIONS FOR FUTURE USE.
If you need assistance or find missing or damaged parts
in the package, contact us by mail: info@wasagun.com
oo
DD
2
Dimensions
Width - 3 1.6inch
Depth - 11.4inch
Height - 41.1inch
Assembly Tool
Required
Screwdriver
2
1
1
Advertisement

Related Manuals for WASAGUN DD002


Summary of Contents for WASAGUN DD002
- Page 1 Width - 3 1.6inch Depth - 11.4inch Height - 41.1inch Assembly Tool Required Screwdriver Read all instructions before assembly and use. KEEP INSTRUCTIONS FOR FUTURE USE. If you need assistance or find missing or damaged parts in the package, contact us by mail: info@wasagun.com...
- Page 2 Components If you need assistance or find missing or damaged parts in the package, contact us by mail: info@wasagun.com Please check all parts below under a good condition before you install the dresser. o f 1 24 pcs 9 pcs...
- Page 3 Assembly Instructions Step 1 1.Secure the frame between the frame with screw. Ax4 pc Hx1 pc Step 2 2.Install adjustment foot on the frame respectively. Ex4 pc...
- Page 4 Assembly Instructions Step 3 3.Fix frame to frame with screws. Ax2 pc Hx1 pc Step 4 4.Fix frame to the top of frame with the screw. At the ends of frame ,secure frame and frame with screws Ax6 pc Hx1 pc...
- Page 5 Assembly Instructions Step 5 5.Attach frame to the corresponding holes in frame with screws Ax4 pc Hx1 pc Step 6 6.Attach frame to the top of the two frames with screws The ends of frame are fixed to frame and frame with screws Bx4 pc...
- Page 6 Assembly Instructions Step 7 7.Attach the two frames to the frame with screws Ax4 pc Hx1 pc Step 8 8.Attach the assembled frame to the uppermost holes of frame and frame with screws Ax4 pc Hx1 pc...
- Page 7 Assembly Instructions Step 7 Step 9 9.Connect the two frames from the middle hole with screws and nuts Bx1 pc Dx1 pc Hx1 pc Step 10 10.Using screw , fix the assembled frame to the corresponding holes in frame 8 4 6 Bx4 pc Hx1 pc...
- Page 8 Assembly Instructions Step 11 Install the part of charging station 11.Fix the fitting to the corresponding hole in the frame with the screw Fx2 pc Jx1 pc Hx1 pc Step 12 12.Install the handle on the drawer with screw. Gx3 pc flat on the bottom of the drawer. Hx1 pc...
- Page 9 Assembly Instructions Step 13 13.Install the handle on the drawer with screw. Gx6 pc flat on the bottom of the drawer. Hx1 pc Step 14 14.Put the drawers in the dresser.
- Page 10 Assembly Instructions Step 15 Install the anti-tipping kits. Ix4 pc Mx4 pc Kx2 pc Lx2 pc b:First, according to the a:First pass the accessory size of the accessory through the rear frame of the draw the position that rear dresser and the accessory needs to be punched on the ,14.Put the drawers in the wall.
- Page 11 Safety Notes and Care Avice Important – Please read these instructions fully before starting assembly Check that if you have all the Do not allow your children to stand or Assemble on a soft level surface to components andools listed on the climb on or in the drawer. It could avoid damaging the unit or your front coverand pages 2.
-
Page 12: Warranty
Any help or questions during use, please contact us via website www.wasagun. com, send email to info@wasagun.com, we will service you within 24 hours. We suggest to provide a warranty card, a photo or a video if there’s broken spare part or not working machine so that we can be much more clear about your problems and offer you the best solution.
Need help?
Do you have a question about the DD002 and is the answer not in the manual?
Questions and answers