Advertisement
Quick Links
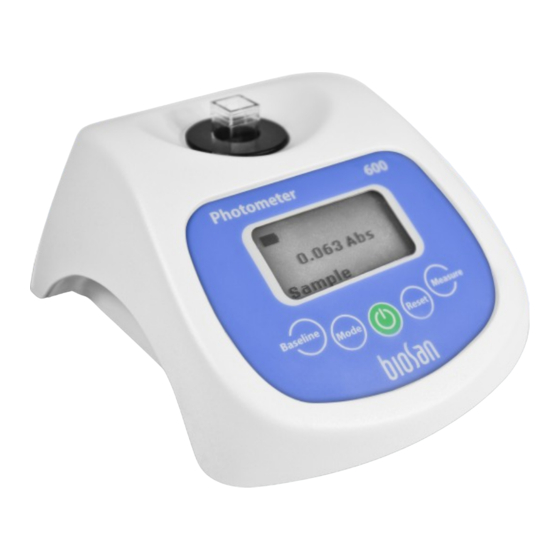
Photometer DEN-600m
Periodical maintenance
Photometer DEN-600
periodical battery charging.
Cleaning. Standard ethanol (75%) or any other cleaning liquids can be used for cleaning and
disinfecting of the device, if it does not contain any strong organic solvents (such as acetone,
toluene or benzene).
The following spare parts are available for Photometer DEN 600
No.
Spare part
1
LCD and Button Board DISP_G
2
Control Board
3
Battery
4
Casing (bio)
5
Sensor Board
6
LED assembly
7
Power socket
DEN-600m - V.2AW Service Manual
Service Manual for
m does not require periodical technical maintenance, except cleaning
DEN_600_3
LP405063, 3.7V, 1400mAh
DEN-600
SEN_L
600 nm
Version 1 - March 2022
-
m:
Marking
Article
BS-050109-S02
BS-050109-S01
BS-050109-S05
BS-050109-S07
BS-050109-S04
BS-050109-S03
BS-050109-S06
Page 1
and
Advertisement

Related Manuals for Biosan DEN-600m


Summary of Contents for Biosan DEN-600m
- Page 1 LCD and Button Board DISP_G BS-050109-S02 Control Board DEN_600_3 BS-050109-S01 Battery LP405063, 3.7V, 1400mAh BS-050109-S05 Casing (bio) DEN-600 BS-050109-S07 Sensor Board SEN_L BS-050109-S04 LED assembly 600 nm BS-050109-S03 Power socket BS-050109-S06 DEN-600m - V.2AW Service Manual Version 1 - March 2022 Page 1...
- Page 2 Setting idle time. It is possible to change the time, after which the unit on battery power turns itself off to conserve power. Press Measure to increase the time by 1 minute and Baseline to decrease it by 1 minute. DEN-600m - V.2AW Service Manual Version 1 - March 2022 Page 2...
- Page 3 – disconnect the wire terminal (fig.4/3) from the Sensor Board; – unscrew the four screws (fig.4/4) and remove the Sensor Board; – replace the Sensor Board; – re-assemble the unit. Opened casing fig.3 DEN-600m - V.2AW Service Manual Version 1 - March 2022 Page 3...
- Page 4 – remove the Control Board (see Control Board replacement); – desolder Power Socket pins (fig.5/4) and remove it; – replace the Power Socket; – re-assamble the unit. Front view fig.4 Back view fig.5 DEN-600m - V.2AW Service Manual Version 1 - March 2022 Page 4...
- Page 5 LCD and Button Board Battery Control Board Sensor Board DEN-600m - V.2AW Service Manual Version 1 - March 2022 Page 5...
Need help?
Do you have a question about the DEN-600m and is the answer not in the manual?
Questions and answers