Table of Contents
Advertisement
Quick Links
Advertisement
Table of Contents

Subscribe to Our Youtube Channel
Related Manuals for Biosan HiPo MPP-96


Summary of Contents for Biosan HiPo MPP-96
-
Page 3: Table Of Contents
Contents Safety Precautions ....................4 General Information ....................5 Getting started ......................6 Operation ......................... 7 Unit verification ....................... 10 Specifications ......................12 Maintenance ......................14 Warranty and Claims ....................14 EU Declaration of Conformity ................. 15... -
Page 4: Safety Precautions
Safety Precautions The following symbol means: Caution: Make sure you have fully read and understood the present Manual before using the equipment. Please pay special attention to sections marked by this symbol. GENERAL SAFETY Use only as specified in the operating manual provided. ... -
Page 5: General Information
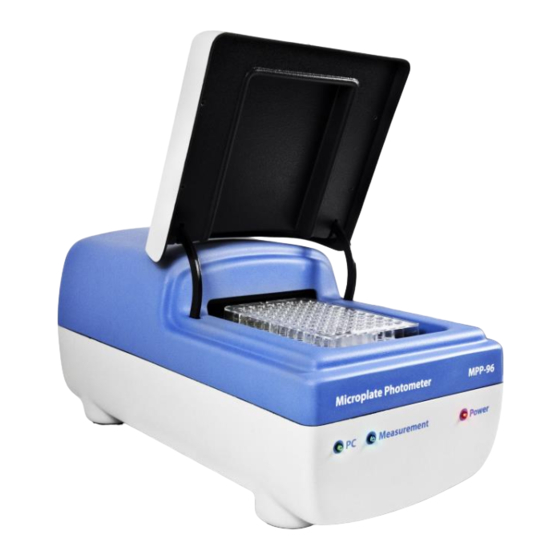
General Information Microplate Photometer HiPo MPP-96 is a compact tabletop device for analysing the results of ELISA and microbiological studies by measuring optical density in 96-well micro- plates. Instrument is controlled by and outputs data to computer. 8 Si photodiodes... -
Page 6: Getting Started
3.2. Complete set. Package contents: Standard set HiPo MPP-96 Microplate photometer with installed interference filters (405, 450, 492, 620 nm) ............1 pce. USB flash drive with software ................1 pce. USB connector cable ..................1 pce. -
Page 7: Operation
Operation 4.1. Connect the external power supply to the mains. Switch the Power switch on the rear panel of the unit to position I (on, fig. 2/1). The Power LED light (fig. 1/3) turns on. 4.2. Connect the unit port (fig. 2/2) and the PC port with the USB cable. Turn on the PC. The PC LED light (fig. - Page 8 Four mixing speeds are available; mixing time can be set between 3 and 15 seconds. 4.4.4. Press Start button. The Measurement LED light (fig. 1/2) turns on. Attention! Do not open the lid during measurements! 4.5. Measurement processing. After an 8-second measurement, the software automat- ically opens the Input data tab that displays all measurement results.
- Page 9 4.6. Data export. To export data in PDF, XLS or CSV formats, press the corresponding button. 4.7. To save the data in Quant Assay file format, press Save button. 4.8. To export the data in the microplate format, press XLS 96 well button. 4.9.
-
Page 10: Unit Verification
Unit verification 5.1. Checking the calibration. If the user have any doubts in measuring precision, he may perform a basic control check as follows: 5.1.1. No microplate method. Remove microplate and close the lid. Perform measurement according to p. 4.4. Re- sults should be between -0.003 and 0.005. - Page 11 5.2.3. Following frame appears below (fig. 5): Fig. 5. Verification test setup. Enter the name of the operator, head of QC, QC company and manufacturer details in corresponding fields (fig 5/1). Select the channels to test (fig. 5/4) and the number of measurements to perform (fig.
-
Page 12: Specifications
Specifications The unit is designed for operation in cold rooms, incubators and closed laboratory rooms at ambient temperature from +4°C to +40°C in a non-condensing atmosphere and maximum relative humidity 80% for temperatures up to 31°C decreasing linearly to 50% relative humidity at 40°C. - Page 13 Up to four bandpass filters of wavelengths other than the standard can be fitted in the unit per request. Following wavelengths are available (see LEDs’ spectral power specifica- tion on figure 6): 400 nm, 455 nm, 458 nm, 460 nm, 470 nm, 480 nm, 486 nm, 488 nm; ...
-
Page 14: Maintenance
8.6. The following information will be required in the event that warranty or post-warranty service comes necessary. Complete the table below and retain for your records. Model HiPo MPP-96 Microplate photometer Serial number Date of sale... -
Page 15: Eu Declaration Of Conformity
Serial number 14 digits styled XXXXXXYYMMZZZZ, where XXXXXX is model code, YY and MM – year and month of production, ZZZZ – unit number. Manufacturer SIA BIOSAN Latvia, LV-1067, Riga, Ratsupites str. 7/2 Applicable Directives EMC Directive 2014/30/EU LVD Directive 2014/35/EU... - Page 16 Biosan SIA Ratsupites 7, build.2, Riga, LV-1067, Latvia Phone: +371 67426137 Fax: +371 67428101 http://www.biosan.lv Edition 1.07 – January 2017...
Need help?
Do you have a question about the HiPo MPP-96 and is the answer not in the manual?
Questions and answers