Advertisement
Quick Links
Advertisement

Related Manuals for Essilor SL500L


Summary of Contents for Essilor SL500L
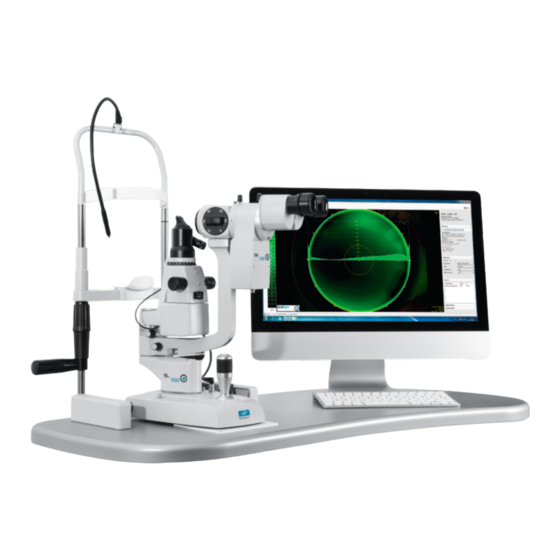
- Page 1 SLIT LAMP - SL500L Installation manual www.essilor-instruments.com...
-
Page 3: Table Of Contents
INSTALLATION MANUAL > CONTENTS CONTENTS I. INSTALLATION 1. Equipment installation a. Fix the slit lamp to the pedestal b. Set the objective c. Position the eyepiece 2. Electrical connection... - Page 4 INSTALLATION MANUAL > CONTENTS...
-
Page 5: Installation
I. INSTALLATION... - Page 6 INSTALLATION MANUAL > INSTALLATION Slit lamp - SL500L > v1.0 -03.16...
-
Page 7: Equipment Installation
A size 5 Allen wrench A flat screwdriver The 6 provided screws: 4 to fix the plate on the stand (if Essilor table) 2 to fix the chinrest 4 wood screws (not provided) Slit lamp - SL500L > v1.0 -03.16... -
Page 8: Fix The Slit Lamp To The Pedestal
Using the size 5 Allen wrench and the 4 provided screws, fix the plate to the stand. If the plate used is other than the Retina412 then use the installation pattern provided with the SL500L, which is also downloadable on M’eyeDocs. - Page 9 Remove the rubber cap located under the lifting beam of the slit lamp. Put the base unit of the slit lamp on the rails then clip the 2 rail covers onto each rail. Use the screw which is under the main part of the lamp. Slit lamp - SL500L > v1.0 -03.16...
- Page 10 Place this screw in its proper place on the base unit of the slit lamp to assemble the bottom and upper parts. Tighten with the Allen wrench. > The upper part is now fixed to the pedestal. Slit lamp - SL500L > v1.0 -03.16...
-
Page 11: Set The Objective
Fit the objective onto the support. Slide the objective on until it reaches the end. > The objective is positioned. Screw on the side knob then, using the flat screwdriver, screw on the flathead screw. Slit lamp - SL500L > v1.0 -03.16... - Page 12 INSTALLATION MANUAL > INSTALLATION > The system is blocked. Slit lamp - SL500L > v1.0 -03.16...
-
Page 13: Position The Eyepiece
Position the eyepiece Using the screw located above the slit lamp microscope, fit on and then screw tight the eyepiece. 1 1 1 > The system is assembled. > You can now connect the system. Slit lamp - SL500L > v1.0 -03.16... -
Page 14: Electrical Connection
The slit lamp is delivered with: A power supply unit, A power supply cable Connect the slit lamp SL500L interdependent cable on its base unit. Plug the bent end of the power supply cable into the “ Power In ” port of the slit lamp. - Page 15 At the chinrest, plug the power supply cable from the attachment point into the case of supply. Turn on the product by pressing on button 0/1 on the power supply unit. > The light turns green. > The attachment point turns on. Slit lamp - SL500L > v1.0 -03.16...
- Page 16 INSTALLATION MANUAL > INSTALLATION Slit lamp - SL500L > v1.0 -03.16...
- Page 17 Essilor International (Compagnie Générale d'Optique) S.A. Siège Social : 147, rue de Paris – 94227 Charenton-le-Pont Cedex France 712 049 618 RCS Créteil - www.essilor.com...
Need help?
Do you have a question about the SL500L and is the answer not in the manual?
Questions and answers