Advertisement
Quick Links
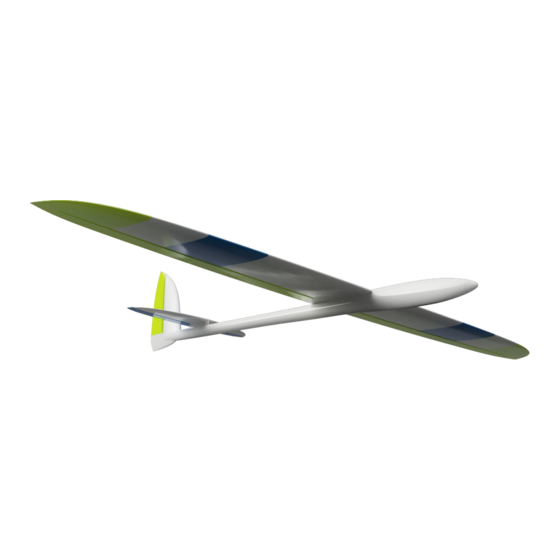
Naughty 2000
3d-printz Original
AUW: 1500 - 1800g
Span: 2000mm
Airfoil: RG15
CG: 55 – 58mm
Surface: 34,5 dm²
Wingload: from 43g/dm²
additional Material:
RC-equipment
Bowden 2x
CA medium & thick
Cutterknife
Sanpaper (120)
please check the Table for further vitamins:
part
horstab
fuselage
flaps
wingspars
screws
nuts
Self tapping screws M2
Round Magnets
diameter
4mm
8mm
2mm
2mm
10mm
8mm
8mm
M6
M5
M3
M6
M5
M3
10mm
length
285mm
800mm
350mm
430mm
1000mm
380mm
145mm
20mm
20mm
20mm
4mm – 6 mm
4mm
pcs
1
1
2
2
1
2
1
2, Nylon
1, Nylon
1, Nylon
2
1
1
30
10
Advertisement

Summary of Contents for 3d-printz Naughty 2000
- Page 1 Naughty 2000 3d-printz Original AUW: 1500 - 1800g Span: 2000mm Airfoil: RG15 CG: 55 – 58mm Surface: 34,5 dm² Wingload: from 43g/dm² additional Material: RC-equipment Bowden 2x CA medium & thick Cutterknife Sanpaper (120) please check the Table for further vitamins:...
- Page 2 electronics RC RX Battery (fe 3S Lipo 2200mah for Motorversiom) 6x Microservos fe Savöx SH-0264MG optional Motor – fe HK NTM Prop-Drive 28-36 1200KV / 530W Suggestion for Winglug: first solder the plugs and afterwards glue them in the bays with CA. Multiplex Stecker, 6 polig:...
- Page 3 foreword Naughty - the name says it all - as the "evil twin brother" of the Nice, it shares the shape with the thermal glider, but that's of course the only mutuality. The Naughty is designed as a slope racer and comes up with a significantly higher wing load, a faster airfoil (the RG15 is a true benchmark since a long time) and a solid construction.
- Page 4 Build Wing The middle of the wing is glued first – to do this, join the parts WingCR, WingCL and Centerjoiner together with superglue. The 10mm and the 8mm carbon tube serve as a guide rail (caution – do not glue the carbon tubes!). Then the left and right wing and the flaps (aileron, flaps) can be assembled.
- Page 5 The flaps are attached with TPU hinges in the slots provided using CA. First check whether all slots are free and the TPU hinges can be inserted without problems. Then insert the hinges into the slots with a little superglue, without accelerator, so that the position can still be corrected if necessary (thick superglue dries more slowly).
- Page 6 Then glue the motor holder into Fusfront_front, and push the cockpit into Fusfront_front as far as it will go and glue it - make sure that it is straight: Now the fuselage servos can be installed. Later, they are harder to access! When the servos are screwed in, slide the front fuselage section into the rear one (Fusfront_rear) and glue –...
- Page 7 yet!) . The fuselage parts are best glued with thick CA without accelerator or epoxy resin, so that there is enough time for the alignment of the tube. Finally, the front can be connected to the back. For the canopy glue together canopy_front and canopy_rear, mount the magnetholder with 2x M2 Screws to the fuselage (above the servos), and glue in the magnets to the canopy and magnetholer (keep polarization in mind) stab...
- Page 8 Naughty is made for servos in the 12mm class. These fit perfect: Savöx SH-0264MG SG 90 or similar. You´ll ned 6 pcs. If you want to modify the servofittings to your needs in the CAD you can use the Stepfiles that come with the Download. batterysuggestion: 3S Lipo, 2200mah, 25C Motor:...
- Page 9 Please note that the center of gravity and the throws must be dialled in by the pilot himself for each Naughty built - the values given here are only guide values. We wish you a lot of fun with your Naughty!


Need help?
Do you have a question about the Naughty 2000 and is the answer not in the manual?
Questions and answers