Table of Contents
Advertisement
Quick Links
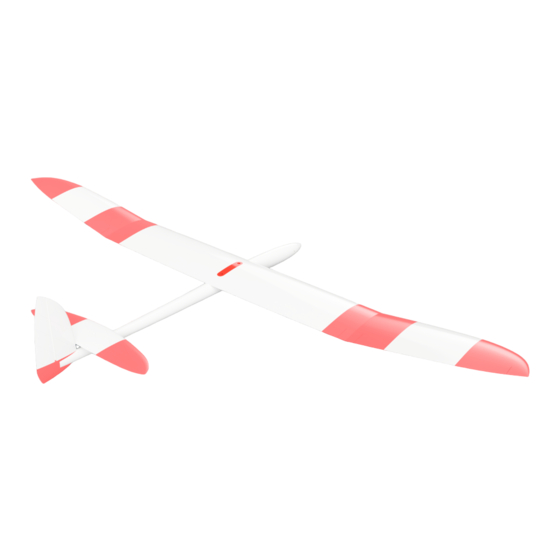
Nice 2000
3d-printz Original
AUW: 850-950g
Span: 2000mm
Airfoil: Aquila
CG: 50mm
Wingload: 24-27g/dm²
additional material:
RC-equipment
Bowden
CA medium & thick
Cutterknife
Sandpaper (80-120)
8mm carbontubes
(1000mm, 775mm, 185mm)
3x plasticscrew M5
3x nut M5
4x Neodymmagnet round 10x2mm
Elektronics:
RC Receiver 6-8 Channel
Battery (3S Lipo 2200mah für Elektro)
4x Microservos
optional Motor – f.e. Racerstar BR2212
Foreword
The "Nice" is simply nice. With its low wing loading it is a very easy to fly glider.
Thanks to its four flaps, it is perfect for extended thermal flights or relaxed floating
on slopes. Due to the low wing loading and the airfoil, the Nice can be flown
extremely slowly. If you are looking for landings in the hand, you can also program
the crow position to slow down the model even further. Simple aerobatics are also
possible with the Nice, although that's not what the classic sundowner is all about.
The Nice is aimed at all those who are looking for a versatile glider for long, relaxed
flights.
Advertisement
Table of Contents

Related Manuals for 3d-printz Nice 2000


Summary of Contents for 3d-printz Nice 2000
- Page 1 Nice 2000 3d-printz Original AUW: 850-950g Span: 2000mm Airfoil: Aquila CG: 50mm Wingload: 24-27g/dm² additional material: RC-equipment Bowden CA medium & thick Cutterknife Sandpaper (80-120) 8mm carbontubes (1000mm, 775mm, 185mm) 3x plasticscrew M5 3x nut M5 4x Neodymmagnet round 10x2mm...
- Page 2 Build Fuselage The heart of the fuselage is an 8mm carbon tube with a length of 775mm. The parts Fus2 - 5 can be pushed onto the carbon tube and glued flush with CA - make sure to pay attention to the alignment. It is advisable to insert the Bowden cables into the channels provided in advance in order to have additional guide rails.
- Page 3 Then glue Fus1 to Fus2 - pay attention to the markings on the side of Fus1 to ensure perfect alignment. The cockpit part should also be glued with Fus2 to ensure high stability. https://youtu.be/GXxlM2EG5qk To finish the front fuselage area, fasten the magholder with screws, join the canopy together with superglue and glue the magnets into the recesses provided.
- Page 4 Stabilizer First glue the rudder to the skid, making sure that no glue gets onto the movable rudder surface. Then put the rudder on the protruding part of the 8mm carbon fuselage tube and check for fit. Now the fin can be glued extensively with Fus5. Glue the parts El_right, El_middle and El_left together, not forgetting the controllsurface.
- Page 5 First glue wing1 – 5 and wingtip of one side together – !do not glue to the center part to get a divisible wing! Then glue the middle part of the wing, consisting of WingsmiddleL & R and Joiner: Now one of the wing halves can be glued to the center section. Finally, depending on whether all flaps are to be used or not, remove the small tabs between the wing and aileron or flaps and sand them free with a thin file or a piece of sandpaper and make them move smoothly by repeatedly moving them up and...
- Page 6 Battery: 3S Lipo, 2200mah, 25C Motor: Racerstar BR2212 1400KV ...or similar ESC: any Micro ESC with BEC, 20A (make sure to choose a small one) Prop: Foldingprop 8.5x7.5 (you can choose a printable one) Throws With the recommended CG at 50mm behind the leading edge you can use these throws as a basic setup: Aileron: +/- 20mm Elevator: +/- 10mm...
Need help?
Do you have a question about the Nice 2000 and is the answer not in the manual?
Questions and answers