Table of Contents
Advertisement
Quick Links
STYLE SELECTIONS is a trademark or registered
trademark of LF, LLC. All rights reserved.
ATTACH YOUR RECEIPT HERE
Serial Number
Purchase Date
Call customer service at 1-877-888-8225,8 a.m. - 8 p.m., EST, Monday - Sunday.
ITEM #5120855
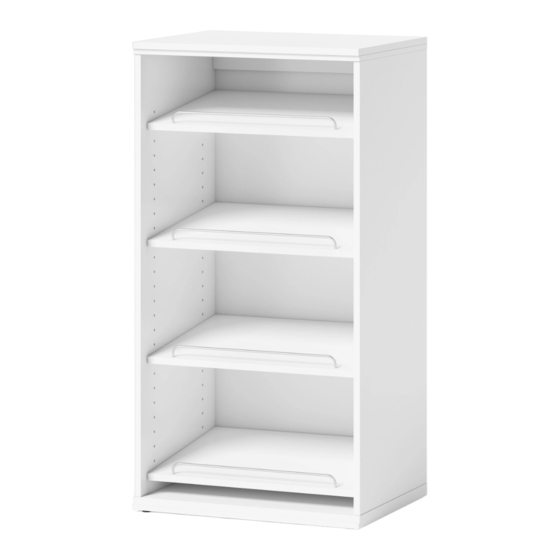
SHELF STORAGE
MODEL #LWSSSS
1
PACKAGE CONTENTS
G
C
PART
DESCRIPTION
QUANTITY
A
Top panel
1
B
Stretcher
1
C
Side panel left
1
D
Side panel right
1
E
Shoe shelf
4
F
Bottom panel
1
G
Back panel
1
H
Wire stopper
4
A
B
E
D
E
H
E
E
F
2
Advertisement
Table of Contents

Related Manuals for Style selections Lana LWSSSS


Summary of Contents for Style selections Lana LWSSSS
- Page 1 PACKAGE CONTENTS STYLE SELECTIONS is a trademark or registered trademark of LF, LLC. All rights reserved. ITEM #5120855 SHELF STORAGE PART DESCRIPTION QUANTITY Top panel MODEL #LWSSSS Stretcher Side panel left Side panel right ATTACH YOUR RECEIPT HERE Shoe shelf...
- Page 2 CAM LOCK SYSTEM OPERATION HARDWARE CONTENTS (not shown actual size) Cam lock Cam bolt Wood dowel M4 x 50 mm Screw Qty. 8 Qty. 8 Qty. 16 Qty. 4 1. Screw the Cam Bolt into the pre-drilled small holes on the panel. Connect both panels together; making sure the Cam Bolt goes into the pre-drilled hole at the end of the panel with the Cam Lock.
- Page 3 ASSEMBLY INSTRUCTIONS SAFETY INFORMATION 1. Screw cam bolts (BB) all the way into the small Please read and understand this entire manual before attempting to assemble, operate or install holes located on side panel left (C) and side panel right the product.
- Page 4 ASSEMBLY INSTRUCTIONS ASSEMBLY INSTRUCTIONS 4. Expand the back panel (G) and lay it onto the back 7. Insert the wire stopper (H) into the holes of the shoe edges of assembled frame making sure the margins shelf (E). along all edges are equal. Attach the back panel in place by using M3.5 x 15 mm screws (FF) through the The shelf can be used as regular shelf by removing the pre-drilled holes of back panel.
- Page 5 ASSEMBLY INSTRUCTIONS CARE AND MAINTENANCE • Periodically check to make certain all components are properly positioned, free from damage 10. Adjust floor levelers to level the unit against the wall and firmly connected. where desired. Using stretcher (B) as a template, mark •...
- Page 6 REPLACEMENT PARTS LIST REPLACEMENT PARTS LIST For replacement parts, call our customer service department at 1-877-888-8225,8 a.m. - 8 p.m., EST, For replacement parts, call our customer service department at 1-877-888-8225,8 a.m. - 8 p.m., EST, Monday - Sunday. Monday - Sunday. PART DESCRIPTION PART #...
Need help?
Do you have a question about the Lana LWSSSS and is the answer not in the manual?
Questions and answers