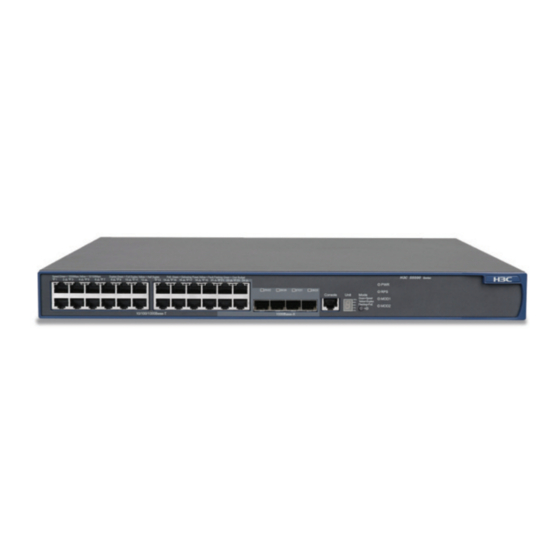
H3C S5500-SI Complete Series Quick Start
Hide thumbs
Also See for S5500-SI Complete Series:
- Operation manual (1217 pages) ,
- Configuration manual (130 pages) ,
- Installation manual (86 pages)
Advertisement
Quick Links
Tool list
Flathead
Phillips
screwdriver
screwdriver
ESD-preventive wrist
Blow dryer
strap
The installation tools are not provided with the switch. Prepare them by yourself.
Introduction to installation accessories
Grounding cable
M6 screw (User supplied)
Rear mounting bracket
Rubber pads
and load-bearing screw
Before installation, wear an ESD-preventive wrist strap, and make sure that the wrist strap
has a good skin contact and is well grounded.
Mounting the switch to a rack
When the depth of a switch is greater than 300 mm (11.81 in), the front mounting
brackets only secure the switch rather than bear its weight.
Needle-nose
Wire-stripping
pliers
pliers
Bail latch
Cage nut (User supplied)
Front mounting bracket
and M4 screws
Method 1—Using only front mounting brackets
1
Install front
mounting brackets
Diagonal
pliers
Method 2—Using front and rear mounting brackets
1
Install the load-
bearing screw
Install the front mounting
bracket
3
Mount the rear mounting
brackets to the square holes on
the rear post of the rack
Mounting the switch to a workbench
1
Stick the rubber pads to the appropriate
positions on the switch bottom
Connecting the grounding cable
2
3
1U
Install cage nuts to the
square holes of the rack
2
1U
4
2
Install cage nuts to the
square holes of the rack
Advertisement

Related Manuals for H3C S5500-SI Complete Series


Summary of Contents for H3C S5500-SI Complete Series
- Page 1 Method 1—Using only front mounting brackets Tool list Install front Install cage nuts to the mounting brackets square holes of the rack Flathead Phillips Needle-nose Wire-stripping Diagonal screwdriver screwdriver pliers pliers pliers Method 2—Using front and rear mounting brackets Install cage nuts to the ESD-preventive wrist Blow dryer square holes of the rack...
- Page 2 Method 1 –52 VDC to –55 VDC (RPS) Method 2 +12 VDC (RPS) You can use only the RPS power supply recommended by H3C (optional RPS power Copyright © 2011, Hangzhou H3C Technologies Co., Ltd. supply and power cable) for RPS DC input.
Need help?
Do you have a question about the S5500-SI Complete Series and is the answer not in the manual?
Questions and answers