Advertisement
Advertisement
Table of Contents

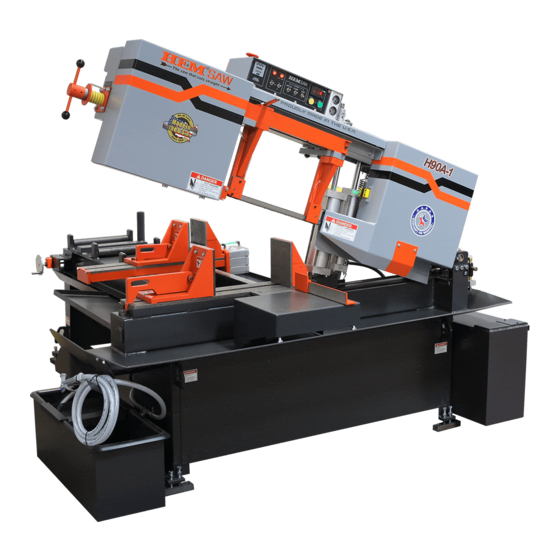
Summary of Contents for HE&M H90A-1
- Page 1 BLADE CHANGE HORIZONTAL AIR SAW MACHINES...
-
Page 2: Removing The Blade
Changing the Blade NOTE: The procedure described is applicable to all Air Saws but may not visually reflect some saw models. CAUTION!!!! Wear gloves to protect hands while changing blades. Band Saw blades are extremely sharp and can cause serious cuts, amputation, or death unless necessary precautions are taken. - Page 3 2. FOR A-1 AIR SAWS: Move the ARM Switch down to the “LIFT” position to raise the arm to the position previously set by the Upper Stop Limit Collar. 2. FOR A-4 AND A-C AIR SAWS: Press the ARM “RETRACT” button on the control panel to raise the arm to the position previously set by the Upper Stop Limit Collar.
- Page 4 5. Move the Sliding Blade Guard out of the way. Sliding Blade Guard 6. Slightly loosen the Guide Cap Allen Bolts located on both sides of the saw blade. 7. Turn the Blade Tension Handle to remove the blade tension. Turn the handle counter clockwise to loosen and clockwise to tighten.
-
Page 5: Blade Tension Knob
8. When changing the blade on BLADE TENSION models with the Optional Air- KNOB Powered Blade Tensioner, first turn the Blade Tension lever to “OFF”. Then turn the Blade Tension Knob to loosen the blade enough to be removed from the band wheels. NOTE: This step is ONLY for Saw Models equipped with the Optional Air Powered Blade... -
Page 6: Installing A New Blade
11. Once the wheel covers have been raised, slip the blade off of both wheels and carefully remove the blade from the saw. NOTICE!!!! Be careful when handling saw blades so that the tooth edge is not damaged. A chipped or broken tooth will cause cutting problems. - Page 7 3. Twist the blade into a vertical position and then insert the blade into the Guide Caps and between the carbide blade guides. If the Cut Watcher© feature is present the blade will have to be maneuvered around that carbide as well.
- Page 8 • Check the position of the blade on the wheels. The teeth of the blade must NOT touch the wheel and the blade must NOT ride on the wheel flanges. 5. Twist the Blade Tension Handle to put tension on the blade. As the blade is tensioned, be sure to recheck that the blade is still located inside the Bumper Block Carbide.
-
Page 9: Blade Tension
ONLY for Saw Models equipped with the Optional Air Powered Blade Tension. BLADE TENSION CHART SAW MODEL BLADE TENSION H90A-1 25,000 PSI NOTE: Refer to the Blade Tension Chart to H90A-4 25,000 PSI the left when checking the blade tension... - Page 10 9. Tighten the blade Guide Caps on both sides of the saw. Refer to the Guide Cap Torque Chart found in the “TIGHTENING THE GUIDE CAPS” section of this manual for the correct torque specifications for this model. 10. Close the wheel covers. 11.
- Page 11 12. FOR MANUAL AIR SAWS: Move the spring-loaded MOTOR Switch to the “START” position to start the Band Motor. The saw has a self-tracking system that will adjust the blade in or out as the wheels start rotating. Let the blade run for about 30 seconds, to allow the blade to track itself on the wheels.
- Page 12 13. FOR A-1 AIR SAWS: Move the MOTOR switch to the “OFF” position. 13. FOR A-4 AND A-C AIR SAWS: Then press the MOTOR “OFF” button. 14. Open the Drive and Idle Wheel Covers and verify that the blade is still properly located on the Bumper Block Carbide and the blade is now in the correct position on the wheel.


Need help?
Do you have a question about the H90A-1 and is the answer not in the manual?
Questions and answers