Advertisement
Quick Links
Advertisement

Related Manuals for HE&M V100LM-3


Summary of Contents for HE&M V100LM-3
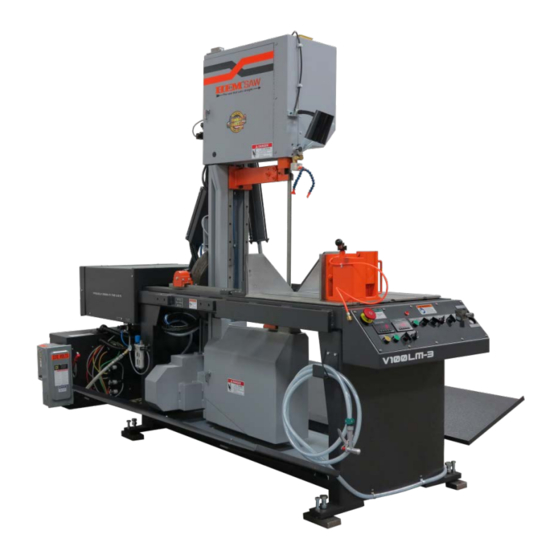
- Page 1 OPERATION – V100LM-3...
- Page 2 HOW TO ENERGIZE THE SAW NOTE: It is recommended that this entire control operations section be read completely before energizing the control. Follow the step by step instructions below while working with the control and saw. 1. Pull the Main Disconnect lever located on the High Voltage Junction Box to the “ON” position to energize the saw.
-
Page 3: Motor Reset
MOTOR RESET MOTOR RESET BUTTON If the saw appears to have power but the motor won’t start, it could be the “MOTOR RESET BUTTON” has tripped off. This button acts like a circuit breaker. To reactivate it, tap the blue “MOTOR RESET BUTTON”... -
Page 4: Manual Cut
MANUAL CUT 1. Adjust the Cutting Pressure. Check the Cutting Pressure gauge to make sure it is set at the proper pressure. If not then adjust the Cutting Pressure using the knob located on the side of the control panel. For information on Cutting Pressure refer to Cutting Pressure and Clamping Pressure section in this manual. - Page 5 2nd VISE (optional) SAW BLADE FIXED SIDE (For Left to Right Material Flow) SAW VISE FIXED SIDE 2nd VISE (optional) SAW VISE ADJUSTABLE ADJUSTABLE SIDE SIDE CUTTING AREA 4. Open the Saw Vise and any other vises (if available) by placing the “SAW VISE” switch in the “OPEN”...
-
Page 6: Laser Light
5. If the saw is equipped with the optional Laser Light, turn it on by pressing the Laser Light button on the Control Panel. LASER LIGHT 6. A beam will illuminate the cutting area for approximately 1 minute. A line on the material will display the blade’s path. - Page 7 8. Once the material is in the correct position close the saw vise and any other vises (if available) by placing the “SAW VISE” switch into the “CLOSE” position. Vises closed on material NOTE: If either of the Vises moves backward when closed, place the Saw Vise switch into the “OPEN”...
- Page 8 10. Use the “GUIDES” switch to adjust the guide arm up and down to accommodate different material heights. In general the guide arm is adjusted as close to the material as possible without touching it or making contact with the vises. Guide Arm is down close to GUIDE...
- Page 9 13. The band motor will start to increase in speed. The blade speed will increase to the selected speed previously set. When the blade reaches the speed previously set, the arm will begin to move forward. After the forward limit switch has been triggered the forward movement of the arm will stop.
Need help?
Do you have a question about the V100LM-3 and is the answer not in the manual?
Questions and answers