Table of Contents
Advertisement
Quick Links
General Installation, Operation and Maintenance Instructions For Aerovent Products
Panel End Assy, Male
Panel End Assy, Female
Hood Panel
Hood Side Rail Assy
Hood Gusset
Hood Clip
Hood Mount Bar
Bird Screen Assy, Fixed
Bird Screen Assy, Removable
HDWRKIT-LH01
Qty
12
Cap Screw, Serrated Flange Hex, 3/8-16 x .75
20
Hex Nut, Serrated Flange, 3/8-16
4
Cap Screw, Serrated Flange Hex, 3/8-16 x 1.25
72
Screws, #12
• Fan sizes 14 to 42 are shipped fully assembled, unless otherwise specified.
• A minimum of two people are required for assembly. Before starting, review these instructions.
• The following tools are required:
- Powered screwdriver (preferred) or drill
- 3/8, 7/16, 1/2, 9/16 wrenches and sockets
- 5/16" nut driver bit for powered screwdriver
- Awl, for hole alignment
Inspect for missing or damaged parts
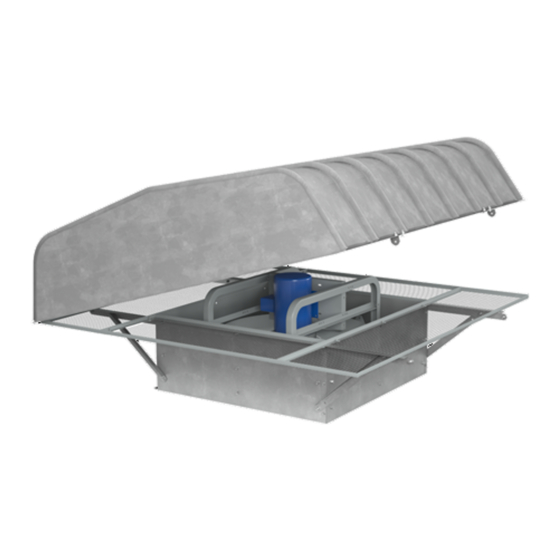
Hooded Roof Ventilators
(Non-Filtered)
14
16
18
1
1
1
1
1
1
2
2
2
2
2
2
0
0
0
0
0
0
2
2
2
2
2
2
2
2
2
Hardware Kit #1 - Hood
Item
©2023 Twin City Fan Companies, Ltd.
Fan Size/Qty
21
24
30
36
1
1
1
1
1
1
2
3
5
2
2
2
0
0
4
0
0
0
2
2
2
2
2
2
2
2
2
HDWRKIT-LH06
Hardware Kit #6 - Mesh Bird Screen (Size 24 to 60)
Qty
10
Cap Screw, Serrated Flange Hex, 5/16-18 x .75
6
Nut Clip, 5/16
4
Hex Nut, Serrated Flange, 5/16-18
IM-632NF
February 2023
42
48
54
1
1
1
1
1
1
5
6
7
2
2
2
4
4
4
0
0
0
16
2
2
2
2
2
2
2
2
2
2
2
Item
60
1
1
1
1
7
8
2
2
4
4
18
2
2
2
2
Advertisement
Table of Contents

Summary of Contents for Aerovent IM-632NF
- Page 1 IM-632NF Hooded Roof Ventilators (Non-Filtered) February 2023 General Installation, Operation and Maintenance Instructions For Aerovent Products Fan Size/Qty Panel End Assy, Male Panel End Assy, Female Hood Panel Hood Side Rail Assy Hood Gusset Hood Clip Hood Mount Bar Bird Screen Assy, Fixed...
- Page 2 A. Install two Removable Screen Assemblies. After positioning the assemblies, rotate the locking tabs in place and tighten. B. Fully tighten the Fixed Screen Assembly fasteners from the previous step. Detail of locking tabs Aerovent Installation and Maintenance Manual: IM-632NF...
- Page 3 Position the Hood Panel in place and reach underneath to slide the clip into place. For Sizes 54 and 60, install hood clips at each rib. Aerovent Installation and Maintenance Manual: IM-632NF...
- Page 4 A. For fan sizes 54 and 60, add screen clips to underside of hood using #12 screws. Step 9 – Check All Fasteners A. Check that all fasteners are fully tightened. WWW.AEROVENT.COM 5959 Trenton Lane N | Minneapolis, MN 55442 | Phone: 763-551-7500 | Fax: 763-551-7501...


Need help?
Do you have a question about the IM-632NF and is the answer not in the manual?
Questions and answers