Table of Contents
Advertisement
Quick Links
Advertisement
Table of Contents

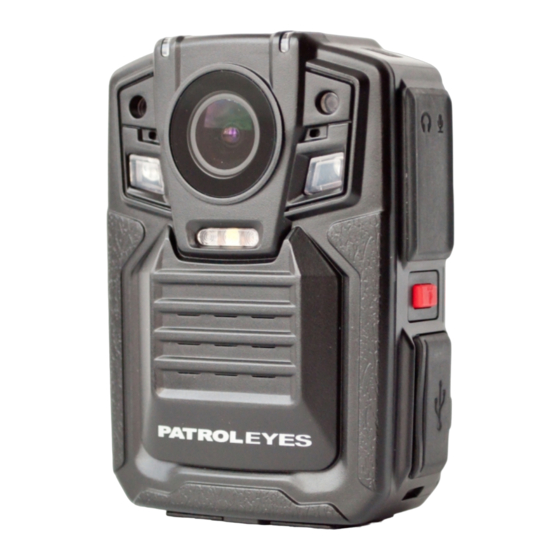
Summary of Contents for Patroleyes DV5-2
- Page 1 DV5-2 SC-DV5_Main.jpg SC-DV5_Main.jpg SC-DV5_Main.jpg...
- Page 2 Overview Camera: On-screen Display: The DV5-2 body camera is an advanced recording system with many options and features available. Please review the manual to familiarize yourself with the functions of this camera. Troubleshooting: If you are having problems with your camera, please first fully charge it and power it on, then press...
-
Page 3: Before Use
Before Use Getting Started • Fully charge the camera using the included USB cable and Basic Operation: charging dock for 3-4 hours. The charging indicator will turn 1) Press and hold the Power button (located in the middle of red when charging. When the device is fully charged, the red the right side of the camera) for about 2 seconds. - Page 4 Recording Recording Video Recording: Photograph Feature: a. To record a video, press the Record button (located on the a. To take photos, press the Camera button (located under the right side of the device with a recorder symbol). The unit will Audio button on the right of the device).
- Page 5 Video/Photo/Audio Playback Setup - Resolution Users are able to view previously recorded video files using the To go to the SET UP interface, press the Confirm/Menu button following process. (located below the LCD monitor display). Resolution a. In the SET UP Menu, select “Resolution” and press the Confirm/Menu button.
-
Page 6: Setup - Video Quality
Setup - Video Quality Setup - Photo Size Video Quality Photo Size a. In the SET UP Menu, select “Video Quality” and press the a. In the SET UP Menu, select “Photo Size” and press the Confirm/Menu button. Confirm/Menu button. b. - Page 7 Setup - Photo Quality Setup - Photo Burst Mode Photo Quality Photo Burst Mode a. In the SET UP Menu, select “Photo Quality” and press the a. In the SET UP Menu, select “Burst Mode” and press the Confirm/Menu button. Confirm/Menu button.
-
Page 8: Setup - Volume
Setup - LCD Brightness Setup - Volume LCD Brightness Volume a. In the SET UP Menu, select “LCD Brightness” and press a. In the SET UP Menu, select “Volume” and press the the Confirm/Menu button. Confirm/Menu button. b. There are three options to select from: b. -
Page 9: Setup - Date & Time
Setup - Device ID Setup - Date & Time Device ID Date & Time a. In the SET UP Menu, select “ID” and press the a. In the SET UP Menu, select “Date & Time” and press the Confirm/Menu button. The first digit will be highlighted. Confirm/Menu button. - Page 10 Setup - Infrared Sensitivity Setup - Video Length IR Sensitivity Video Length a. In the SET UP Menu, select “IR Sensitivity” and press the a. In the SET UP Menu, select “Video Length” and press the Confirm/Menu button. Confirm/Menu button. Setup Video Length 30 Mins...
- Page 11 Setup - Infrared Filter Switch Setup - Infrared LED Infrared Switch Infrared LED a. In the SET UP Menu, select “Infrared Switch” and press a. In the SET UP Menu, select “IR LED” and press the the Confirm/Menu button. Confirm/Menu button. Setup Setup Video Length...
-
Page 12: Setup - Motion Detection
Setup - Motion Detection Setup - Pre-Recording Motion Detection Pre-Recording a. In the SET UP Menu, select “Motion Detect” and press a. In the SET UP Menu, select “Pre-Record” and press the Confirm/Menu button. the Confirm/Menu button. Setup Setup Video Length 30 Mins Video Length 30 Mins... - Page 13 Setup - Post-Recording Setup - Post Audio Post-Recording Post Audio a. In the SET UP Menu, select “Post Record” and press a. In the SET UP Menu, select “Post Audio” and press the Confirm/Menu button. the Confirm/Menu button. Setup Setup Post-Record Off...
- Page 14 Setup - Auto Screen Off Setup - Auto Shutdown LCD Auto Off Auto Shutdown a. In the SET UP Menu, select “LCD Auto Off” and press a. In the SET UP Menu, select “Auto Shutdown” and press the Confirm/Menu button. the Confirm/Menu button.
- Page 15 GPS signal before recording for videos to have GPS location. For GPS location to be viewed on a map, the files must be opened in the GPS video player software, which is available at: www.stuntcams.com/dv5-2 PAGE PAGE 27/32...
-
Page 16: Setup - Default Settings
Setup - Default Settings Setup - Firmware Version - USB Mode Default Settings Firmware Version - USB Mode a. In the SET UP Menu, select “Default Setting” and press a. In the SET UP Menu, select “Version”. the Confirm/Menu button. b. - Page 17 • Lanyard editable in the Setup Menu. In this mode the camera will • Screen Protectors work with the PatrolEyes management software, and will be • 8 Camera Docking Station password protected while connected to your PC. • Camera Management Software •...


