Sony Dream Machine ICF-C773, ICF-C773L - FM/AM/MW/LW PLL Synthesized Clock Radio Manual
- Operating instructions (2 pages) ,
- Operating instructions (2 pages)
Advertisement
- 1 Overview
- 2 WARNING
- 3 Features
- 4 Setting the Clock
- 5 Setting the Brightness of the Backlight
- 6 Changing AM (MW) Channel Step
- 7 Operating the Radio
- 8 Improving the Reception
- 9 Presetting Your Favorite Station
- 10 Setting the Light
- 11 Setting the Alarm
- 12 Using the NAP Timer (Count Down Timer)
- 13 Setting the Sleep Timer (Radio Sleep Timer)
- 14 Precautions
- 15 Troubleshooting
- 16 Specifications
- 17 Documents / Resources
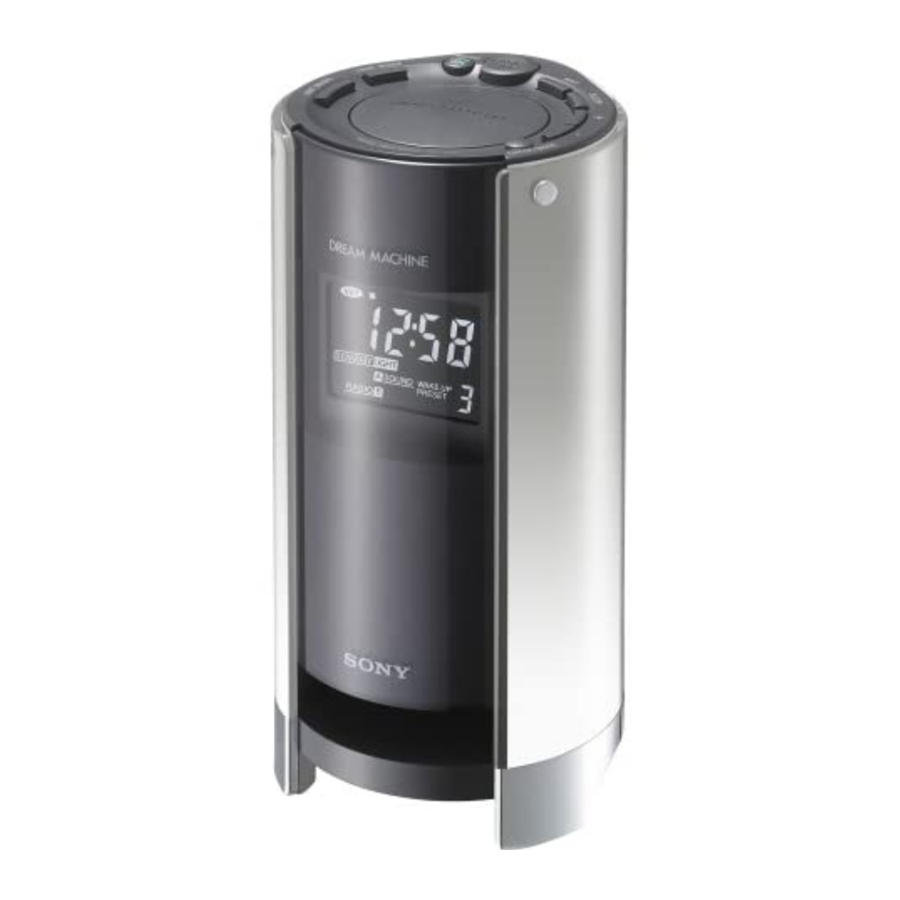
Overview

- There is a tactile dot beside VOLUME to show the direction to turn up the volume.
WARNING

To prevent fire or shock hazard, do not expose the unit to rain or moisture.
To avoid electrical shock, do not open the cabinet. Refer servicing to qualified personnel only.
Do not install the appliance in a confined space, such as a bookcase or built-in cabinet.
To prevent fire or shock hazard, do not place objects filled with liquids, such as vases, on the apparatus.
Disposal of Old Electrical & Electronic Equipment
(Applicable in the European Union and other European countries with separate collection systems)
 This symbol on the product or on its packaging indicates that this product shall not be treated as household waste. Instead it shall be handed over to the applicable collection point for the recycling of electrical and electronic equipment. By ensuring this product is disposed of correctly, you will help prevent potential negative consequences for the environment and human health, which could otherwise be caused by inappropriate waste handling of this product. The recycling of materials will help to conserve natural resources. For more detailed information about recycling of this product, please contact your local city office, your household waste disposal service or the shop where you purchased the product.
Features
- Dual alarm FM/AM(ICF-C773) or FM/MW/ LW(ICF-C773L)
PLL (Phase Locked Loop) synthesized clock radio. - Elegant indirect lighting, that is most suitable as a bedside interior.
- Easy preset digital tuning with 15 memory presets for ICF-C773, 20 memory presets for ICF-C773L.
- Various types of alarms-radio, buzzer and 4 melodies.
- SLEEP timer to enjoy falling asleep to the Radio and Light by 4 different time settings.
- Nap Timer sounds the buzzer after desired time durations between 10 to 120 minutes that can be selected from 6 different time settings, convenient for taking naps.
- Extendable snooze - snooze time can be extended from 10 to 60 minutes in maximum every time you use.
Setting the Clock
- Plug in the clock radio.
"AM 12:00" or "0:00" flashes on the display. - Hold down D.S.T./CLOCK for a few seconds until a beep sounds.
The hour starts to flash on the display. - Press TUNE/TIME SET + or – until the correct hour appears.
To set the current time rapidly, hold down TUNE/TIME SET + or –. - Press ENTER/TUNE MODE once.
- Repeat steps 3 and 4 to set the minute.
Two short beeps sound, and the counting of the seconds starts.
The clock system varies depending on the model you own.
12-hour system: "AM 12:00" = midnight
24-hour system: "0:00" = midnight
If you quit during the clock setting, after about 65 seconds the previous display will return.
To set the current time from zero seconds, press ENTER/TUNE MODE with the time signal in step 5.
To change the display to the daylight saving time (summer time) indication
Press D.S.T./CLOCK.
" ![]() " is displayed and the time indication changes to summer time.
" is displayed and the time indication changes to summer time.
To deactivate the summer time function, press D.S.T./CLOCK again.
Setting the Brightness of the Backlight
Press BRIGHTNESS to select high, middle or low for the display according to your preferences.
Changing AM (MW) Channel Step
The AM (MW) channel step differs depending on areas. The channel step of this unit is factory-set to 9 kHz or 10 kHz. Change the settings as shown below to be able to listen to the radio.
| Area | Channel step |
| North and South America | 10 kHz |
| Other countries/regions | 9 kHz |
- Hold down RADIO OFF/ALARM RESET to turn off the power.
- While holding down SNOOZE/SLEEP OFF, keep pressing ALARM MODE for more than 5 seconds.
Two short beeps sound, and the AM (MW) channel step will be changed.
If you proceed to step 2 again, the channel step changes again.
Notes
- When the AM (MW) channel step is changed, the preset stations will be initialized.
- When the AM (MW) channel step is changed, the FM channel step is also changed.
Operating the Radio
Manual Tuning
- Press RADIO ON•BAND to turn on the radio.
The display shows the band and frequency for 10 seconds and then changes back to the current time. - Press RADIO ON•BAND to select the band.
Each press changes the band as follows:

- Press ENTER/TUNE MODE so that "PRESET" goes off.
- Press TUNE/TIME SET + or – to tune into the desired station.
The FM channel step is set to 0.1 MHz and the AM (MW) channel step is set to 10 kHz (North and South American model).
The FM channel step is set to 0.05 MHz*, the AM (MW) channel step is set to 9 kHz, and the LW channel step is set to 3kHz (Other models).
* The FM frequency display is raised or lowered by a step of 0.1 MHz. For example, frequency 88.00 and 88.05 MHz is displayed as "88.0 MHz."
Two short beeps sound when the minimum frequency of each band is received during tuning. - Adjust volume using VOLUME.

To turn off the radio, press RADIO OFF/ALARM RESET.
To check the station being received
Press TUNE/TIME SET + or – lightly. The display shows the band and frequency for 10 seconds and then returns to the previous display.
Improving the Reception
FM: The AC power cord functions as an FM antenna. Extend the AC power cord fully to increase reception sensitivity.

AM (MW)/LW: Rotate the unit horizontally for optimum reception. A ferrite bar is built into the unit.

Do not operate the unit over a steel desk or metal surface, as this may lead to interference of reception.
Presetting Your Favorite Station
Preset Tuning
You can preset up to 10 stations in FM, and 5 stations in each AM (MW), LW.
Presetting a Station
- Follow steps 1 to 4 in "Operating the Radio" and manually tune in to the station you wish to preset.
- Hold down ENTER/TUNE MODE until "PRESET 1" appears and flashes.
- Press TUNE/TIME SET + or – to select the number you wish to preset, then press ENTER/TUNE MODE.
Example: Display window when you preset FM 90.0 MHz in preset number 2.
![]()
To preset another station, repeat these steps.
To cancel the presetting mode, press RADIO OFF/ALARM RESET.

Notes
- If you do not press TUNE/TIME SET + or –, or ENTER/TUNE MODE within 65 seconds, the preset tuning mode will be canceled.
- To change the preset station, follow steps 2 and 3. The new station will replace the previous station.
Tuning into a Preset Station
- Press RADIO ON•BAND to turn on the radio.
- Press RADIO ON•BAND to select the band.
- Press ENTER/TUNE MODE to display "PRESET".
- Press TUNE/TIME SET + or – to tune in to the desired preset station.
- Adjust the volume using VOLUME. After 10 seconds, the display will return to the current time but the preset number will remain.
Tip
Press TUNE/TIME SET + or – repeatedly until the desired mode is selected.
Each time of PRESET changes as follows.
Example: AM(MW), LW

Two short beeps sound when the display returns to "PRESET 1".
Setting the Light
You can change the setting of the light on the side exterior. The operates as follows:
LIGHT ON/OFF:
Each time you press LIGHT ON/OFF, the light turns on or off.
LIGHT STANDBY:
The light turns on when the radio is turned on.
The light flashes when ALARM A or B, or NAP timer sound comes on.
The light goes out when the radio, the sound alarm or the NAP timer sound is turned off.
Press LIGHT ON/OFF to turn on or off the light during the LIGHT STANDBY mode.
To turn off LIGHT STANDBY mode, press LIGHT STANDBY again.
LIGHT SLEEP:
You can enjoy falling asleep to the light using the built-in sleep timer that turns off the light automatically after a preset duration.
Press LIGHT SLEEP.
The light turns on. You can set the sleep timer to durations of 90, 60, 30, or 15 minutes. Each press changes the display as follows:

Two short beeps sound when the display returns to "90".
"LIGHT SLEEP" will appear in the display when the duration time is set.
The light will turn on for the time you set, then shut off.
To turn off the light before the preset time, press LIGHT ON/OFF.
LIGHT CONTROL:
Changing the Brightness of the light.
Turn the variable LIGHT CONTROL to adjust the brightness of the light.
Setting the Alarm
You can set two types of alarms, radio and sound. The alarm will come on at the same time everyday. Before setting the alarm, make sure to set the clock. (See "Setting the Clock".)
Notes
- The factory setting alarm time for radio and sound is "PM 12:00" or "12:00".
- If you quit during the alarm setting, after about 65 seconds the previous display will return.
To Set the Radio Alarm
- Hold down ALARM
![]() (ALARM
(ALARM ![]() ) for a few seconds until a beep sounds. "
) for a few seconds until a beep sounds. "![]() (
(![]() )" and the hour flash on the display.
)" and the hour flash on the display. - Press TUNE/TIME SET+ or – to set the desired hour.
- Press ENTER/TUNE MODE.
- Repeat steps 2 and 3 to set the minute.
- Repeat steps 2 and 3 to select the Radio Alarm "RADIO
![]() (RADIO
(RADIO ![]() )"
)"
A beep sounds to confirm the setting of time. "WAKE UP" appears and the preset number flashes on the display. - Press TUNE/TIME SET + or – to select the station you last listened or a preset station as "wake up station".
Each press of + changes "wake up station" as follows:

Pressing – changes "wake up station" in reverse order. - Press ENTER/TUNE MODE again.
Two beeps sound to confirm the setting.

To use the Radio ALARM, set the alarm mode. (See "Setting the Alarm Mode".)
When the alarm comes on at the preset time, RADIO  (RADIO
  ) flashes on the display and "wake up station" (the station selected in step 5) comes on.
The radio is turned off automatically after about 60 minutes.
To check the alarm setting
Press ALARM (ALARM ) once. The display shows the preset time.
If you press ALARM (ALARM ) again, the display shows "wake up station".
After 4 seconds, the display will return to the current time.
To Set the Sound Alarm
- Follow steps 1 to 5 in "To set the Radio Alarm".
- Press TUNE/TIME SET + or – to select the Sound Alarm "
![]() SOUND (
SOUND (![]() SOUND)".
SOUND)". - Press ENTER/TUNE MODE.
- Press TUNE/TIME SET + or – to select the sound number of beep (1) or melodies (2 to 5).
- Buzzer
- Green sleeves
- "For Eliza" Ludwing van Beethoven
- "Peer Gynt Suite: Morning" Edvard Hagerup Grieg
- "Four Seasons: Spring" Antonio Lucio Vivaldi
When selecting the number, you can hear the sound of the number.
- Press ENTER/TUNE MODE again.
Two beeps sound to confirm the setting.
To use the Sound Alarm, set the alarm mode. (See "Setting the Alarm Mode".)
When the alarm comes on at the preset time, " SOUND ( SOUND)" and the selected sound number flash on the display.
The sound is turned off automatically after about 60 minutes.
To check the alarm setting
Press ALARM (ALARM ) once. The display shows the preset time. If you press ALARM (ALARM ) again, the display show the selected sound number.
After 4 seconds, the display will return to the current time
Setting the Alarm Mode
Before setting the alarm mode, be sure to set the alarm time. (See "Setting the Alarm".)
Press ALARM MODE repeatedly until the desired mode is selected.
Each press of ALARM MODE changes the indication on the display as follows:

If the same alarm time is set for both ALARM and , the ALARM takes priority.
To Doze for a Few More Minutes
Press SNOOZE/SLEEP OFF.
The radio or sound turns off but will automatically come on again after about 10 minutes. Each time you press SNOOZE/SLEEP OFF, the snooze time changes as follows:
10 ![]() 20
20 ![]() 30
30 ![]() 40
40 ![]() 50
50 ![]() 60
60
The maximum length of the snooze time is 60 minutes.
The display shows the snooze time for a few seconds and returns to show the current time. When you press SNOOZE/SLEEP OFF after the current time appeared, the snooze time starts from 10 minutes again.
To Stop the Alarm
Press RADIO OFF/ALARM RESET to turn off the alarm.
The alarm will come on again at the same time the next day.
To Deactivate the Alarm
Press ALARM MODE repeatedly so that "" and "" go off.
Using the NAP Timer (Count Down Timer)
The NAP timer sounds the buzzer after a preset time duration.
Press NAP repeatedly until the desired minutes are displayed.
Each press changes the display as follows:

Two short beeps sound when the display returns to "10".
" " and the NAP time are displayed for a few seconds.
NAP timer starts counting down the NAP time.
When selected NAP time has passed, the buzzer comes on, and "" on the display flash.
The buzzer is turned off automatically after about 60 minutes.
To Stop NAP Timer
Press NAP or RADIO OFF/ALARM RESET to turn off the buzzer.
To Deactivate NAP Timer
Press NAP. "" goes off in the display.
Setting the Sleep Timer (Radio Sleep Timer)
You can enjoy falling asleep to the radio and the light using the built-in sleep timer that turns off the radio automatically after a preset duration.
Press SLEEP.
The radio turns on. You can set the sleep timer to durations of 90, 60, 30, or 15 minutes. Each press changes the display as follows:

Two short beeps sound when the display returns to "90".
"SLEEP" will appear in the display when the duration time is set.
The radio will play for the time you set, then shut off.
To turn off the radio before the preset time
Press SNOOZE/SLEEP OFF or RADIO OFF/ALARM RESET.
To Use Both Sleep Timer and Alarm
You can fall asleep to the radio and also be awakened by the radio or sound alarm at the preset time.
- Set the alarm. (See "Setting the Alarm".)
- Set the sleep timer. (See "Setting the Sleep Timer".)
Precautions
- Operate the unit on the power sources specified in "Specifications".
- The nameplate indicating voltage, etc. is located on the AC power adaptor.
- To disconnect the power cord (mains lead), pull it out the plug, not by the cord.
- Do not leave the unit in a location near a heat source such as a radiator or airduct, or in a place subject to direct sunlight, excessive dust, mechanical vibration, or shock.
- Do not place the unit on surfaces (rugs, blankets, etc.) or near materials (curtains, draperies) that block the ventilation holes.
- Should any liquid or solid object fall into the unit, unplug the unit and have it checked by qualified personnel before operating it further.
- To clean the casing, use a soft cloth dampened with a mild detergent solution.
- The unit is not disconnected from the AC power source (mains) as long as it is connected to the wall outlet, even if the unit itself has been turned off.
If you have any questions or problems concerning your unit, please consult your nearest Sony dealer.
Troubleshooting
Should any problem occur with the unit, make the following simple checks to determine whether or not servicing is required.
If the problem persists, consult your nearest Sony dealer.
The clock does not show the correct time.
- Has an electrical power outage lasting more than 1 minute occurred?
The radio or buzzer alarm does not sound at the preset alarm time.
- Has the desired radio or buzzer alarm been activated?
The radio alarm is activated but no sound comes on at the preset alarm time.
- Has VOLUME been adjusted?
The preset stations may be deleted from the memory, if a maintenance service is required.
Please note down your settings in case you want to preset them again.
Specifications
Time display
| UK, North and South America | 12-hour system |
| Other countries/regions | 24-hour system |
Frequency range
Model for North and South America
| Band | ICF-C773 | Channel step |
| FM | 87.5 - 108 MHz | 0.1 MHz |
| AM | 530 - 1 710 kHz | 10 kHz |
Model for other countries/regions
| Band | ICF-C773 | ICF-C773L | Channel step |
| FM | 87.5 - 108 MHz | 87.5 - 108 MHz | 0.05 MHz |
| AM (MW) | 531 - 1 602 kHz | 531 - 1 602 kHz | 9 kHz |
| LW | — | 153 - 279 kHz | 3 kHz |
Speaker
Approx. 4.5 cm (1 13/16 inches) dia. 8 Ω
Power output
150 mW (at 10% harmonic distortion)
Power requirements
North and South American model: 120 V AC, 60 Hz
Other model: 230 V AC, 50 Hz
Dimensions
Approx. 90 × 169.5 × 94 mm (w/h/d) (3 5/8 × 6 3/4 × 3 3/4 inches) including projecting parts and controls
Mass
Approx. 640 g (1 lb 6.6 oz)
Approx. 710 g (1 lb 9.1 oz): ICF-C773L (UK model)
Design and specifications are subject to change without notice.

Lead-free solder is used for soldering. Halogenated flame retardants are not used in printed wiring boards.
Dream Machine is a trademark of Sony Corporation.

Sony Corporation Printed in Denmark

Documents / Resources
References

Download manual
Here you can download full pdf version of manual, it may contain additional safety instructions, warranty information, FCC rules, etc.
Download Sony Dream Machine ICF-C773, ICF-C773L - FM/AM/MW/LW PLL Synthesized Clock Radio Manual
Advertisement


Need help?
Do you have a question about the Dream Machine ICF-C773 and is the answer not in the manual?
Questions and answers