Advertisement
Quick Links
Instructions for replacing the lid:
https://youtu.be/IAEpphbZOKk
Instructions for completing the 10 watt laser upgrade:
https://youtu.be/kvIuIzIUsPc
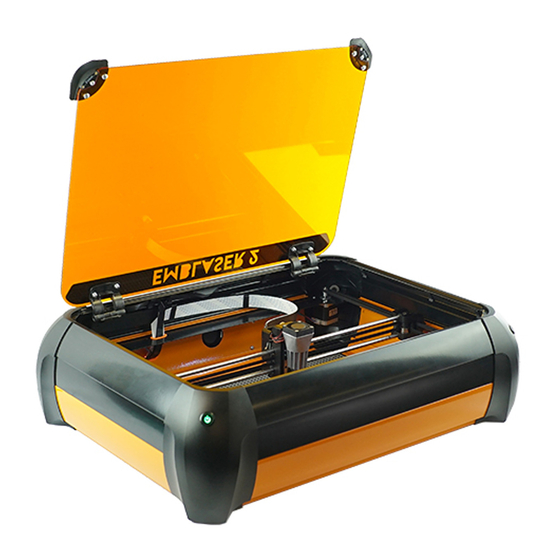
Installing 10w Laser unit – Emblaser 2
Here are the steps needed to replace the existing 5w laser unit with the 10w version.
Please follow them carefully and contact us if you run into any
problems: help@darklylabs.com
Tools Needed:
10W laser Unit
Metal bracket & plastic belt plate (attached together)
1x M3x35mm bolt
3x M2x5mm screws
Focus Calibration card
Torx T10-Security tool
Philips PH1 tool
Hex 2.5mm tool
Hex 1.3mm tool
Note: Your 10w laser upgrade is supplied with these required parts and tools.
Advertisement

Related Manuals for Darkly Labs Emblaser 2


Summary of Contents for Darkly Labs Emblaser 2
- Page 1 Instructions for completing the 10 watt laser upgrade: https://youtu.be/kvIuIzIUsPc Installing 10w Laser unit – Emblaser 2 Here are the steps needed to replace the existing 5w laser unit with the 10w version. Please follow them carefully and contact us if you run into any problems: help@darklylabs.com...
- Page 2 Step 1: Before you start this replacement, please make sure your laser is at the top of it’s movement. This is easily done by turning your machine on and letting it ‘home’ itself. *** IMPORTANT: Make sure you turn your machine off and unplug the power before proceeding *** Removing the Silicone Nozzle is also recommended.
- Page 3 Step 2: Using the Philips PH1 tool, remove the two screws holding the rear laser cover from the laser head. Removing the lower right screw holding the rear laser cover in place. Removing the upper left screw holding the rear laser cover in place.
- Page 4 Once the 2 screws are removed, carefully move the cover out of the way to reveal the Laser Driver PCB. Be very careful not to place any force on the Flat Flexible Cable (FFC) that connects the Laser Driver PCB to the main Controller PCB. Sliding the cover to reveal PCB.
- Page 5 Step 3: Carefully unplug the Laser Unit and Fan connectors. Please note that the Laser Unit connector has a clip that needs to be depressed for the connector to unplug. Identify Laser and fan connectors. Laser Unit & Fan connectors unplugged.
- Page 6 Step 4 Use the Torx T10-Security tool to unscrew the bolt holding the 5w laser unit in place. When you are looking down from the top, turn the tool clockwise to undo the bolt. Unscrew bold holding 5w laser unit in place. Once the bold has been removed, slide the laser unit upwards to release it from the bracket.
- Page 7 Unscrew belt plate screws. Belt plate removed. IMPORTANT: Some early Emblaser 2 machines have the belt glued into the belt plate. If you have one of these machines and are unable to remove the belt without damage, please contact us.
- Page 8 Step 6 Using the 2.5mm Hex tool, unscrew the bolt holding the lower belt pulley in place. Unscrew the lower belt pulley. Step 7 With the lower pulley removed, slide out the belt and insert into the new belt plate as shown in the photo below.
- Page 9 Step 8 Using a new set of M2x5mm screws supplied with your kit, install the new metal bracket and belt plate. IMPORTANT: The M2x5mm screws are VERY delicate. Work slowly and tighten them carefully. Do not tighten them excessively. Attach bracket. Once attached, slide the belt over the top motor pulley and then re-install the lower belt pulley.
- Page 10 Step 9 It’s now time to install the 10w laser unit. Note the slot on one side and screw holes that should match up. Line up 10w laser unit. Insert the M3x35mm screw into the front of the laser unit and attach it to the hole in the metal bracket using the Hex 2.5mm tool.
- Page 11 Step 10 Plug the Laser and Fan connectors into the Laser Driver PCB. Identify Laser and fan plugs. Laser and fan plugged in.
- Page 12 Step 11 Re-attach the rear cover using the two philips screws. Make sure the wiring exits the cover as shown in the photo and nothing is obstructing the limit switches. Check for obstructions. Re-attach rear cover.
- Page 13 Using the supplied cards, run the ‘Focus Calibration’ process in LightBurn before using your new laser unit. Focus Calibration run. Done Re-attach the Silicone Nozzle. Installed 10w laser unit. *** IMPORTANT *** To maintain a Class 1 laser rating, your Emblaser 2 must be fitted with a lid rated to OD7+.
Need help?
Do you have a question about the Emblaser 2 and is the answer not in the manual?
Questions and answers