Table of Contents
Advertisement
Advertisement
Table of Contents

Related Manuals for SideTrak Swivel


Summary of Contents for SideTrak Swivel
- Page 1 User Manual Patent Pending sidetrak.com...
- Page 2 Welcome to a more productive you! No matter where you work from, it may be at the office, at home, or even a coffee shop, we would love to see your new multi-monitor setup! sidetrak.com @sidetrakmonitor @sidetrakmonitor @sidetrak.monitor Contact Us customerservice@sidetrak.com...
-
Page 3: Table Of Contents
Contents Component List Installation Features Second Monitor Setup Configuration for PC Configuration for Mac FAQs Troubleshooting Technical Specifications Limited Liability Warranty... -
Page 4: Component List
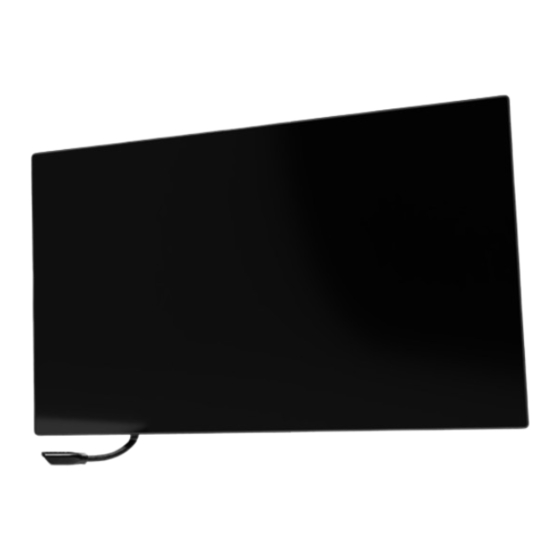
Swivel Component List Menu buttons Kickstand Bezel Mounting frame Device-safe Magnets Screen USB-C port Swivel Optional USB wall USB-C to USB-C cord USB-C to USB-C cord Two Metal Plates Removal Tool Dual unit adapter tool charger with USB-A adapter with USB-A adapter... -
Page 5: Installation
Check the ports on your laptop. To connect your SideTrak Swivel use the USB-C to USB-C cord. Check your USB-C port for the symbols shown in the table below. If you have one of the green checked symbols, then your USB-C port is compatible. - Page 6 Purchase SideTrak provide supplemental power to your monitors. USB-C Hub If your laptop only has one USB-C port, you may need to use a hub that provides two USB-C ports. Check out SideTrak USB-C Hub. Troubleshooting Issues? See page 17.
- Page 7 Installation cont. Attach SideTrak Swivel to Your Laptop Close laptop. Make sure your SideTrak is unplugged from the laptop and the laptop is closed. Left-side Attachment. Right-side Attachment. To put your monitor on the left of your laptop, To put the monitor on the right of your laptop, make sure the opening is facing away from you.
- Page 8 Make sure to align the SideTrak logo in the bottom right corner. Apply pressure for 10 seconds and remove the mounting guide from your laptop. Before attaching your SideTrak, give the metal plate a few minutes to allow the adhesive to properly grip your laptop.
- Page 9 If you DID NOT purchase a triple screen pack, but have just installed a second plate for your second monitor (purchased another SideTrak single to create a triple setup), flip to page 14 to adjust your monitors so they can nest close on your laptop for easy transport.
- Page 10 Installation cont. Triple Screen Setup Attach first metal plate! Using the single screen attachment guide (opposite side) attach first screen before continuing. Rotate and align laptop. Rotate your laptop, so the metal plate you just attached is on your right. Align the left edge of this paper to the left edge of your laptop.
- Page 11 Through the open space on the mounting frame, you should be able to see the line that goes across the metal plate. It’s easiest to clip when the monitor is fully extended. You will hear a loud click when its properly placed. Now plug in and you’re ready to use your SideTrak!
-
Page 12: Features
Pivot screen 180° backward to have screen lay over laptop for easy packing and travel. You can pivot and swivel the SideTrak screen to adjust to your viewing preferences. Move forward or backward, upward or downward. - Page 13 Features cont. Rotate Swivel or rotate your screen 180° to easily share your screen with others. Your screen will auto-rotate when you swivel it! Back of open laptop Back of open laptop If you have any issues with auto-rotate, here is how you can manually rotate your screen: •...
-
Page 14: Second Monitor Setup
Second Monitor Setup If you purchased the second monitor separately When you purchase the triple screen setup, the monitors come setup ready for installation. If you purchased the second monitor separately, one monitor will need a raised mounting plate while the other is flush with (will lay flat against) the screen, as shown in the image to the right. - Page 15 Second Monitor Setup cont. Steps to raising your mounting frame Remember to only do this to ONE of your monitors and only if you bought monitors separately and not in a triple screen pack. Turn the mounting frame perpendicular to the monitor. Use the provided adapter tool to unscrew the 2 screws, This will reveal two screws on each side of the monitor.
- Page 16 Installation cont. Nesting the monitors Attach Swivels to laptop. Fold monitor closest to laptop. Follow instructions on page 9 to attach Swivels. The monitor that has the mounting frame flushed with the screen should be the first monitor closed. Fold second monitor (with raised frame). NOTE: If you close the monitor with the raised mounting Closed the monitor with the raised mounting frame.
- Page 17 Installation cont. Everyday Use: How to attach and detach your SideTrak SideTrak’s metal plate will stay on your laptop, making it easy for you to attach and detach your SideTrak whenever you need! To reattach your SideTrak, angle the SideTrak slightly, “hooking” the mounting frame to the top of the metal plate.
-
Page 18: Configuration For Pc
SideTrak should automatically register as screen 2. Drag and drop screen icons to match your setup. I.e. If your SideTrak is installed to slide out to the left Display settings dialogue box on Windows 7 and older. of your laptop, arrange your screens to reflect this. -
Page 19: Configuration For Mac
Select “Arrangement” tab at the top of the window, then drag and drop the screen icons to match your setup.. If your SideTrak is installed to slide out to the left of your laptop, arrange your screens to reflect this. The SideTrak will automatically be set up Display settings dialogue box on Mac operating systems. -
Page 20: Faqs
If you don’t have a compatible USB-C port on your Can the SideTrak flip around? laptop or don’t have a USB-C port at all, then you will Yes! Just swivel or rotate the screen 180° so you can need to download the DisplayLink driver. easily share your screen. - Page 21 Yes. The SideTrak uses device-safe magnets that will not interfere with screens or data. A laptop case, skin or cover is compatible with SideTrak, and will also avoid sticking plates directly onto the laptop itself.
-
Page 22: Troubleshooting
It is easiest to clip when the monitor and mounting frame aren’t folded. Try the SideTrak on another computer (preferably a Line up SideTrak with the top of the metal plate, computer with a different operating system). “hooking” the mounting frame to the top of the Test the SideTrak with a different USB-C cord metal plate. -
Page 23: Technical Specifications
Technical Specifications Screen Size: 13.3" Refresh Rate: 60Hz Response Time: 12ms Brightness: 400 cd/m² PPI: Aspect Ratio: 16:9 Contrast Ratio: 1500:1 Color Depth: Display 16.7M colors Power Consumption: Panel Type: IPS Resolution: 1920x1080 Connection Type: USB-C... -
Page 24: Limited Liability Warranty
This limited warranty gives you specific legal rights and you may also have other rights. Which vary from state to state. The limited warranty can also be found online at sidetrak.com/pages/warranty and in the documentation we provide with this product. We warranty that during the warranty period, the product will be free from defects in materials and workmanship.
Need help?
Do you have a question about the Swivel and is the answer not in the manual?
Questions and answers