Plustek SmartOffice PS186 Quick Start Manual
Hide thumbs
Also See for SmartOffice PS186:
- User manual (113 pages) ,
- Quick start manual (2 pages) ,
- Quick start manual (2 pages)
Advertisement
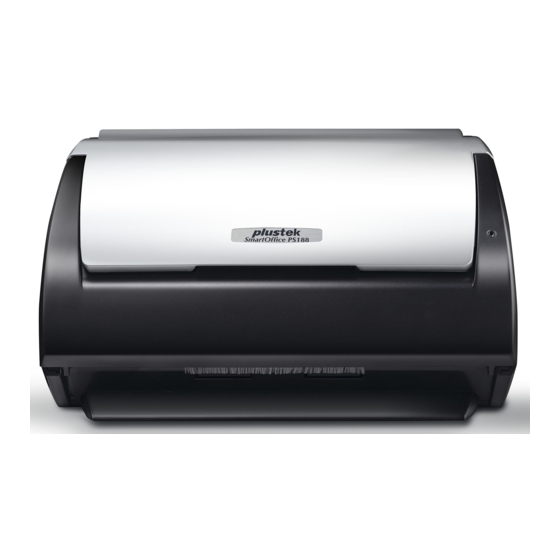
PS186 / PS188
Quick Start Guide
1
Assemble and Connect
In the Box
Clean Cloth
Calibration sheet
Accessory bag
2
Install Software and Scan a Document
Insert the setup DVD or download and run the product's software
package.
Visit Plustek's support site listed below for your model.
www.plustek.com/SmartOffice/Start
(1) Launch scan software
Click
shortcut
Customize your scan profile
1. Double-click
New button. Set Profile Name
order) and Filename Format
(e.g., Naming by Barcode).
3. Select Resolution (dpi), Color Mode and Paper Size, you may tick
the check box of each function on the right-hand side to optimize
your scan images.
Open cover and remove all packing material. Close the cover until you
hear it click into place.
(2) Check Scanner status
(3) Fan the stack of paper well to avoid paper jams and misfeeds.
(e.g., ABC
4. Select desired file format from the dropdown list.
● In order to activate image to text conversion, please select
"Searchable" and "OCR Language".
Enable "Searchable" function need more time for the file
conversion to finish.
● Deselect the "Multi Page" function, then you can save each page
by each PDF file.
(4) Load your papers facedown, top edge first.
At an angle
(5) Double-click the
through the simplify settings.
Feed direction
Adjust Source, Resolution (dpi), Color Mode and Save Path, then
click Scan button. The application starts automatically and your
document is scanned.
2. Select file saving folder
You may save the file to FTP folder.
5. Click OK to complete the settings. Double-click the job button you
created to start scanning, or you can drag the buttons to the left
for shortcut.
Scan QR code to see tutorial videos
Power on
before scan
Connect scanner to computer.
Quick Scan button to quickly scan
.
P/NO.: 17-07-2A61040-C
Advertisement
Table of Contents

Subscribe to Our Youtube Channel
Related Manuals for Plustek SmartOffice PS186


Summary of Contents for Plustek SmartOffice PS186
- Page 1 (2) Check Scanner status (4) Load your papers facedown, top edge first. package. Visit Plustek’s support site listed below for your model. www.plustek.com/SmartOffice/Start (1) Launch scan software (3) Fan the stack of paper well to avoid paper jams and misfeeds.
- Page 2 Instructions: Clean the scanner Calibrate the scanner Please use the calibrate sheet in the accessory bag of box Or visit www.plustek.com/ps186 then click FAQ tab. visit www.plustek.com/ps188 then click FAQ tab. Calibration Sheet Calibration Sheet...
Need help?
Do you have a question about the SmartOffice PS186 and is the answer not in the manual?
Questions and answers