Sign In
Upload
Download
Table of Contents
Contents
Add to my manuals
Delete from my manuals
Share
URL of this page:
HTML Link:
Bookmark this page
Add
Manual will be automatically added to "My Manuals"
Print this page
×
Bookmark added
×
Added to my manuals
Manuals
Brands
Plustek Manuals
Scanner
SmartOffice PS3140U
User manual
Plustek PS3140U User Manual
Hide thumbs
Also See for PS3140U
:
User manual
(57 pages)
1
2
Table Of Contents
3
4
5
6
7
8
9
10
11
12
13
14
15
16
17
18
19
20
21
22
23
24
25
26
27
28
29
30
31
32
33
34
35
36
37
38
39
40
41
42
43
44
45
46
47
48
49
50
page
of
50
Go
/
50
Contents
Table of Contents
Troubleshooting
Bookmarks
Table of Contents
Table of Contents
Introduction
How to Use this Guide
Conventions of this Guide
A Note about Icons
Safety Precautions
Minimum System Requirements
Box Contents
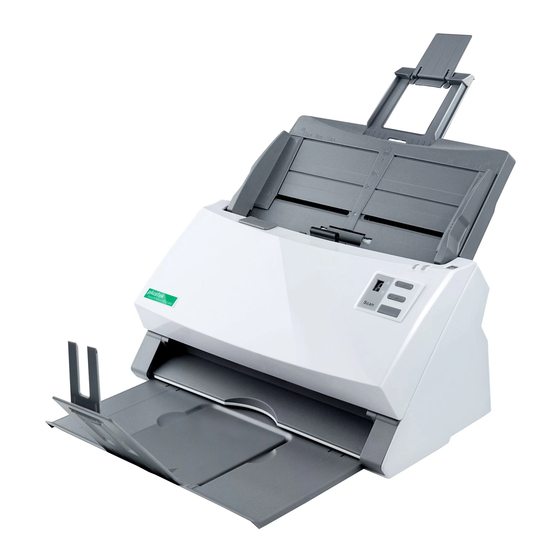
Scanner Overview
LED Indicator
Ultrasonic Sensor
Chapter I. Installing the Scanner
Software Installation Requirements
Hardware Requirements
Installing and Setting up the Scanner
Step 1. Install the Paper Chute
Step 2. Connecting the Scanner to Your Computer
Step 3. Installing the Software
Step 4. Testing the Scanner
Installing Additional Software
Chapter II. Scanning
Preparing Documents
Checking Document Conditions
Loosening Documents
Placing Documents
Placing Business Cards
Placing Plastic Cards
Installing the MIX-Paper Scan Frame
Scanning Documents
Scanning Via TWAIN Interface
Scanning from the Scanner's Front Panel
Scanning from the On-Screen Docaction's Execute Menu
Scanning from the Icon in the Left Side of the Docaction Window
Chapter III. Care and Maintenance
Cleaning the Scanner
Cleaning Materials
Cleaning the ADF
Replacing Consumables
Replacing the Friction Roller Module
Replacing the Feed Roller
Calibrating the Scanner
Power Save
Chapter IV. Troubleshooting
Scanner Connection
Clearing Paper Jams
Appendix A: Specifications
Appendix B: Customer Service and Warranty
Advertisement
Quick Links
Download this manual
Installation
Usage & Maintenance
Table of
Contents
Previous
Page
Next
Page
1
2
3
4
5
Advertisement
Table of Contents
Need help?
Do you have a question about the PS3140U and is the answer not in the manual?
Ask a question
Questions and answers
Related Manuals for Plustek PS3140U
Scanner Plustek SmartOffice PS3180U User Manual
(57 pages)
Scanner Plustek SmartOffice PS3060U Specifications
Smartoffice series (2 pages)
Scanner Plustek SmartOffice PS396 Quick Manual
(2 pages)
Scanner Plustek SmartOffi ce PS396 Quick Manual
(2 pages)
Scanner Plustek SmartOffice PS340S Quick Manual
(2 pages)
Scanner Plustek SmartOffice PS386 Specifications
Smartoffice series (2 pages)
Scanner Plustek PS406 User Manual
Smart office series (49 pages)
Scanner Plustek SmartOffice PS30D Quick Start Manual
Colour document scanner (2 pages)
Scanner Plustek SmartOffice PS30D Quick Start Manual
(2 pages)
Scanner Plustek PS388U User Manual
(48 pages)
Scanner Plustek PS3150U User Manual
(50 pages)
Scanner Plustek SmartOffice PS30U User Manual
(47 pages)
Scanner Plustek SmartOffice PS286 Plus User Manual
(47 pages)
Scanner Plustek SmartOffice PS186 User Manual
(113 pages)
Scanner Plustek SmartOffice PS286 Plus User Manual
(220 pages)
Scanner Plustek PS188 User Manual
For mac users (90 pages)
This manual is also suitable for:
Ps3150u
Ps3180u
Table of Contents
Print
Rename the bookmark
Delete bookmark?
Delete from my manuals?
Login
Sign In
OR
Sign in with Facebook
Sign in with Google
Upload manual
Upload from disk
Upload from URL


Need help?
Do you have a question about the PS3140U and is the answer not in the manual?
Questions and answers