Advertisement
Quick Links
Advertisement

Related Manuals for Vaporfi VOLT 2


Summary of Contents for Vaporfi VOLT 2
- Page 1 QUICK START GUIDE ENGLISH...
-
Page 3: What's Included
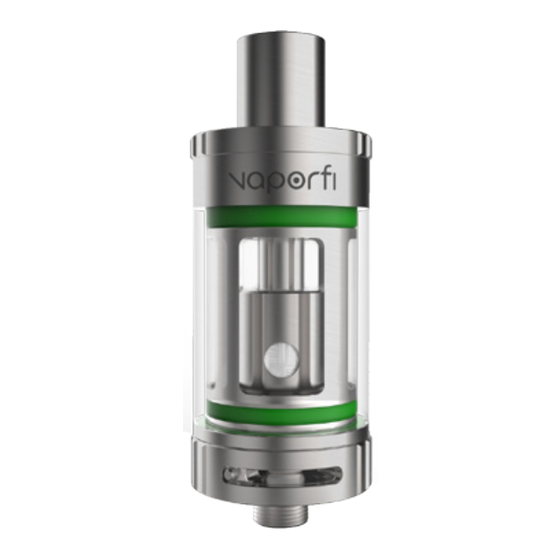
WHAT’S INCLUDED » [ 1 ] 4 ML Tank » [ 1 ] SSOCC 0.5ohm Nichrome Atomizer (Pre-Installed) » [ 1 ] OCC 1.5ohm Atomizer » [ 1 ] SSOCC Ni200 0.15 ohm Atomizer » [6] O-Rings » [ 1 ] Quick Start Guide... - Page 4 PRIMING & FILLING YOUR VOLT 2 TANK 1. Turn your tank upside down and unscrew atomizer base from the tank. 2. Drop 3 drops of e-liquid into the exposed cotton holes ensuring to wet each exposed cotton hole. 3. Screw the atomizer base back into the tank ensuring that the atomizer base is snug but not too tight.
- Page 5 7. Once Your liquid has properly saturated your atomizer, you are ready to vape. CHANGING YOUR VOLT 2 ATOMIZER Atomizers will endure anywhere between 7 – 14 days depending on use and must be replaced when it has burned out or no longer produces the proper volume of vapor.
- Page 6 Ensure that your atomizer fits snuggly without over tightening. 5. Follow the aforementioned steps to prime and fill your tank then enjoy your favorite E-Liquid. USING THE VOLT SERIES RBA IN YOUR VOLT 2 TANK 1. Follow the aforementioned steps to remove your atomizer.
- Page 7 2. Prime your RBA by dropping liquid onto the exposed cotton while ensuring that you also drop generous amounts of e-liquid onto the exposed coil as well. 3. Follow the previously mentioned steps to priming and filling your tank and enjoy your favorite e-liquid. BUILDING YOUR RBA DECK NOTE: DO NOT REBUILD THIS DECK IF YOU ARE NOT AN...
- Page 8 1. To Rebuild your RBA, unscrew the top cap and side screw to reveal the buildable deck. 2. Once this rebuildable deck is exposed, unscrew your used replacement wire and discard it. 3. Take the replacement Volt Series RBA Replacement Wire and mount into the screw holes and tighten the screws.
- Page 9 NOTE: To ensure the most effective cotton feed, twist your cotton between your finger tips and make a small point with the leg of your cotton. When the cotton is able to enter the wire, twist from both sides and feed it gently into the wire opening.
- Page 10 OCC coil, Close the airflow to 50%. It is not recommend to completely close off the airflow as this will cause flooding and spit back. TROUBLE SHOOTING YOUR VOLT 2 TANK FLOODING: If your tank begins to spit back, gurgle or produce less...
- Page 11 vapor production it is likely that your tank has flooded. To fix this issue follow the following steps: 1. Blow into your drip tip while not firing your vape device. 2. If flooding persists, fire your vape device and blow into tank.
- Page 12 You may then remove the atomizer base, remove your atomizer and clean excess e-liquid from the atomizer base reservoir using a paper towel. VOLT 2 NOT FIRING If your MOD reads atomizer short or no atomizer found, ensure that your atomizer is screwed in tightly to the atomizer base.
- Page 13 WARNING Do not attempt to modify equipment; doing so can result in permanent damage, overheating and/or explosion which may lead to severe injuries or death. For more information visit: vaporfi.com/how-it-works...
- Page 14 Some Vaporfi products contain a chemical known to the State of California to cause cancer or birth defects or other reproductive harm. Nicotine is addictive and habit forming, and it is very toxic by inhalation, in contact with the skin, or if swallowed.
- Page 16 GUIA DE INICIO RAPIDO ESPANOL...
- Page 17 QUÉ ESTÁ INCLUIDO » [ 1 ] 4 ML Tank » [ 1 ] SSOCC 0.5ohm Nichrome Atomizador (Pre-Instalado) » [ 1 ] OCC 1.5ohm Atomizador » [ 1 ] SSOCC Ni200 0.15 ohm Atomizador » [6] O-Rings » [ 1 ] Guia de Inicio Rapido...
- Page 18 CÓMO LLENAR Y CEBAR SU TANQUE VOLT 2 1. Voltee el tanque y desenrosque el atomizador de la base del mismo 2. Deje caeer 3 gotas de líquido en los agujeros de algodón expuestos, asegurándose de mojar cada uno de dichos agujeros 3.
- Page 19 7. Una vez que su líquido ha saturado correctamente su atomizador, usted está listo para iniciar el vaping. CAMBIAR SU ATOMIZADOR VOLT 2 Los atomizadores van a durar un perdíodo de entre 7-14 días dependiendo del uso y deben ser sustituidos cuando...
- Page 20 se han quemado o ya no producen el volumen apropiado de vapor. 1. Asegúrese que el tanque esté completamente vacío de líquido. 2. Retire la base del atomizador del tanque retirar y separe la parte superior del mismo. 3. Desatornille atomizador con un movimiento hacia la izquierda y deseche el atomizador usado.
Need help?
Do you have a question about the VOLT 2 and is the answer not in the manual?
Questions and answers