Advertisement
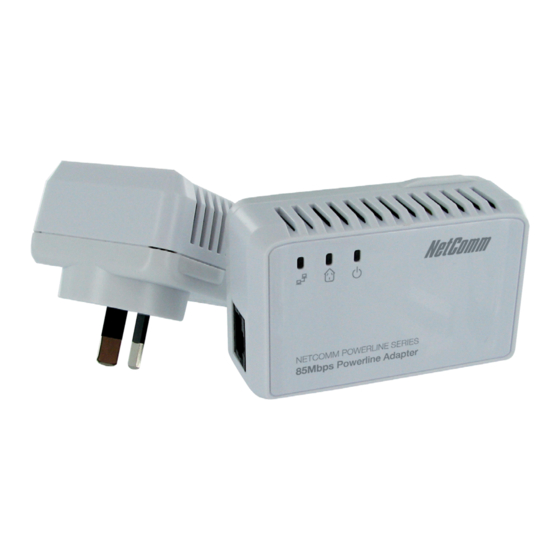
NetComm Powerline Series - 200Mbps Wireless N300 Powerline Adapter
Getting Started
How to Use the Simple Connect Button
The Simple Connect button provides a more convenient way of creating your Powerline network without the need to open the Powerline
Utility software on a computer. The button has three main functions which include:
•
Creating a Powerline Network
•
Resetting the Private Network Name
•
Joining an existing Powerline Network
Creating a Powerline Network
To create a Powerline network, you need at least two Powerline devices using random Private Network Names. When you press the Simple
Connect Button on both devices, a common Private Network Name will be automatically generated to enable them to communicate with
each other.
It is advisable that you plug the powerline devices next to each other so that you can monitor the LED activity and pair them more easily
before you move them to the desired location.
Step 1.
Press the Simple Connect button on the first adapter for three seconds.
Step 2.
Within two minutes press the Simple Connect button on the other adapter/s for three seconds.
Step 3.
To confirm if the connection was established, check the Powerline LED (icon). If the Powerline LED is lit on all devices then there
has been a successful connection. If the Powerline LED is not lit on all devices then repeat the steps and try again.
Resetting the Private Network Name
The Simple Connect button allows you to reset the Powerline adapters Private Network Name to a random key. When a Powerline adapter
is reset to a random key, it will not be able to communicate with any other device.
Step 1.
Press the Simple Connect button for 10 seconds. The LEDs should change from green to amber.
Step 2.
To confirm the Private Network Name has reset, the Powerline LED (icon) will be off
Joining an Existing Powerline Network
To enable a new device to join an existing network, the Simple Connect button will copy the Private Network Name of the existing network
to the new Powerline adapter. If you pressed the Simple Connect button from multiple Powerline adapters, only the signal from the first two
devices will be processed.
Step 1.
Press the Simple Connect button on one of the adapters in the existing network for three seconds.
Step 2.
Within two minutes press the Simple Connect button on the new adapter for three seconds.
Step 3.
To confirm if the connection was established, check the Powerline LED (icon). If the Powerline LED is lit on all devices then there
has been a successful connection. If the Powerline LED is not lit on all devices then repeat the steps and try again.
Advertisement
Table of Contents

Related Manuals for NetComm Powerline Series


Summary of Contents for NetComm Powerline Series
- Page 1 NetComm Powerline Series - 200Mbps Wireless N300 Powerline Adapter Getting Started How to Use the Simple Connect Button The Simple Connect button provides a more convenient way of creating your Powerline network without the need to open the Powerline Utility software on a computer. The button has three main functions which include: •...
- Page 2 Placement of Your Device It is recommended that you plan on what you are going to connect to your NP202Wn and how you are going to connect to it. Once decided you can place your device in the most convenient location. With two LAN ports you can connect up to two devices by Ethernet cable to the NP202Wn.
Need help?
Do you have a question about the Powerline Series and is the answer not in the manual?
Questions and answers